BioTriffid
-
Posts
157 -
Joined
-
Last visited
Recent Profile Visitors
22,017 profile views


BioTriffid's Achievements
")


-
I'm assuming the caps like these if I can find just them not the other bits I know they are not for a lupo.
-
Just wondering if anyone knows if the lupo brake calipers are supposed to have slider caps ? Thanks Kieran
-
These are the pictures from when I did it properly. Sanded all the rust off, put kurust over the rusted parts, used the red oxide primer, added a grey primer, painted it black with spray paint then used a heavy duty clear coat on top.
-
This is the first axle I bought. It's the one I made the mistake with when I used hammerite paint. I've attached the pictures of the damage which the paint caused due to trapping moisture in.
-
Hello This is a highly common for a lupo to have a corroded axle you're best option in my opinion is to source another one and get it sand blasted and painted, or you can get a wire wheel on a grinder and wire brushes to remove the rust as much as you can. I then used multiple products such as hammerite kurust first then bonda rust primer as a base, then get yourself a can or two of black paint (or whatever colour you want) then give it a few coats. then apply a strong clear coat to lock it in and keep the weather out for longer. Make sure you get in every hole possible. Also bare in mind you'll need rear brake lines if you want to replace them and the flex hoses while it's all out to make it easier for the future, Guaranteed they don't look to handsome after 22 years on the road of they haven't been replaced since factory. Make sure that you don't make the mistake that I did first time around, do not put hammerite paint on it,it traps in moisture. It flakes off within a matter of weeks and wrecks the perfectly good axle you have. I have pictures of my axle refurb I can post so you can see the results from hard graft if you are keen on saving it for longer. I will attach pictures of how my one turned out. Here is an eBay link to an axle if you are desperate for one. https://www.ebay.co.uk/itm/235622630615?mkcid=16&mkevt=1&mkrid=711-127632-2357-0&ssspo=QLk2QHBcTpO&sssrc=4429486&ssuid=RLYgmDT5TBq&var=&widget_ver=artemis&media=COPY
-
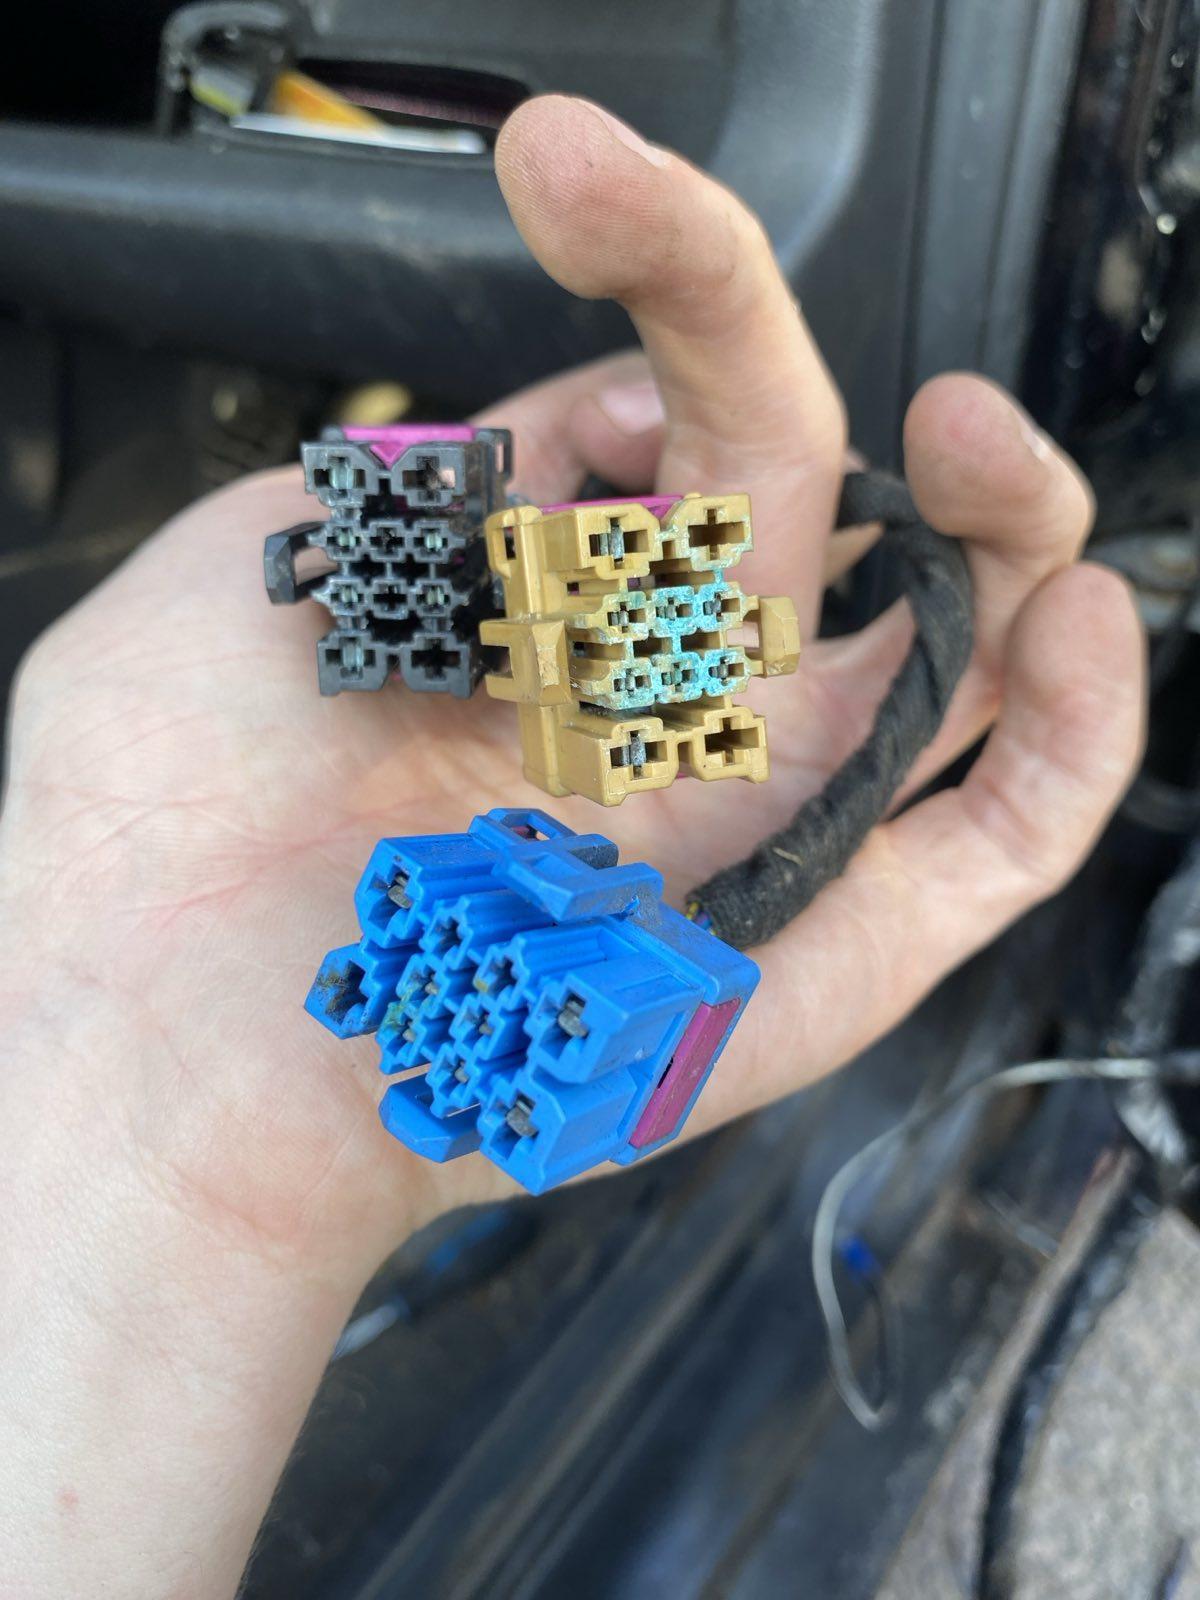
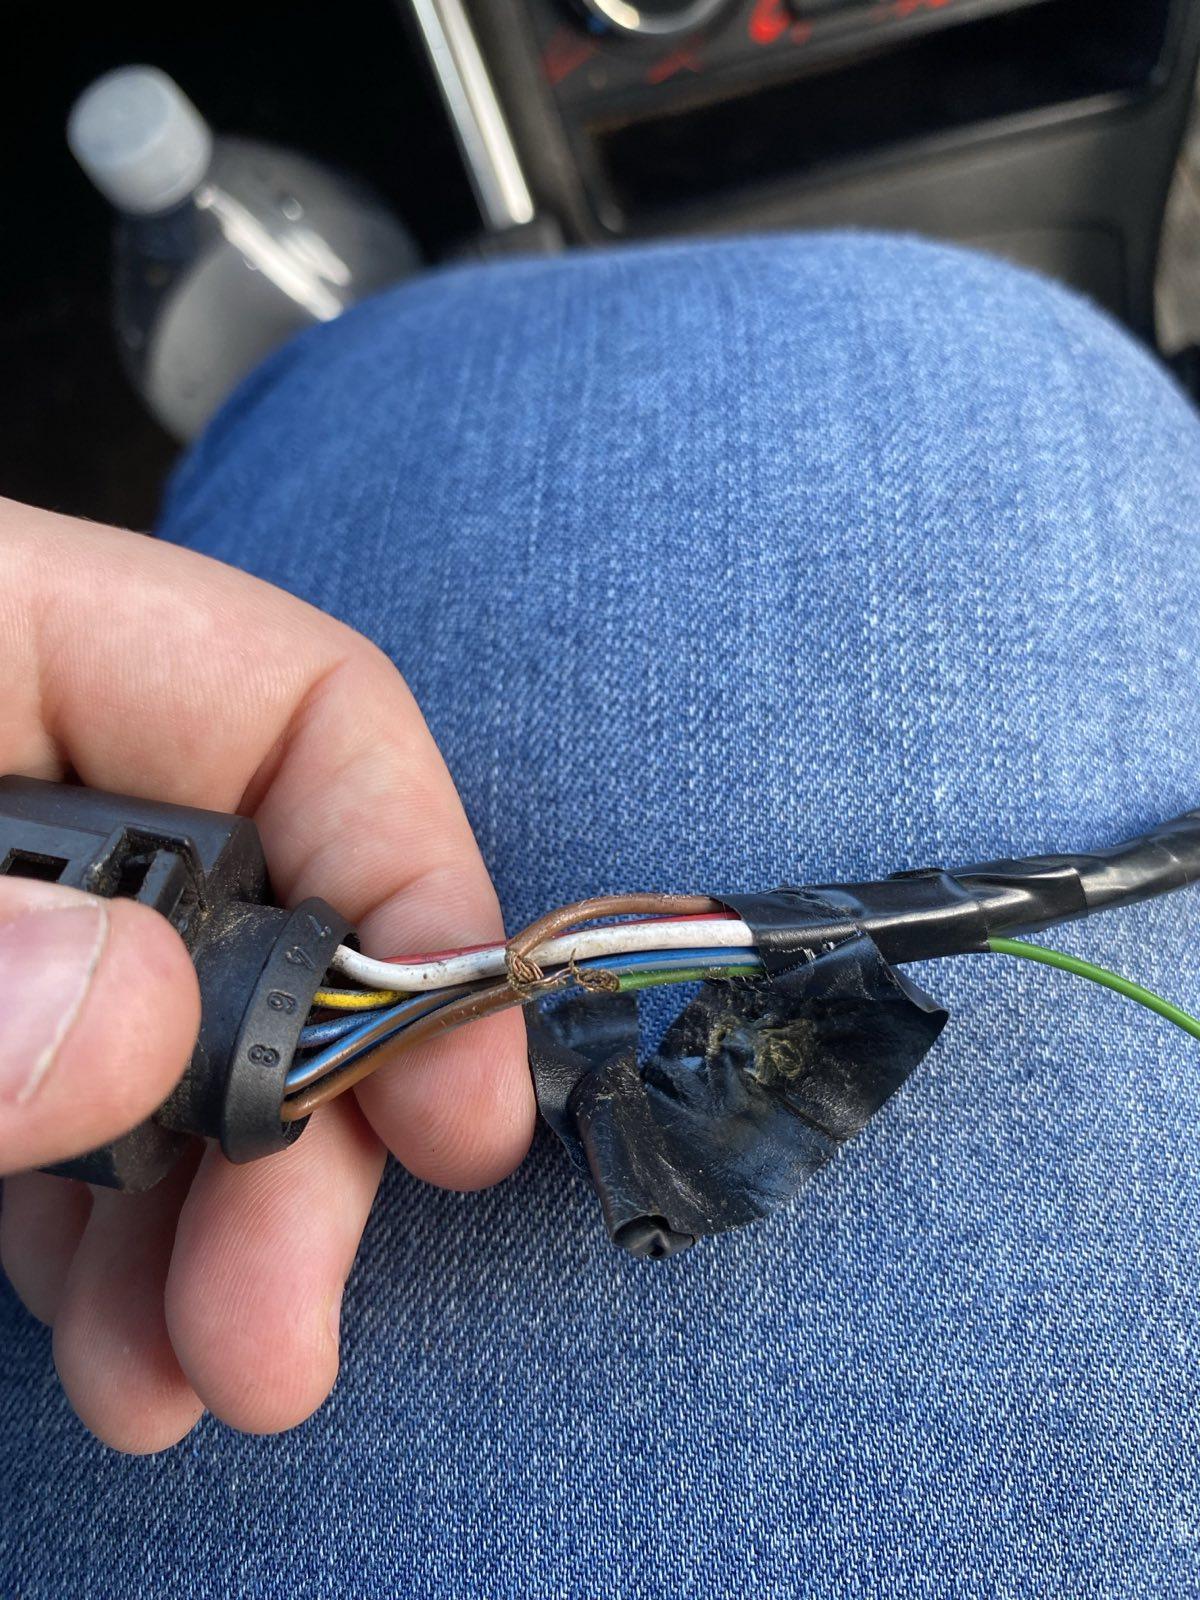
Finally repaired my central locking issue, I had a broken wire in the driver's door and to who ever owned my car before decided to chop every ground wire going but I've repaired them all to the best of my ability and have covered it all in conduit. As for the CCM under the dash, what a laugh it is getting that out. Luckily you don't have to remove as much as most people say. Just pop the corner of the driver's side dashboard and get your hands under the area and it comes out, not sure if it suppose to have screws as mine didn't, but after i got it free and opened it up everything looked fine and nothing out of the ordinary. If anyone needs help with the same issue feel free to message me for help. Shout out to @Rgillett for the help with all the wires and getting it all tidy. A females touch is always welcome 😁
-
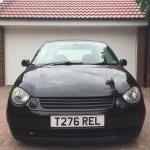
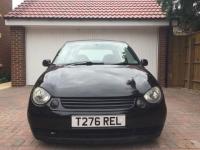
So after my encounter with the deer 🦌 I've finally got the car back to a presentable and drivable condition albeit a few parts still needed, I managed to get a radiator surround and grille and had a few issues getting the indicator panel but ended up buying a brand new one, I also have a second radiator surround as a spare after finding a lupo in a breakers yard so I got some other parts for free, the main thing I was needing was a bonnet since mine was in need of replacement from a bad paint job and rust all over couldn't believe my luck when I found it in the scrap yard almost mint condition too just needed a good polish up.
- 1 reply
-
- 1
-

-
@Skezza Hi thanks for the advice I've replaced both sides and still haven't solved the issue another key issue I have with this is if I open my driver's door the passenger side remains locked and cannot be opened from the inside or remains "deadlocked" so I have to go around and open it manually, I'm looking at the CCM next if I can find it under the dashboard, it seems a simple look wont find it as I suspect the dash has been out before and maybe some parts haven't been replaced in the correct areas. 😮💨
-
On the 18th I hit a small deer here is dashcam and photos https://youtu.be/kpJvc9UHKyk?feature=shared
-
Just noticed if the windows are down I can do them up with the key from the lock but it doesn't open then if that helps
-
My boot central locking is not connected due to a key issue too so I open that manually anyway, I was thinking if it was a relay under the dash or possibly a dodgy wire in the driver's door.
-
Need to use the adjuster to slack it off a bit looks like a fish shape on a spring
-
Hello just a quick one if anyone has any Ideas. When I open the car from the driver's side only that door opens but when I unlock from the passenger door it opens the driver door and passenger door. I've just changed both door lock mechanisms and still having this issue could it be a fuse or broken wire somewhere any help is always appreciated. 😁 Thanks Kieran