

olethalb
-
Posts
198 -
Joined
-
Last visited
-
Days Won
1
Content Type
Profiles
Forums
Calendar
Posts posted by olethalb
-
-
thanks amber / jamie, i'm going to try and get the new owner to join up and continue with the build.

-
sold the arosa bud.

bora's getting new wheels, 6 speed box and hybrid turbo amongst other things.
Olly
-
try adjusting the clutch cable first.
Olly
-
thanks Jowey bud, will get some pics of any more progress as and when the new owner sorts it.
Olly
-
haha, i saw you at ace cafe (EU mania) but by the time i finished chatting you'd disappeared, got a cheeky couple of pics of your car.

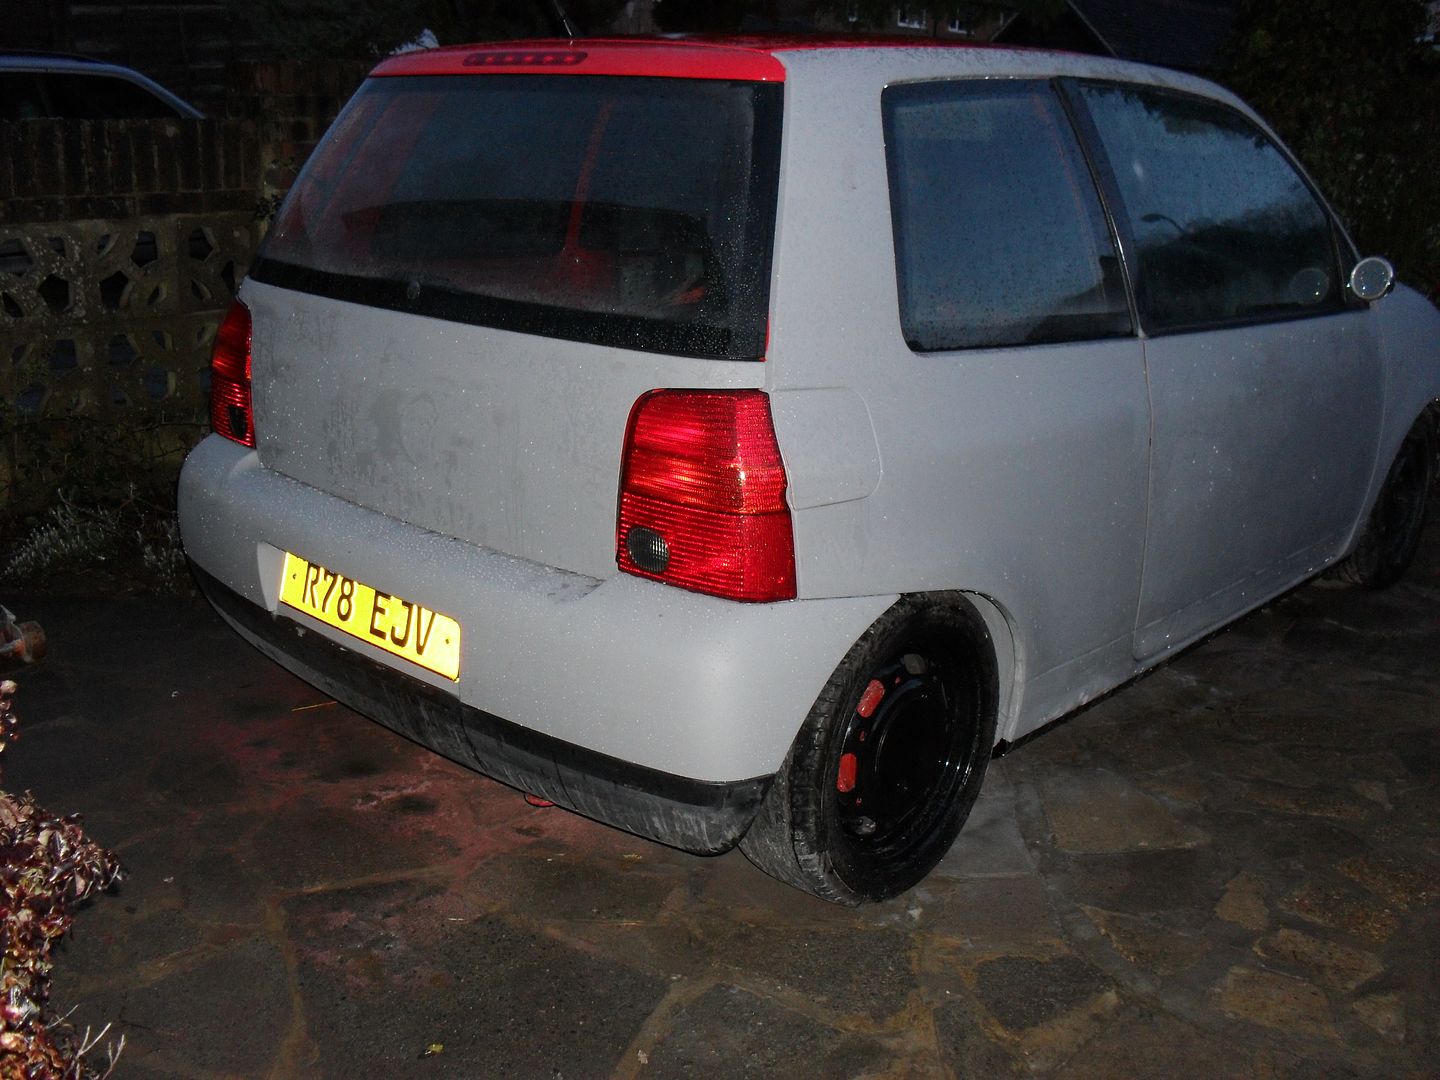
the arosa went late last night so looks like the end of this thread. :-(
thanks for all the kind words from all who have commented.
Olly
-
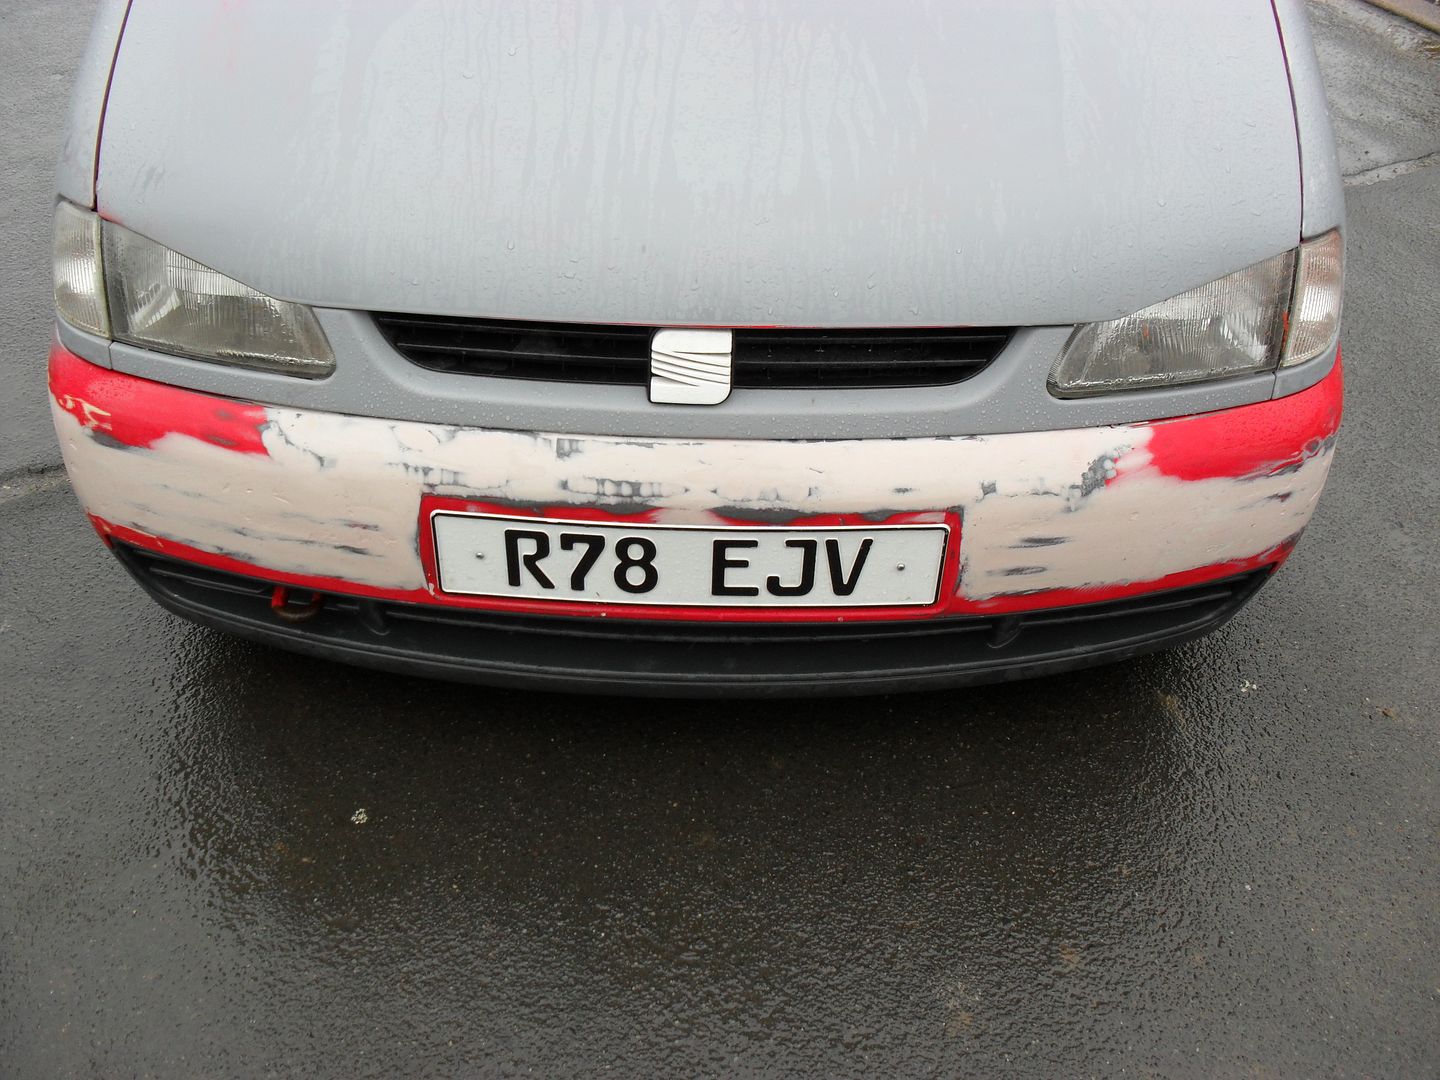
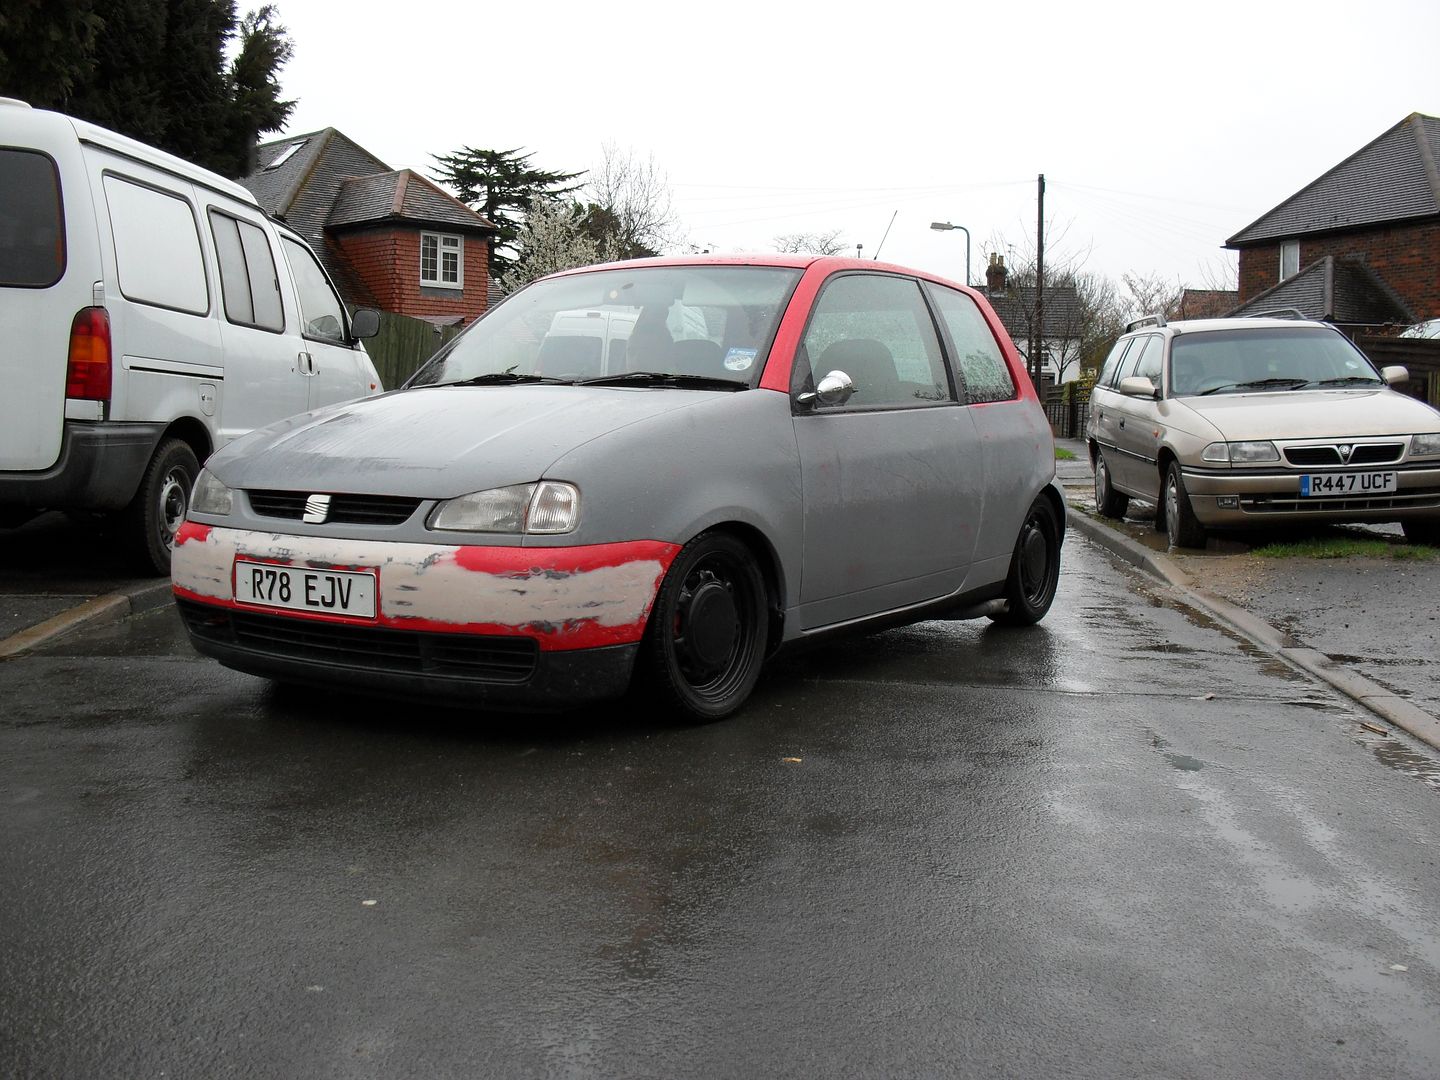
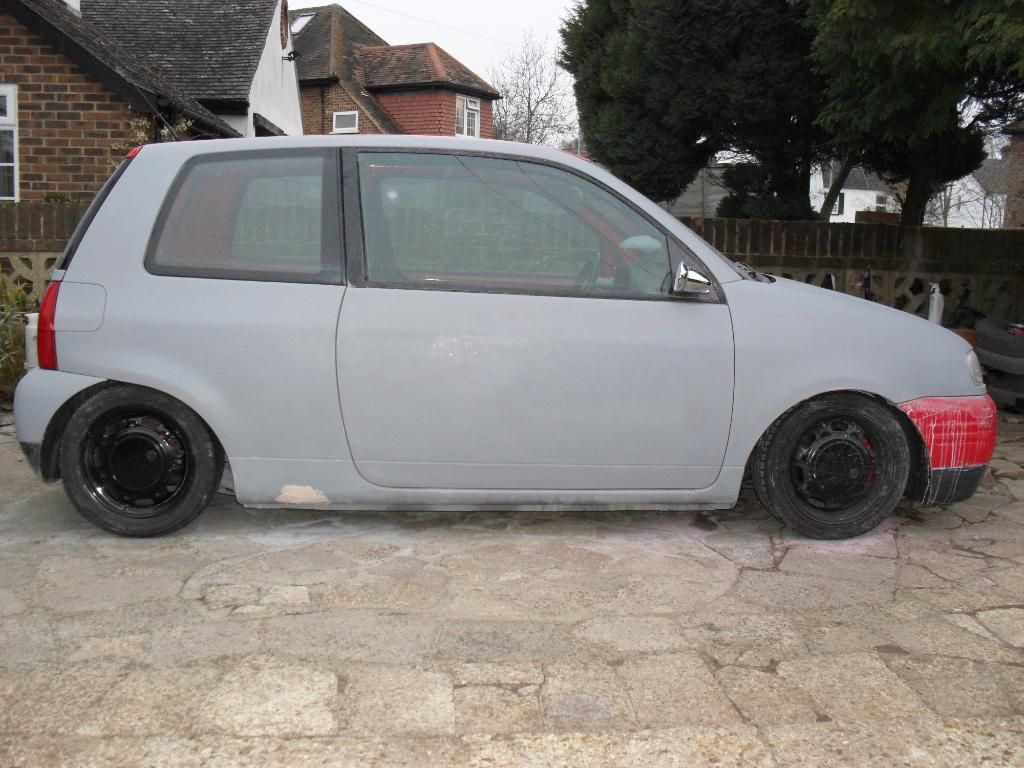
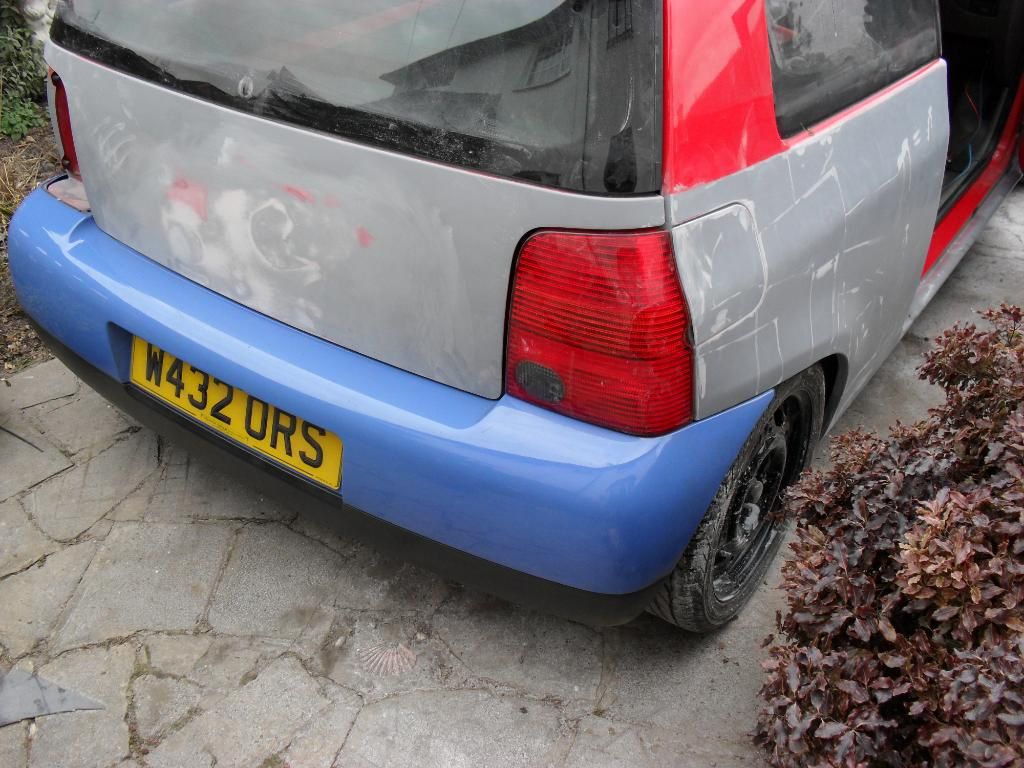
well i flatted as much as the filler in the bumper as i could but had to chuck it back together for the MOT, and it passed just sneaking through on the emissions (good job it got a thrashing on the way to burn it all off)
took some quick pics when i got back
just waiting to hear back from my mate to see if he still wants it now.
Olly
-
haha yea mate, i promised my mate he could have it today if it passes MOT, he's paying monthly too
 - since i said he can have it i've had loads of interest, always the way though just need it off the drive to be honest so i can strip the bora.
will be sorry to see it go really, i think it'd make a good little car with some paint.
Olly
-
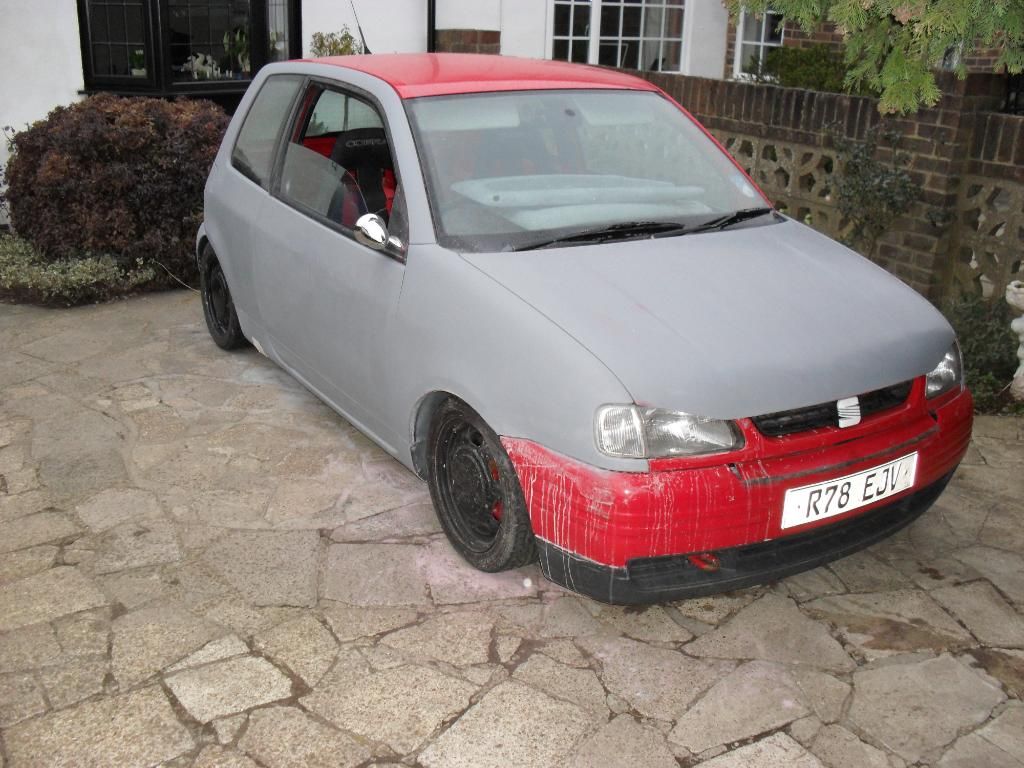
well got a spanking new 195/45/14 falken fitted up today
fitted the pressed rear plate and replaced one of the number plate light bulbs
and primed the grill
also finished the plastic weld on the bumper and started to fill it but leaving it going off overnight and see if i have time to flat it tomorrow...
Olly
-
thanks bud, haven't done alot lately - been doing engine swaps on other cars.
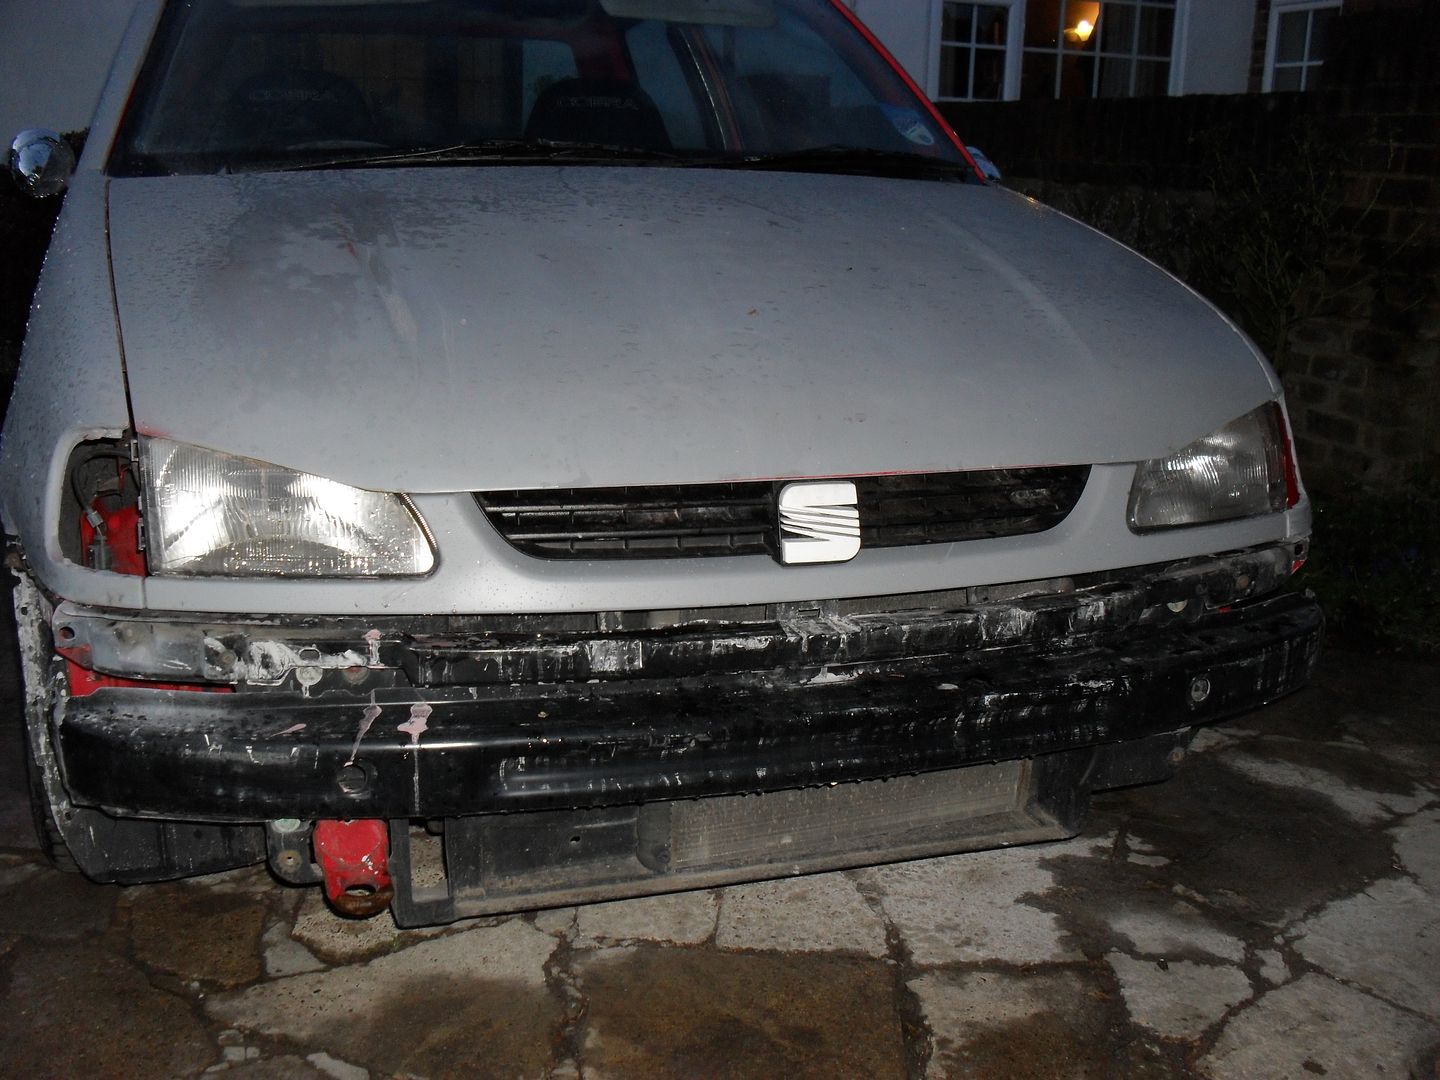
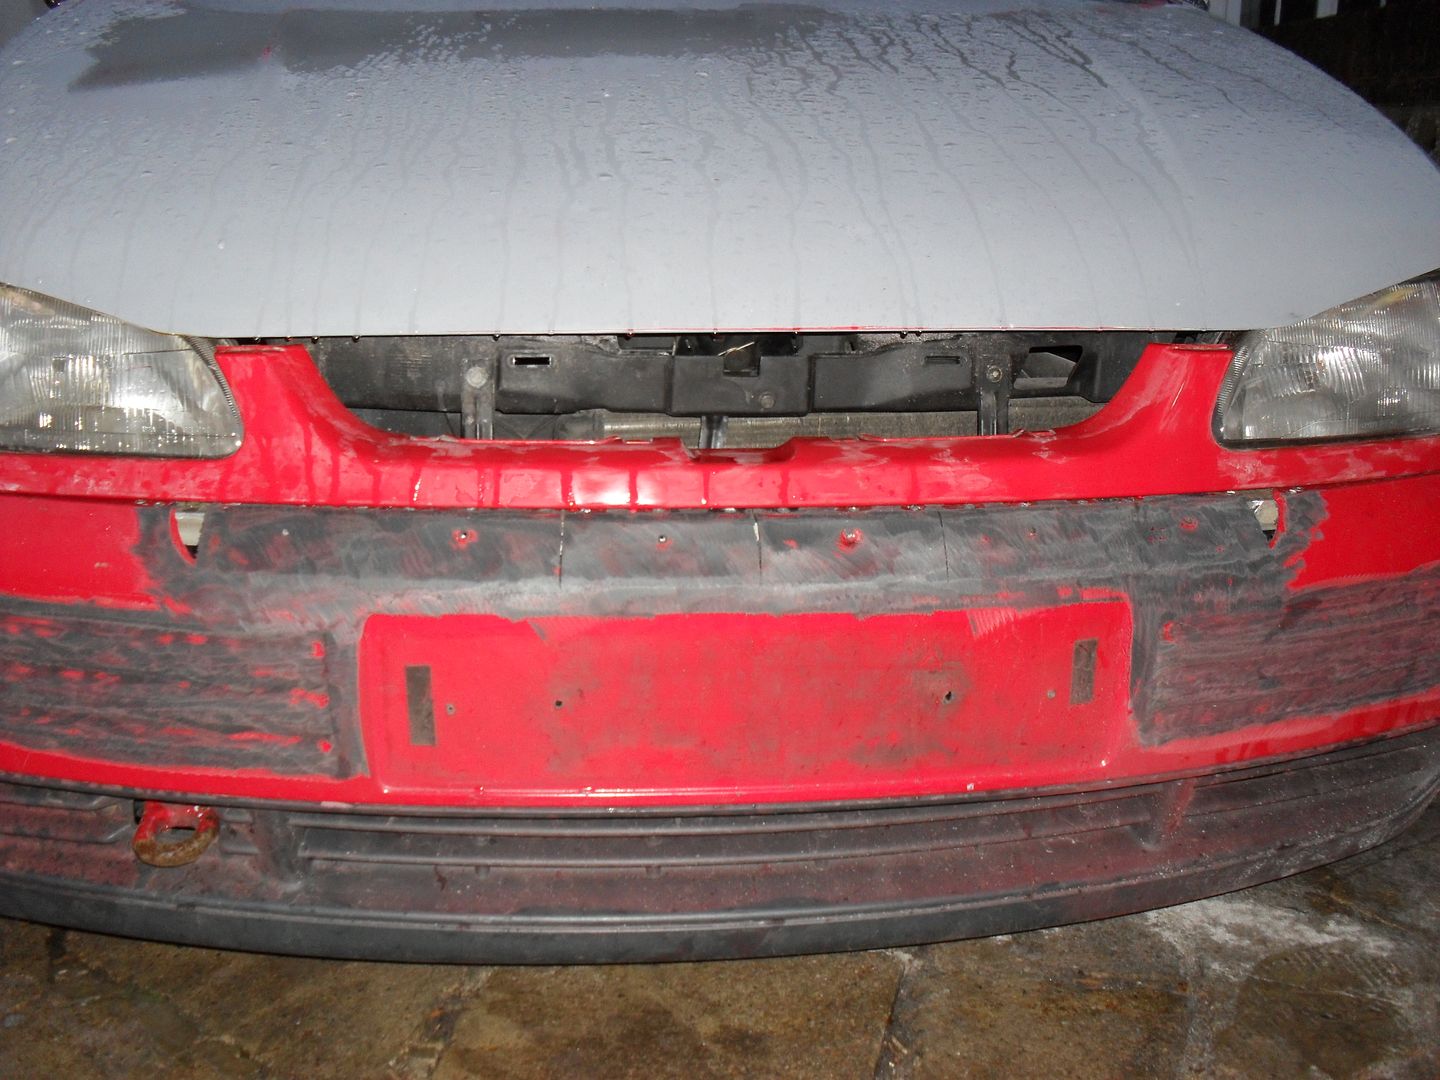
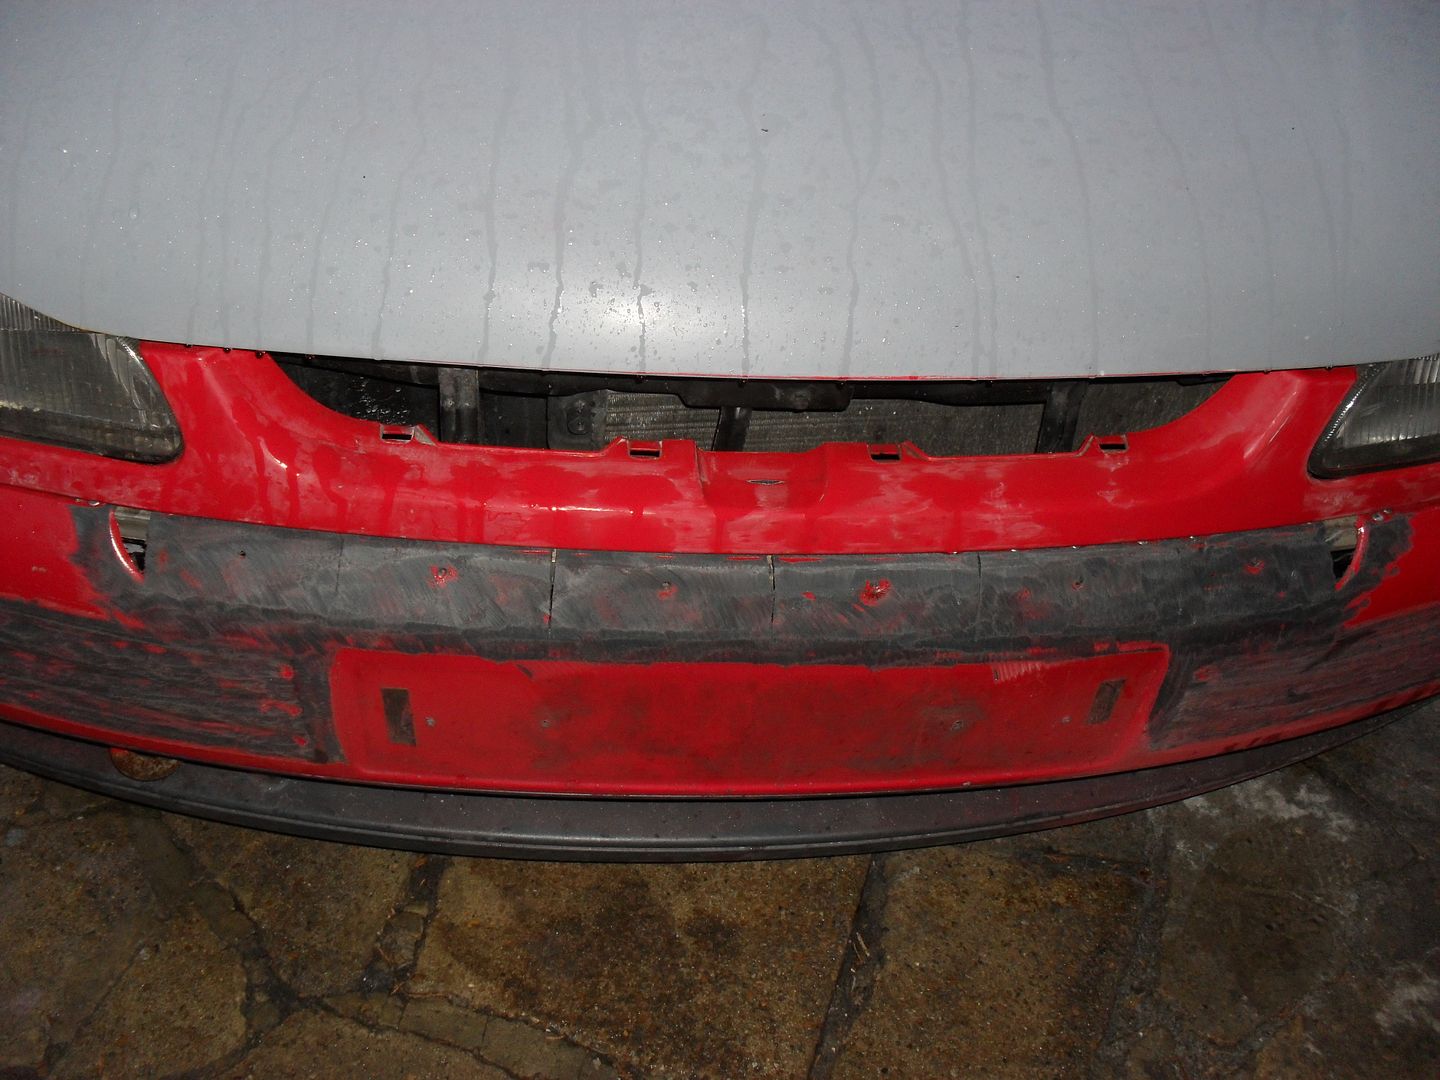
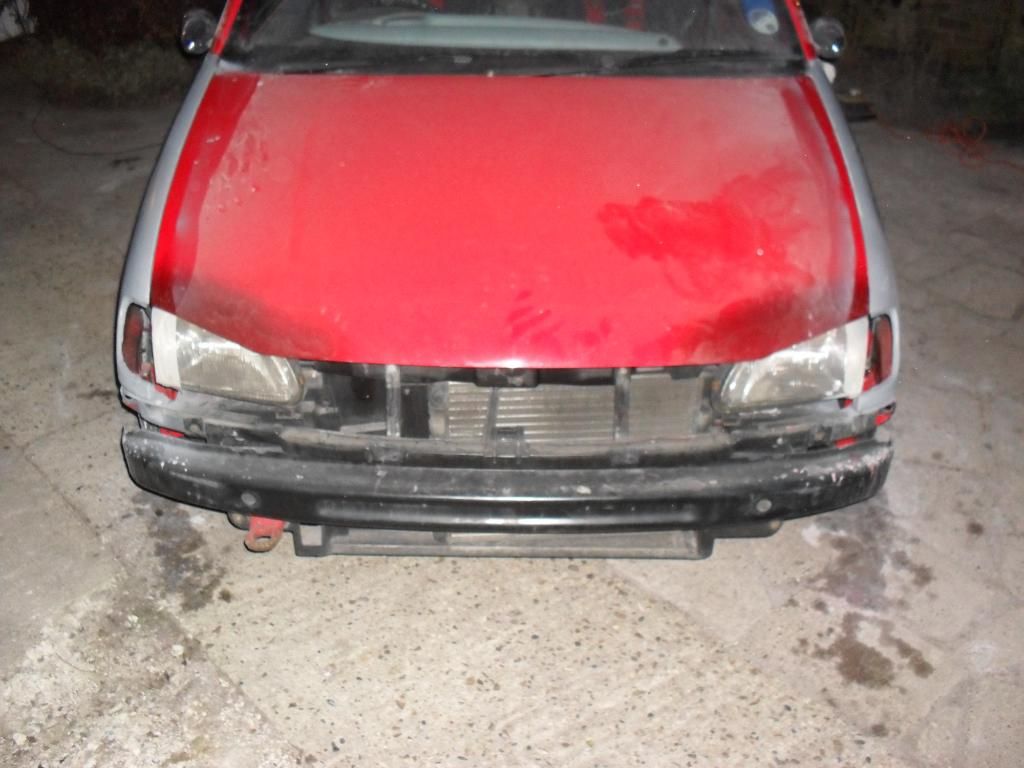
well it's due for MOT on wednesday, got a new tyre coming tomorrow so thought i'd tidy up the front bumper a bit.
started the process of smoothing the bumper so roughed up the grooved area
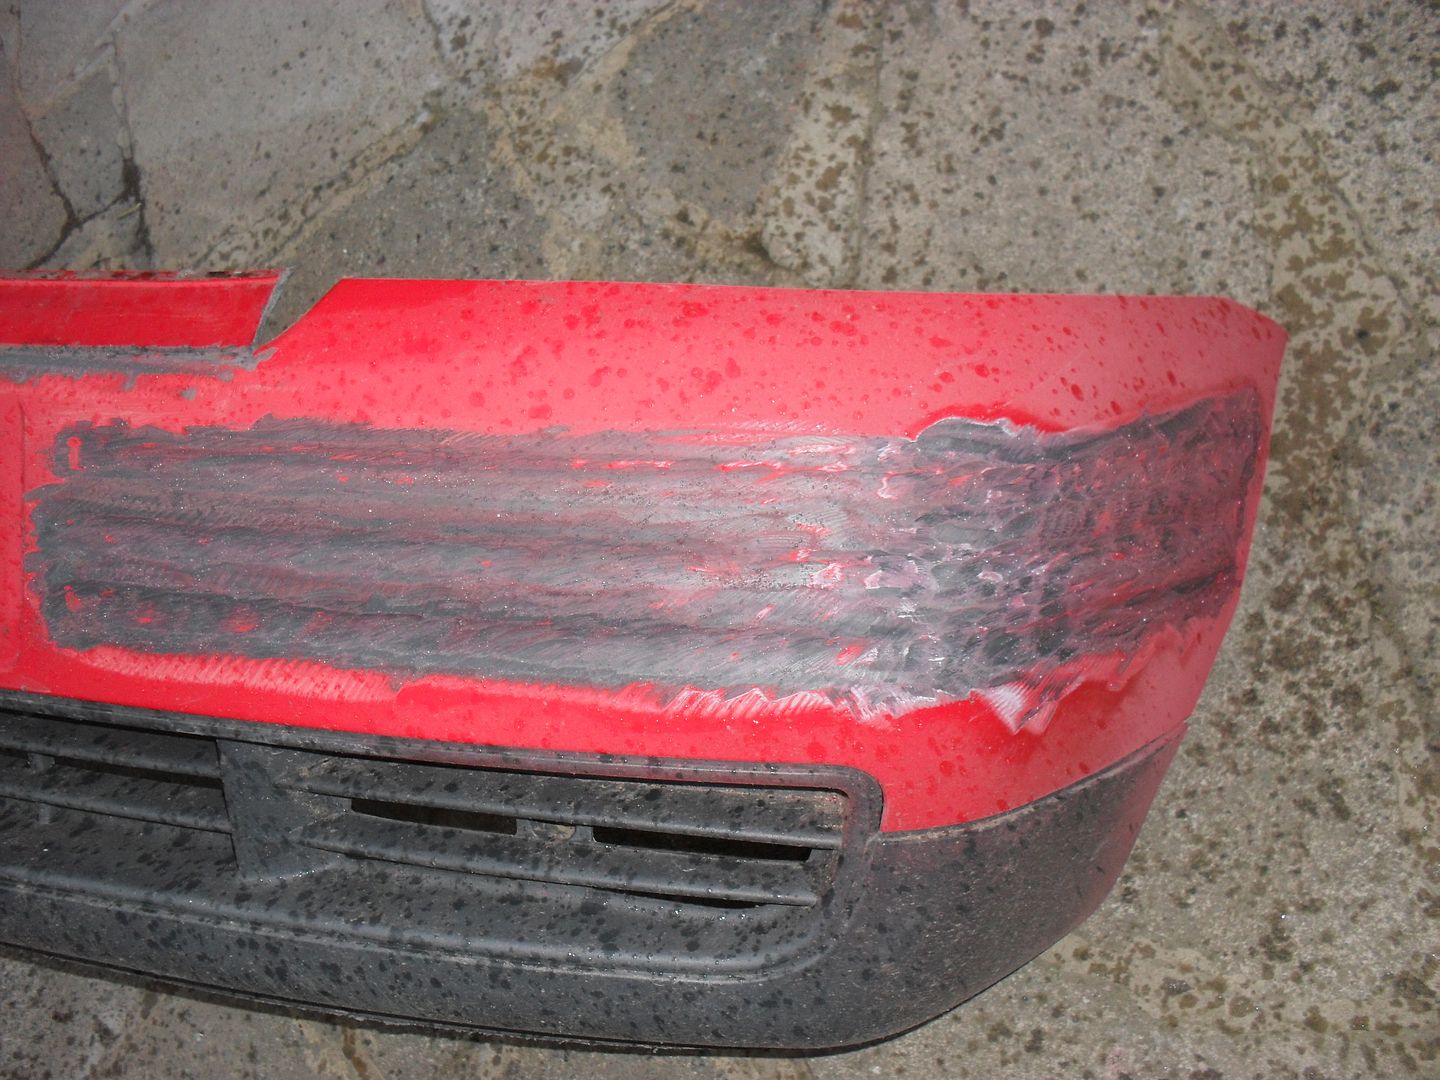
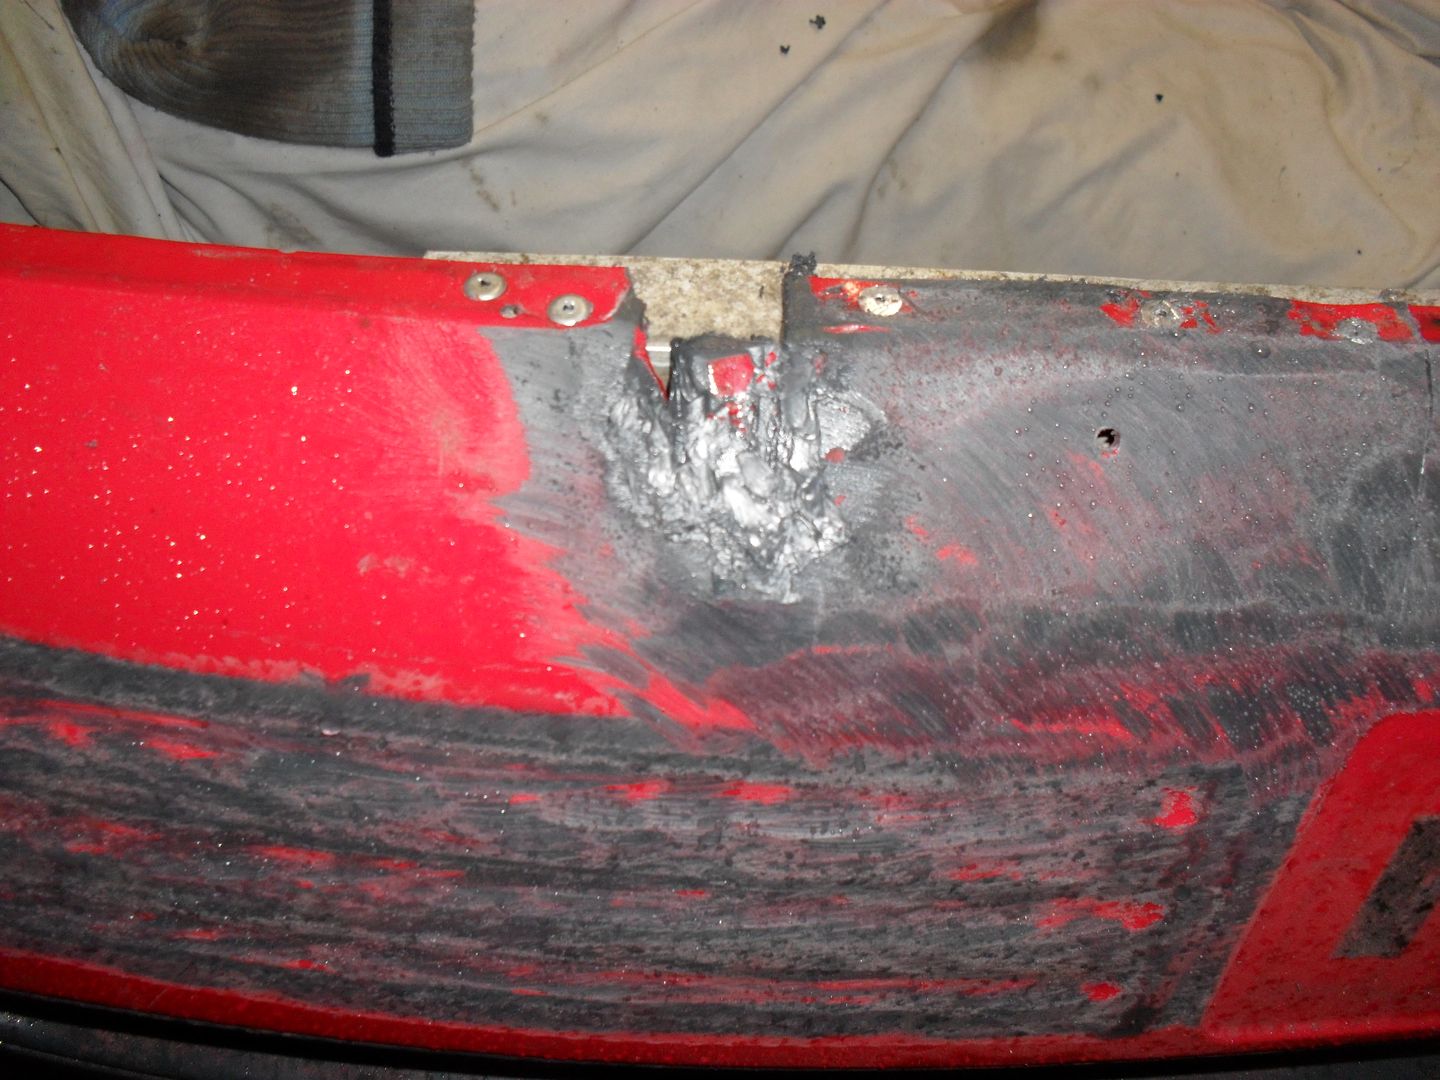
then set about sorting out the centre cut out to fill it in, after a bit of thoght i thought it best to make an ally brace dso i could shape the bumper to the correct curve heating and moulding the bumper as i went.
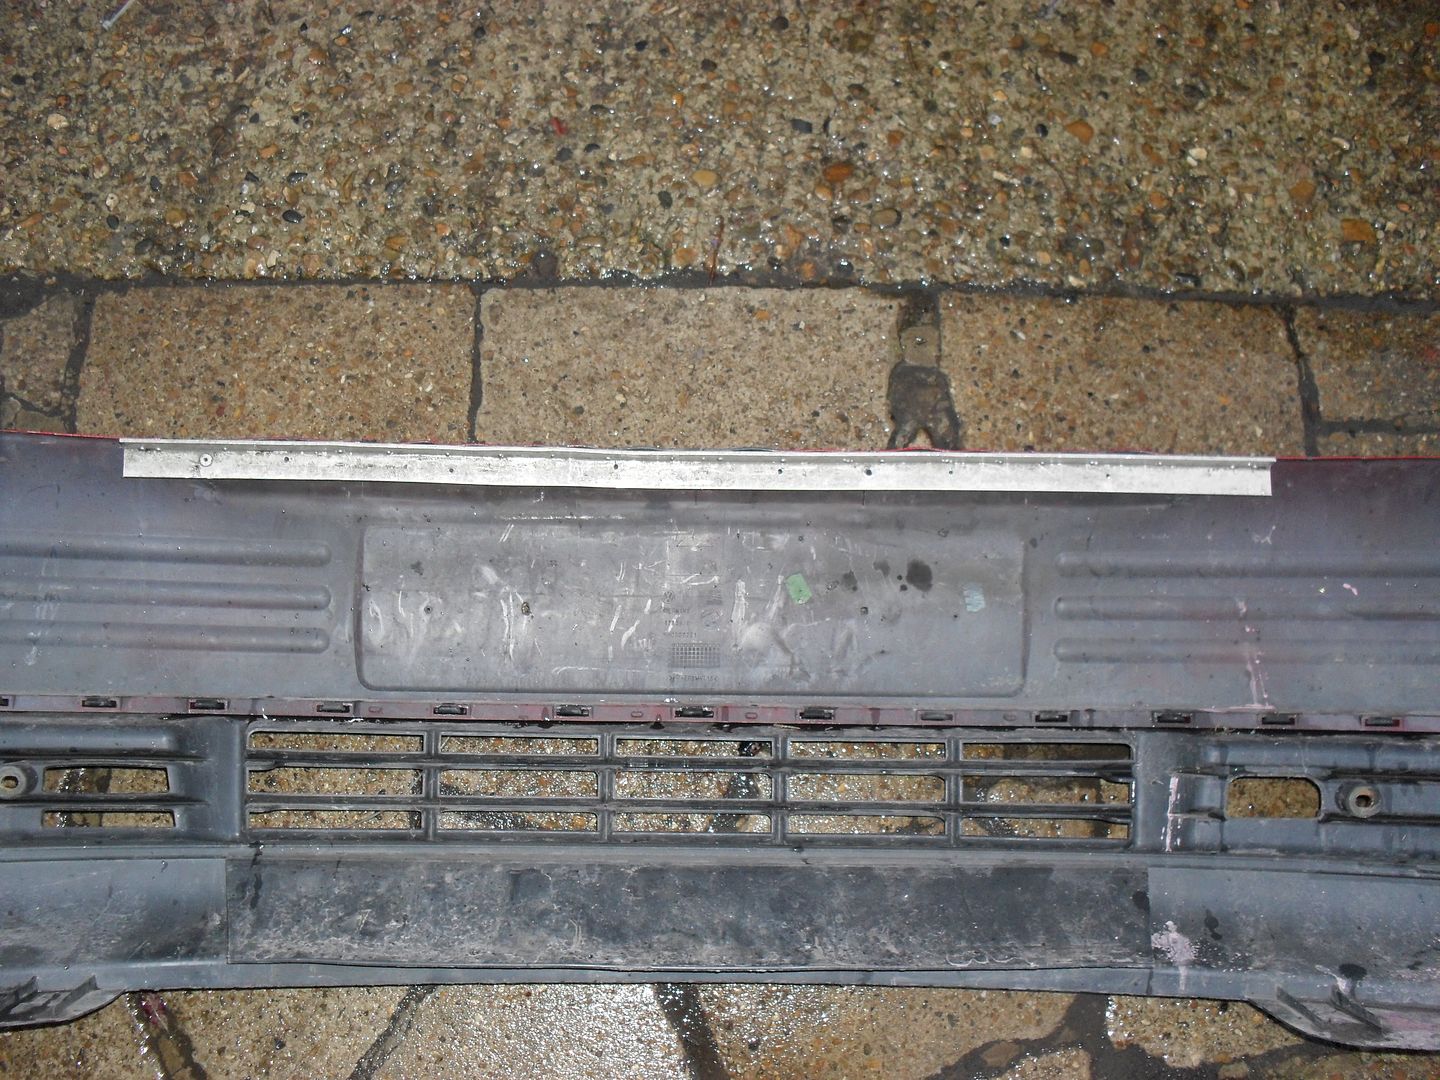
spliced the flat part to bring it up then with the heat gun shaped the lip over the top of the brace then pop riveted it into place.
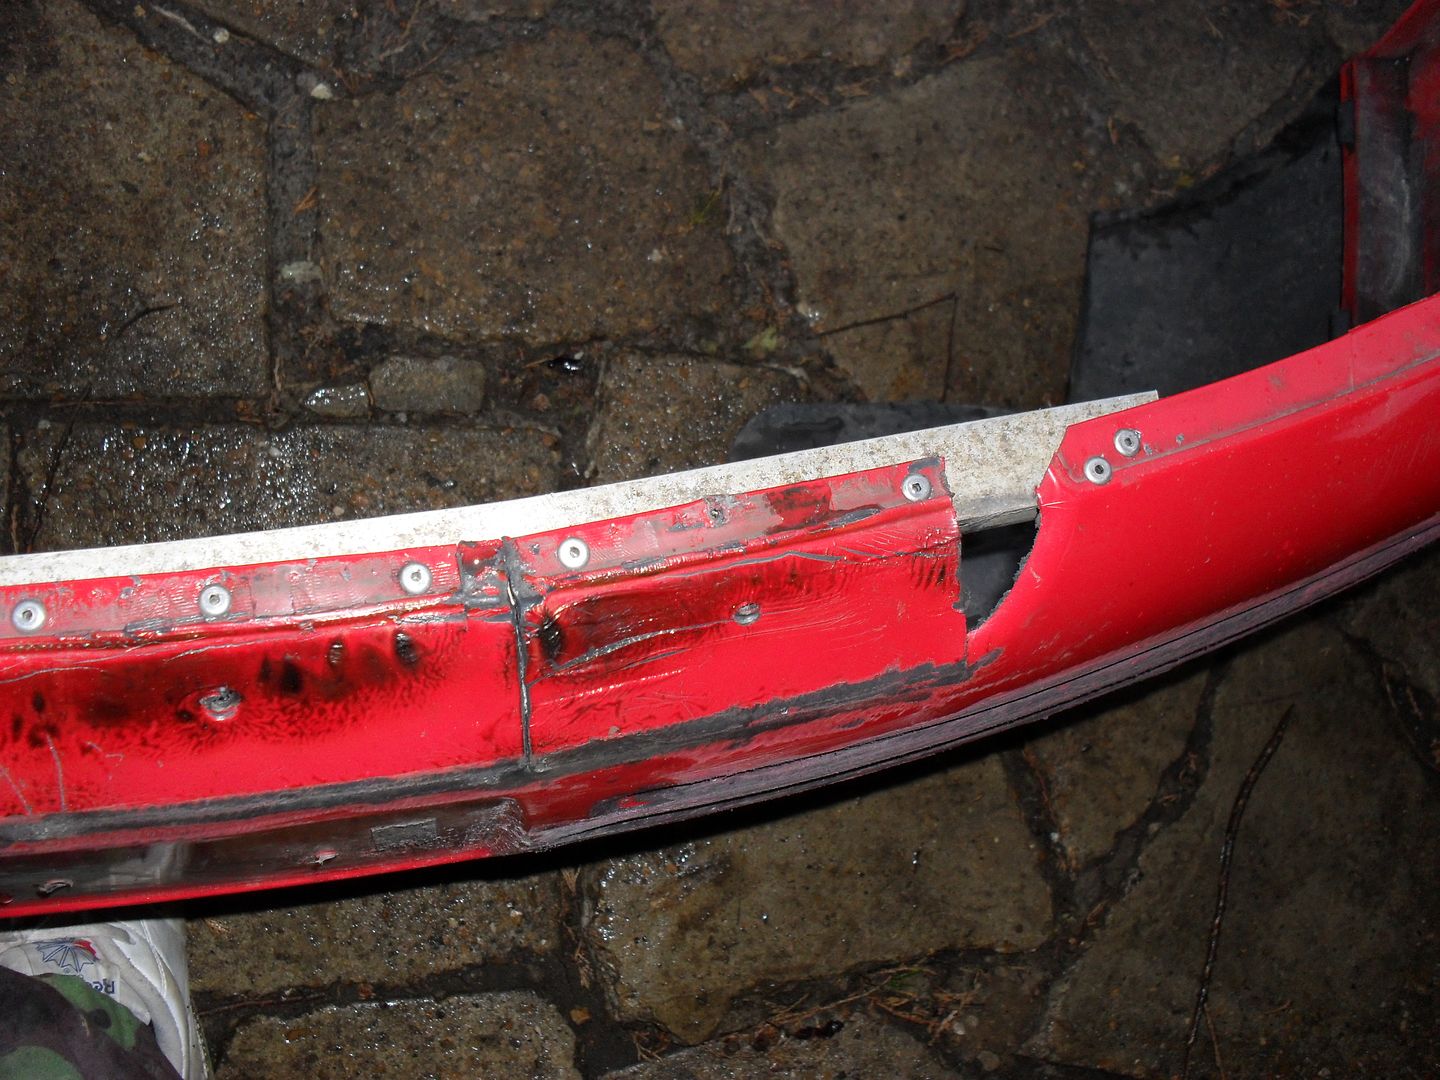
than trial fitted it to see if it needed tweeking, it seemed fine so roughed it up and flattened it out a bit then offered it up on the car again
it seemed close to where i want it so started plastic welding the cut outs in
thats it for now, might do a bit more tomorrow.
Olly
-
haha i got bora on the brain now bud, going to EU mania tomorrow then i'll get the Bora on the drive during the week and pull the engine out.
just need this gone to create some space and free up a bit of wong.
Olly
-
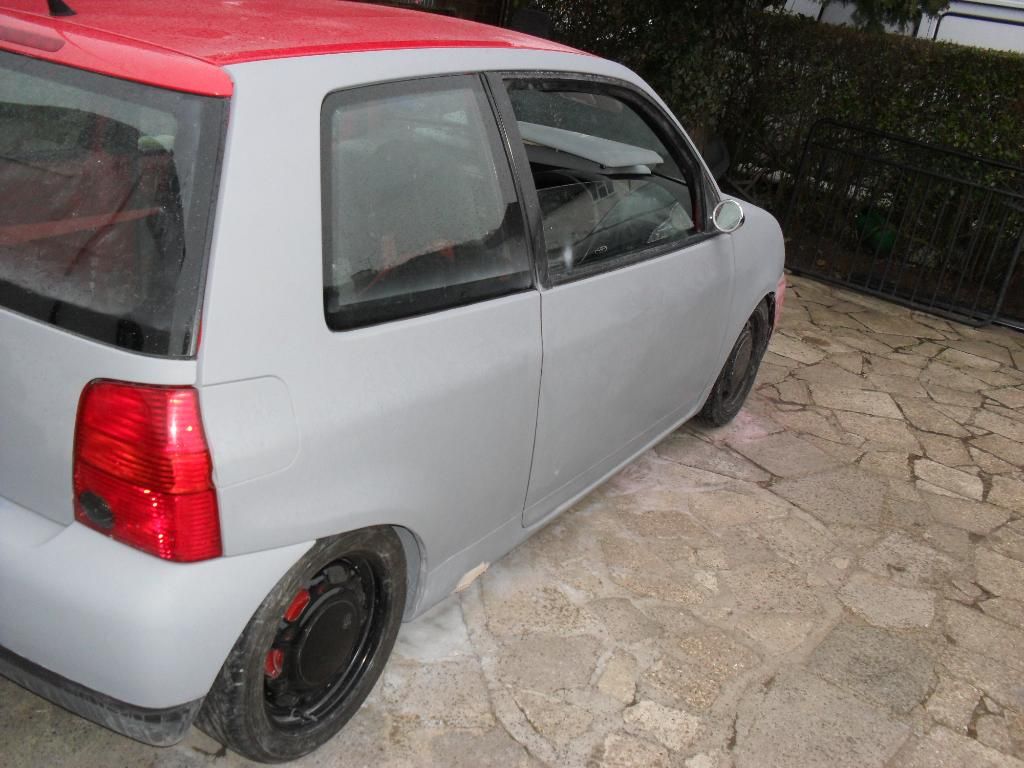
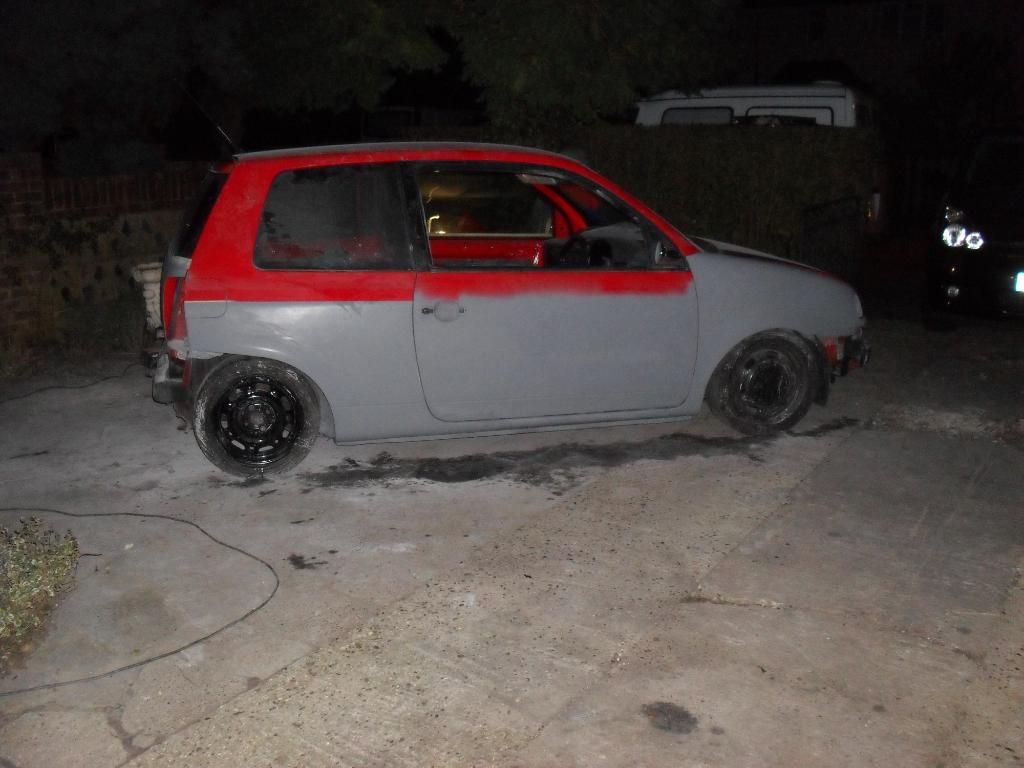
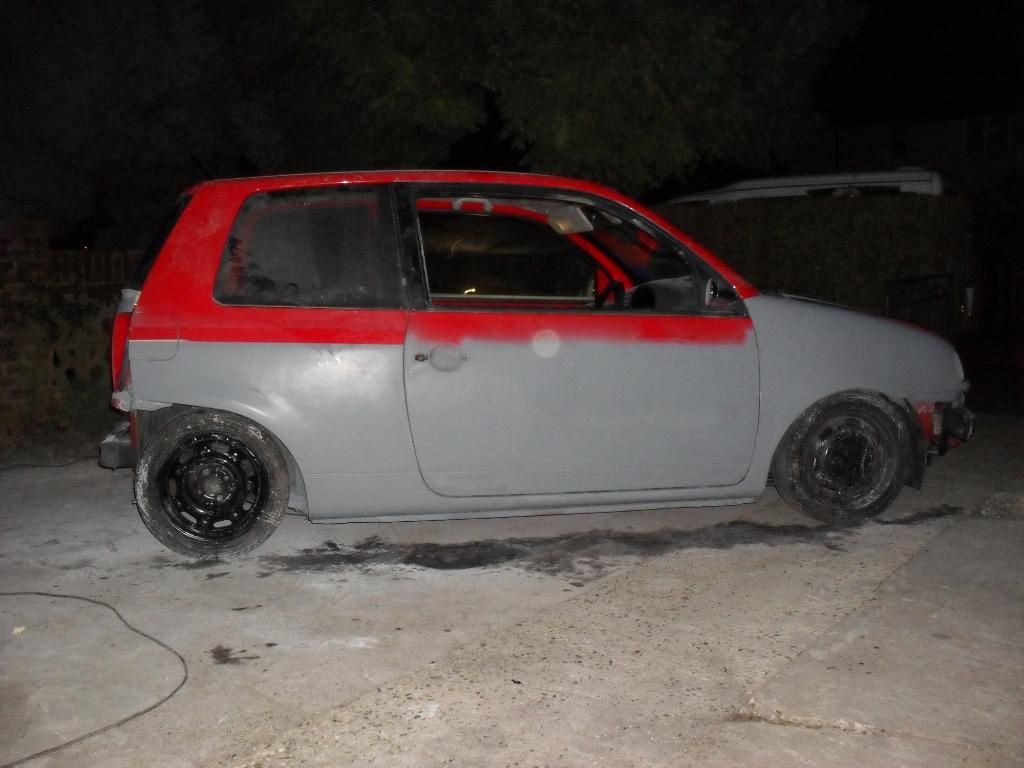
did a couple more little bits after work this week while it's still waiting for a buyer.
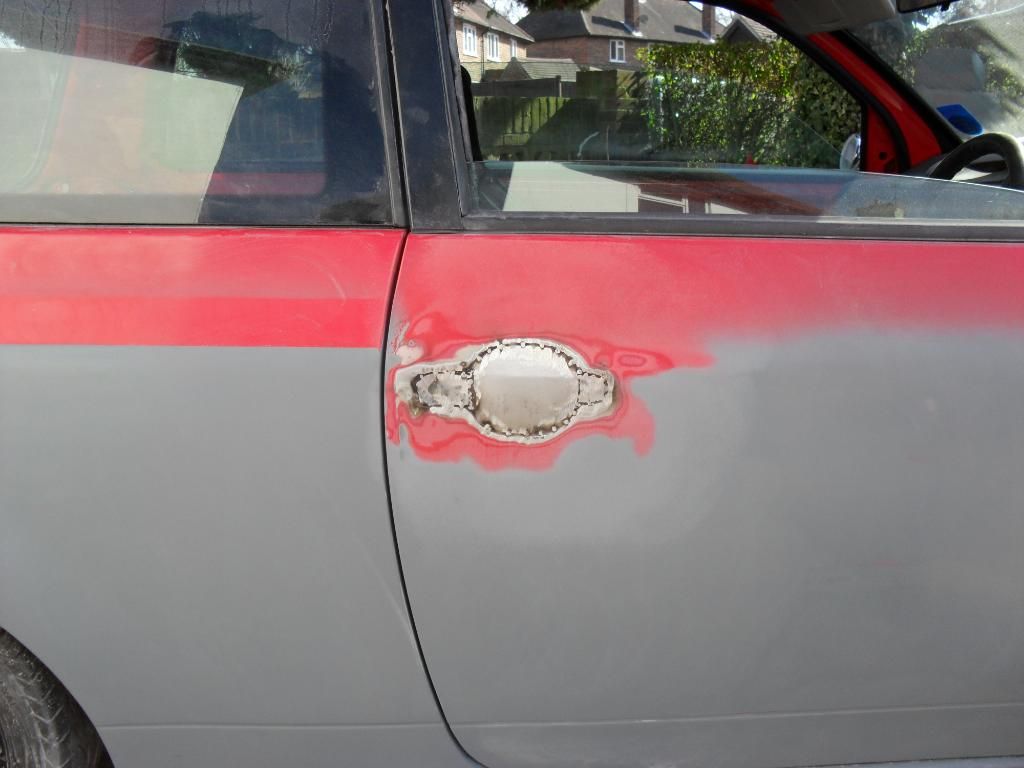
finished off the drivers handle, prepped the rear bumper and managed to get the drivers side pretty much all primed and ready
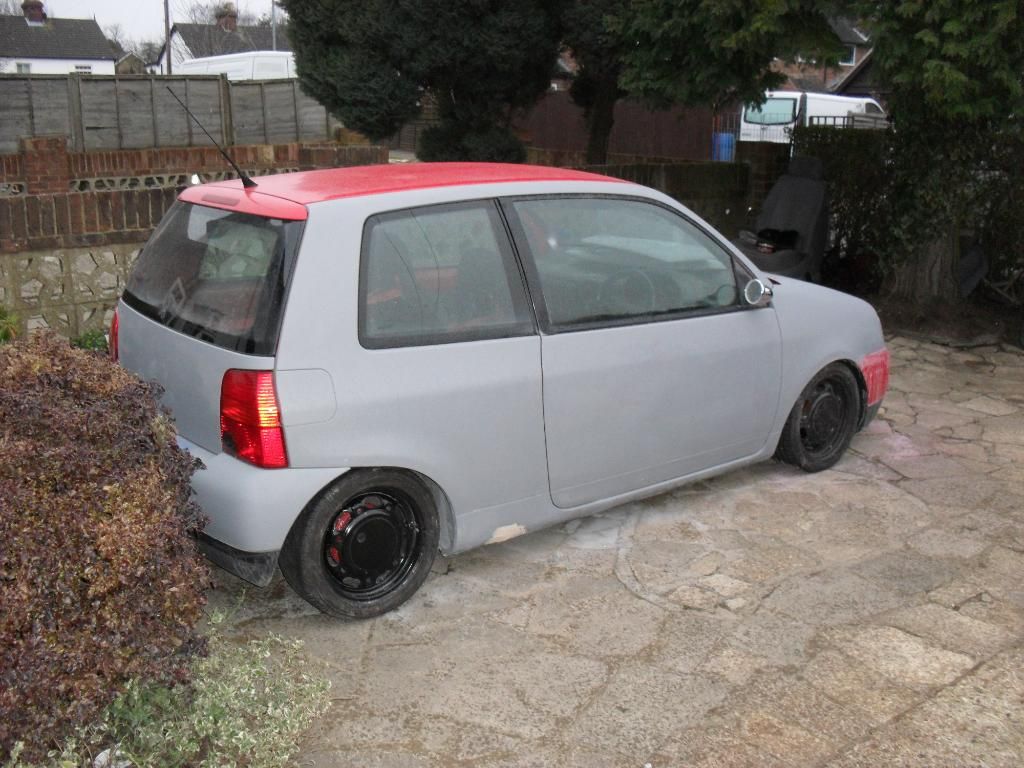
haha - i do like the grey though, i may even MOT in the next week or 2 so it's easier to sell.
Olly
-
yea same mount points, make sure you get the drivers side rubber mount too as they are different betwwen 8 + 16v.
Olly
-
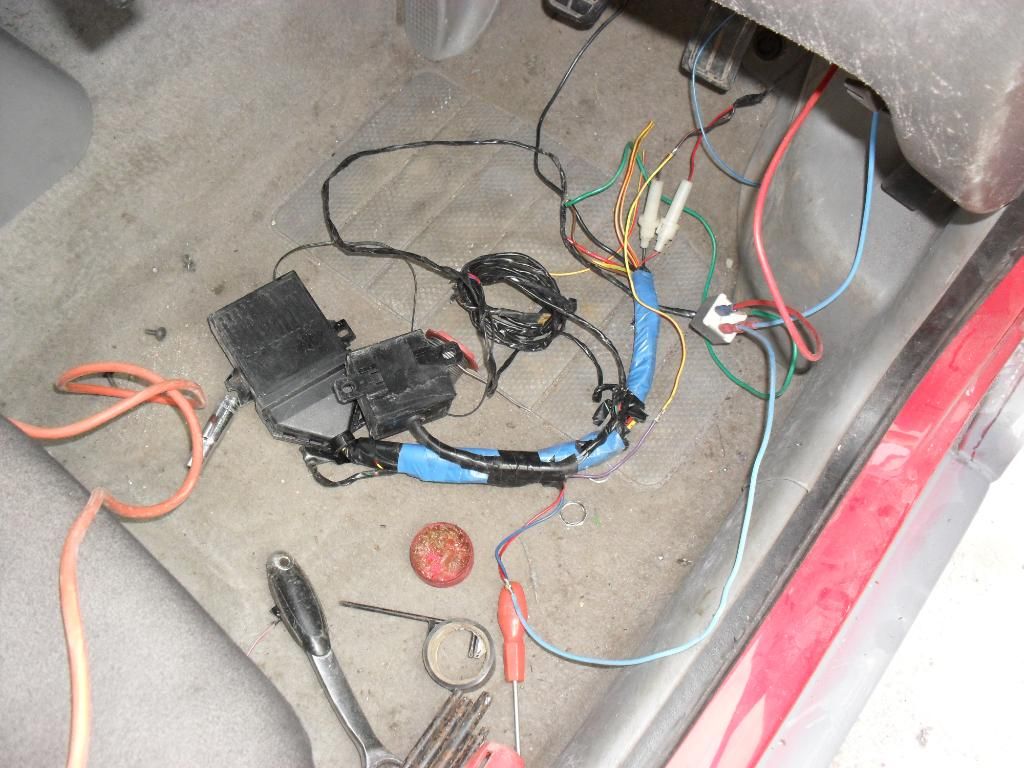
hey jr, basically the engine loom can be split in to two parts when you untape it, i took out the loom for the management for the 1.0, and from the polo loom i did the same then put the polo management part of the loom with the lupo/ arosa lighting / wipers etc loom.
at the fuse box end i chopped the wires for the 1 litre management and left a good length on the wires to the plugs, did the same on the polo loom so i had the wires going all the way up to the plugs for the fuse box then just soldered the polo wires onto the arosa plugs.
the only reason i had the dash out was the loom is a complete nightmare to remove without taking the dash out.
so to summarise the only part of the polo loom i used was the management loom that i split from the polo lighting loom.
Olly
-
i used the reader, immob box and chip from the polo.
thanks for taking time to read.
it's on pistonheads for sale now unfortunately though.
Olly
-
thanks for all the comments as ever chaps
unfortunately how things stand at the moment project budget box may have to find a new owner. plans at the mo are to finish the smoothing, prime it up, buy a new tyre and whack a fresh MOT on it then sell it.
it'll be a shame to see it go but i need to free up some cash for the Bora.
we'll see what happens over the next week or so - if anyone wants to tempt me with any real offers feel free - worst i can say is no!
Olly
-
no probs, but depending on how cheap they usually make £250 if it is a genuine ATV so may be worth flogging on.
-
happy bithday LGG!
-
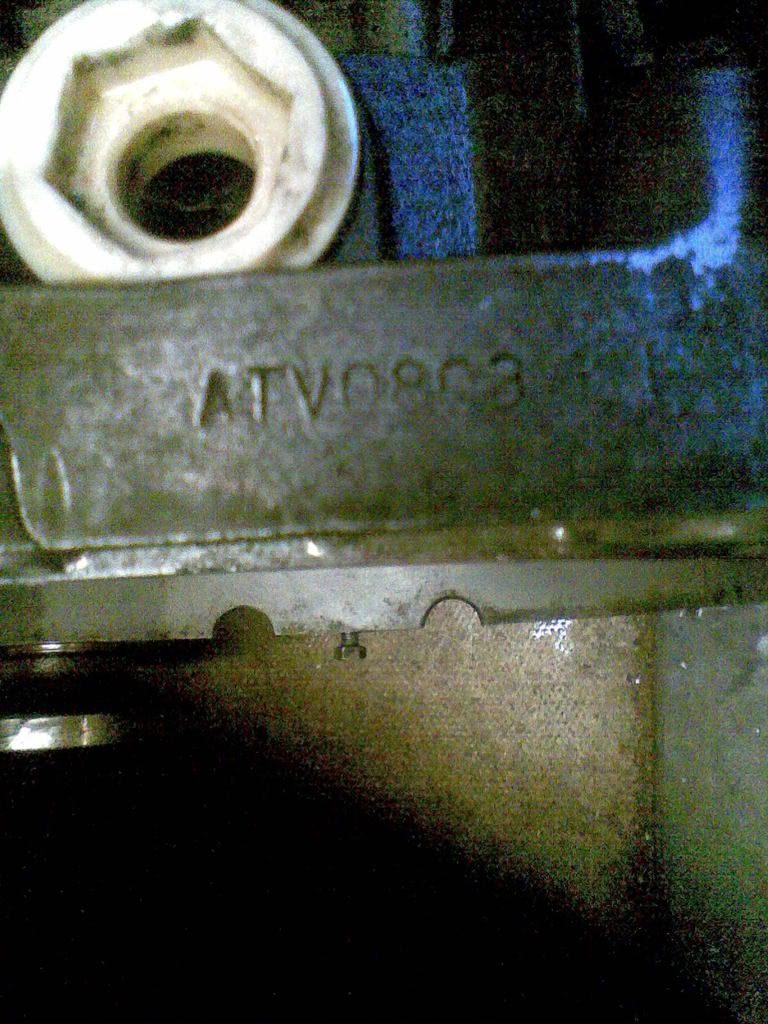
g40 box code is ATV by the way and is stamped on top of the bellhousing between the two top bellhousing bolts that hold it to the engine
-
not without alot of work,
1st thing is it doesn't have the lugs on the diff casing for your cable shift so you'd need to fit an early mk4 polo (6n) rod type gear linkage / lever -
2nd is the distance between the outer edge of each drive shaft flange is about 20- 30mm narrower on the G40 so you'd need to retro fit your driveshaft flange but then the driveshaft seal doesn't fit so you'd have to get a bit of ally turned up to fit in the box and house the appropriate oil seal.
Olly
-
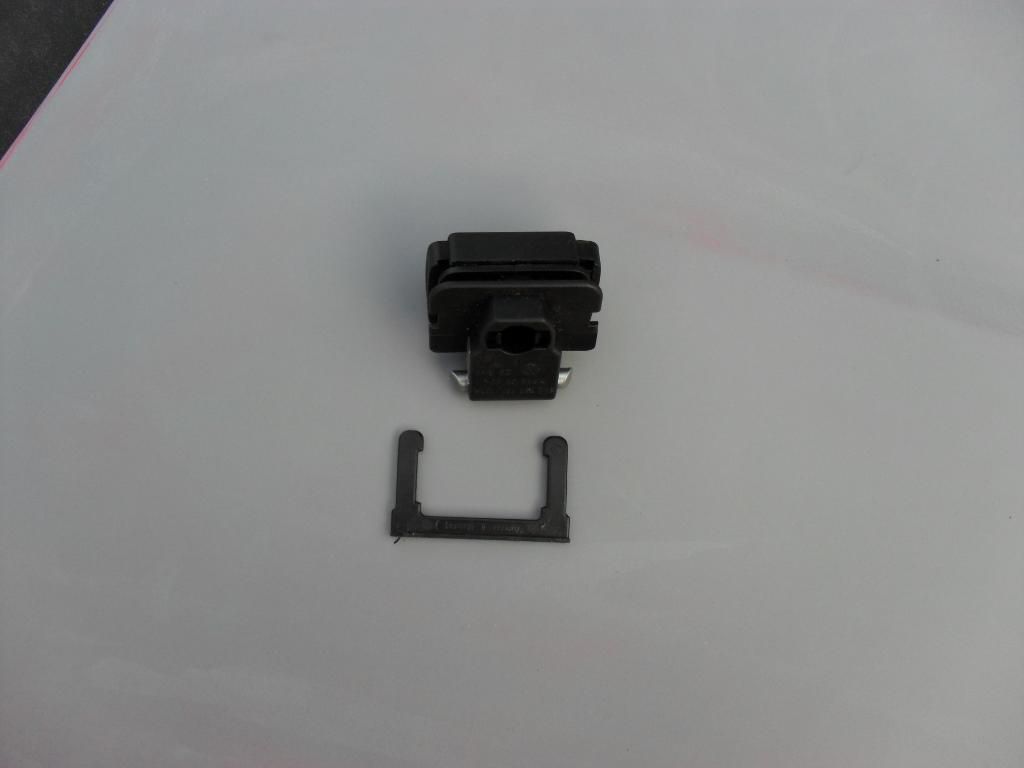
not been doing alot lately really, got my glove box catch
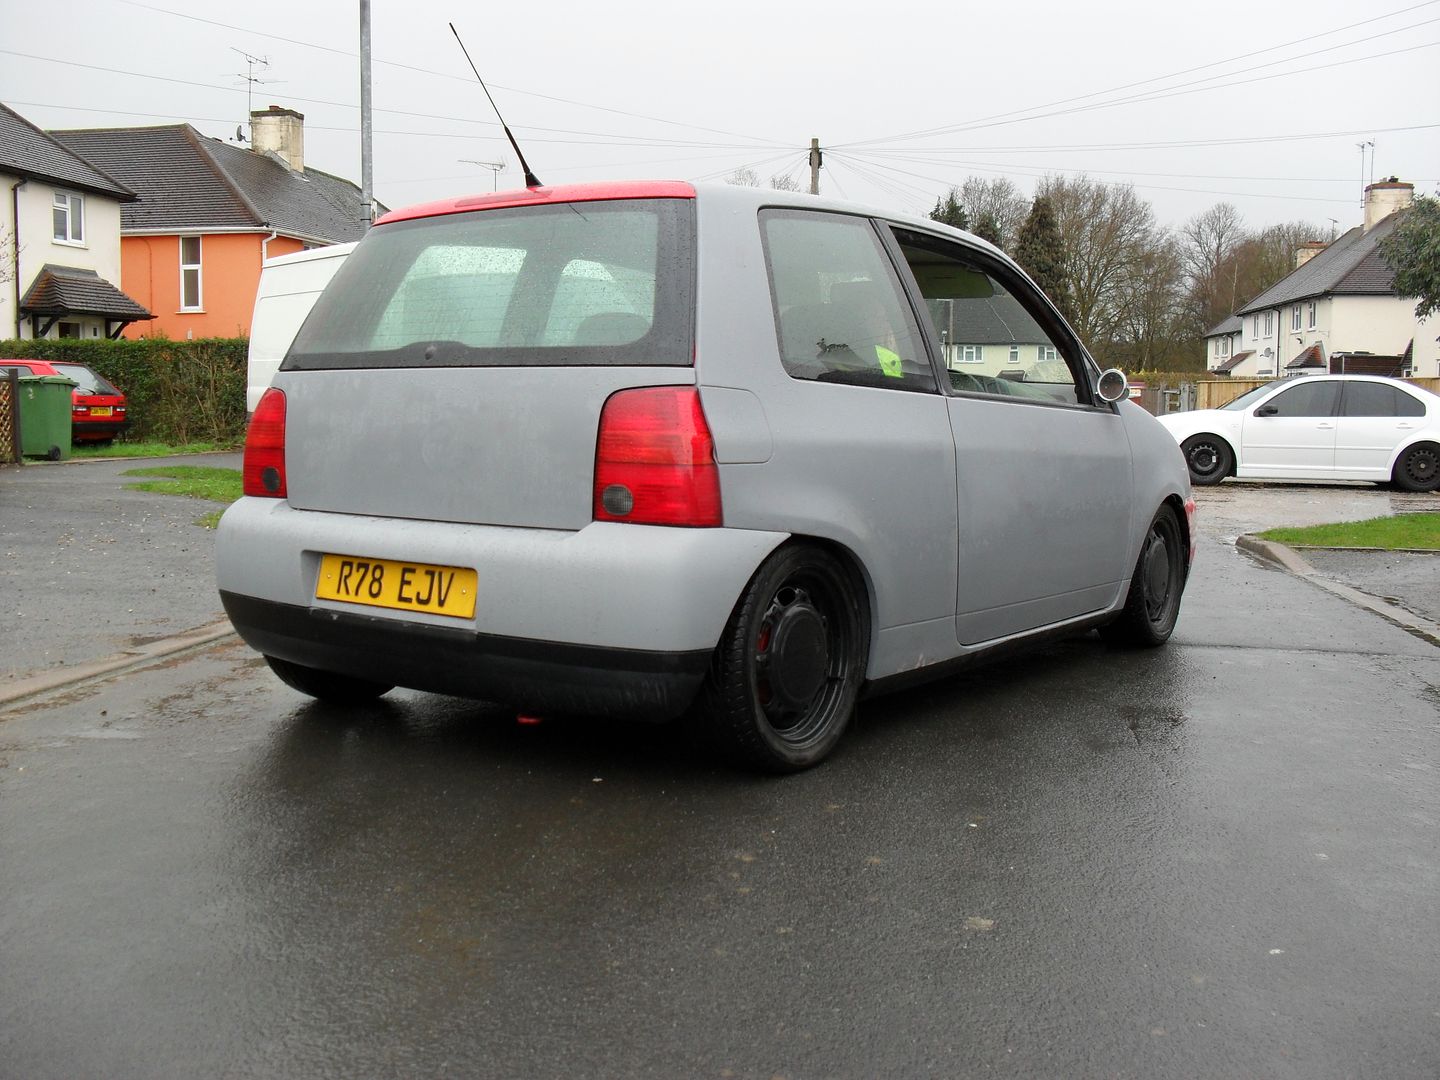
finished smoothing and primed the bonnet
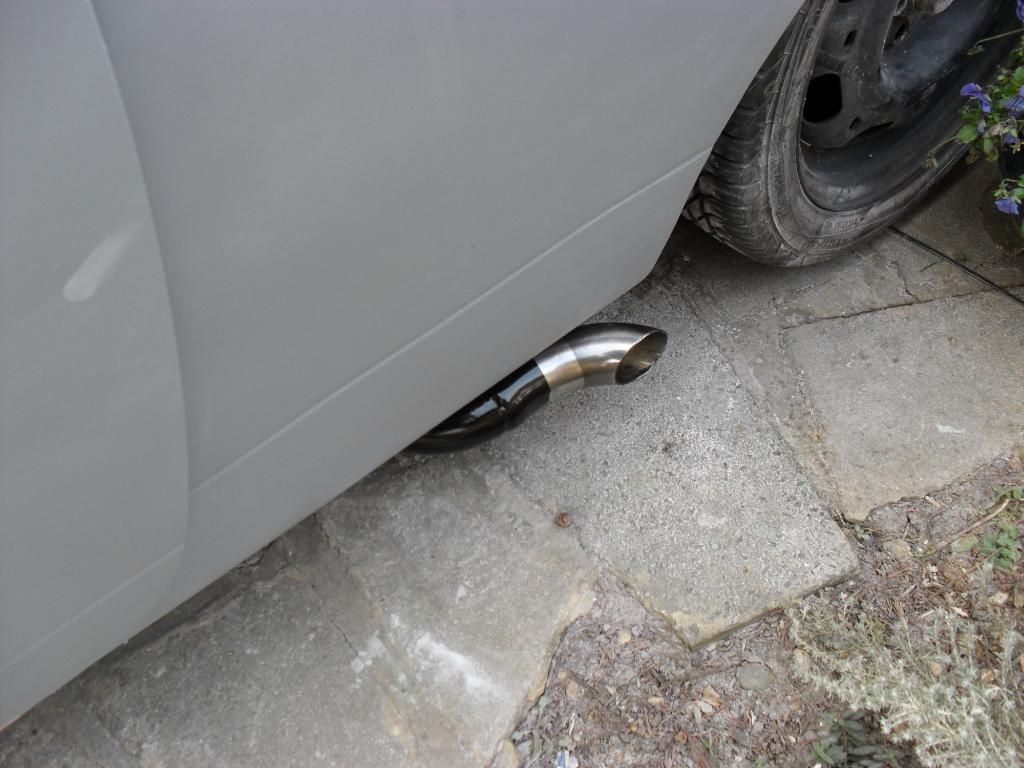
painted my side exit and polished the tip (need to buff off the overspray)
wired in an alarm to a relay that i hooked up to the door solonoid so when you press the alarm the door pops open
and welded out the drivers handle ready for smoothing
also i had a parcel waiting for me when i got home
it was my smooth lupo rear bumper
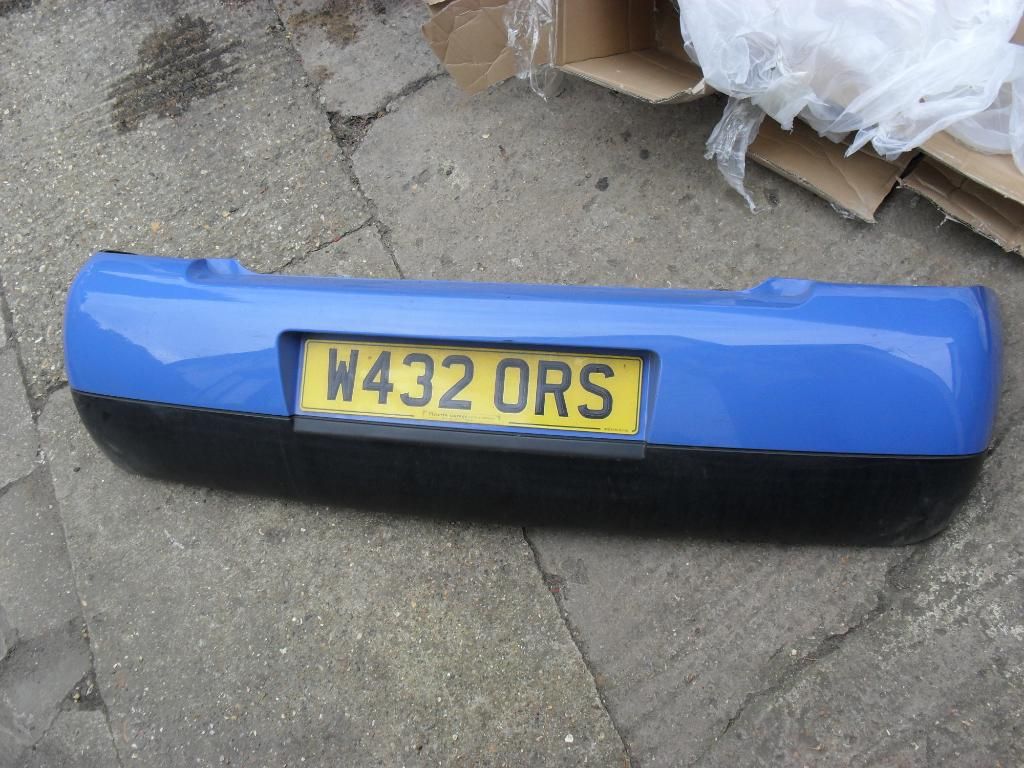
so i had to trial fit it with a rear light to get the feel for it
Olly
-
oh and thanks Jowey, i'll be sticking with the passat steels though and to be honest i'll be glad when the bodywork is done, it's all easy when you just think i know i'll weld the handle out but the smoothing down and getting it flat and level is a time consuming pain in the neck + arm.

-
i spent some more cash yesterday but the budget isn't looking too bad as far as the 1k mark goes -
the £15 on the door popper
£4 for a glove box catch
£40 for a smooth rear bumper!
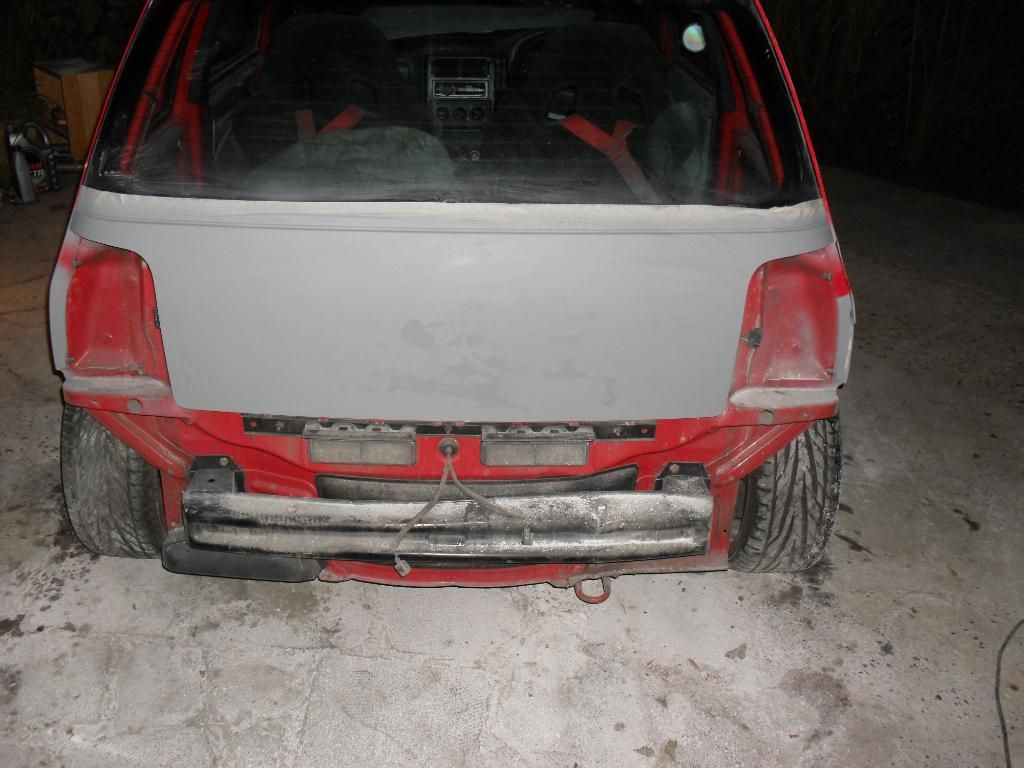
i got a bit more done today, stripped the front indicators out and pulled the front bumper off. then i sanded down all the filler that i layed down yesterday, also in the daylight i noticed there was a couple of rough patches and wobbly bits so spent most of the day filling and correcting any bad bits also other dings from the previous owners.
well i got most of it in primer and flatted down with some 1200, just need to do the passenger sill and weld out the drivers handle then on to the bonnet.
i wiped it down and got some quick pics (still a bit wet) before i packed away. shouldn't be too long now before i can paint it.
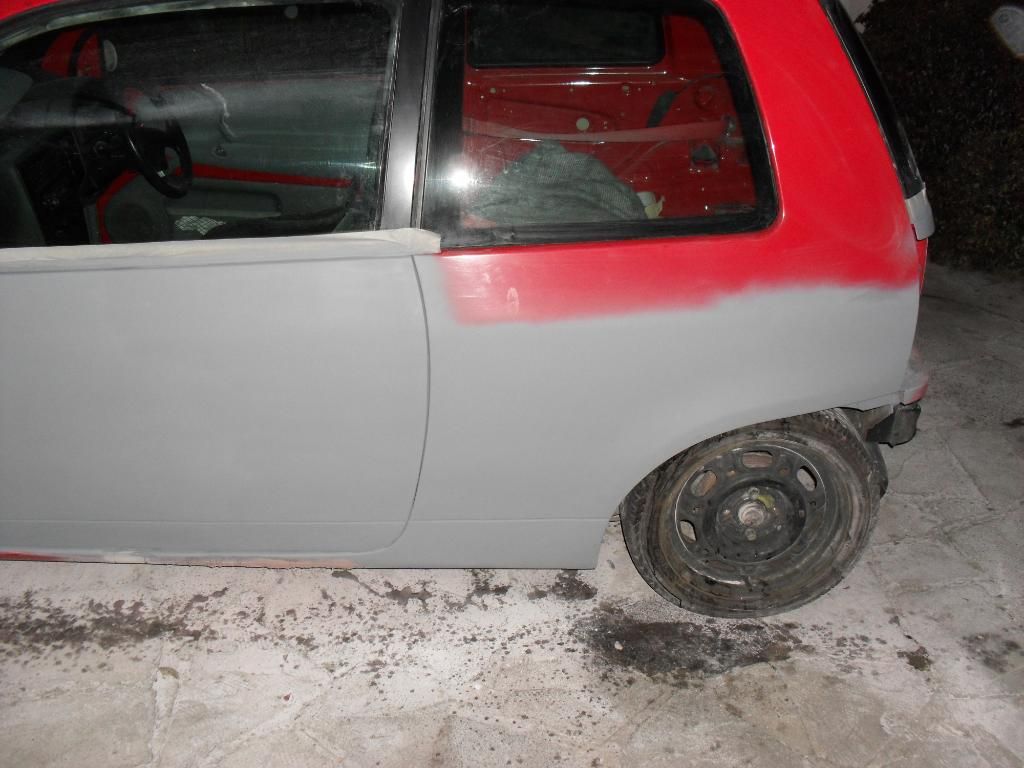
drivers side mostly flatted
bootlid, not yet flatted - going to give it another coat of primer
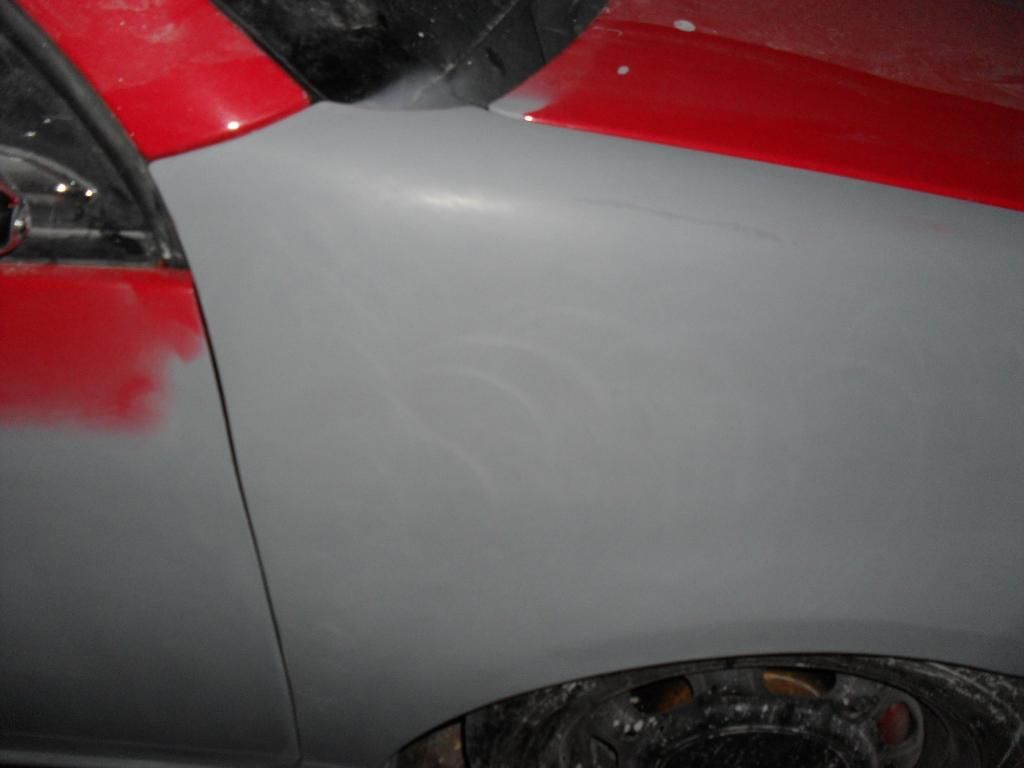
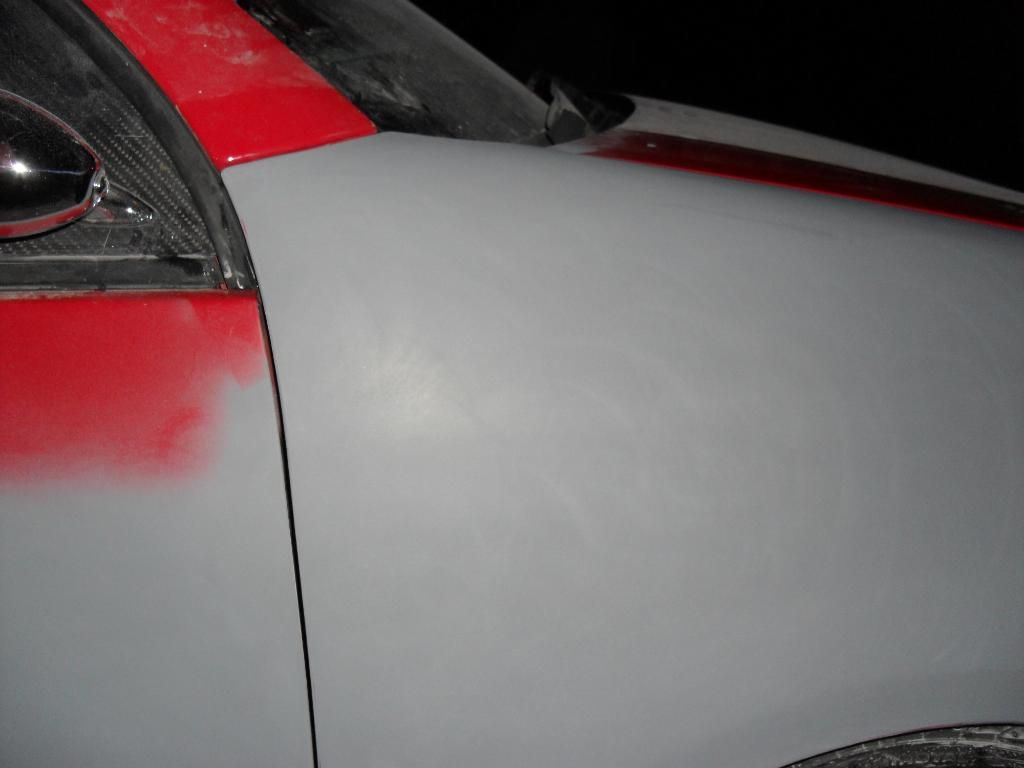
passenger wing and half the door flattened

rear quarter still needs to be flattened
couple of shots off the drivers wing with the repeater deleted
Olly
-
thanks Mike and LGG,
trying to remember the exact ruling on repeaters, iirc you need to be able to see an indication from the side of the car - it must be visable if stood 4 foot from parallel to the rear corner if that makes sense.
so if they can see a flash from the front indicator when stood in that position then all is good. if not hope they don't notice or as alot of people do double sided sticky some repeaters to the wing for the MOT.
Olly
-
hello from berkshire too.
Olly
project Arosa / budget dog
in Member's Cars
Posted
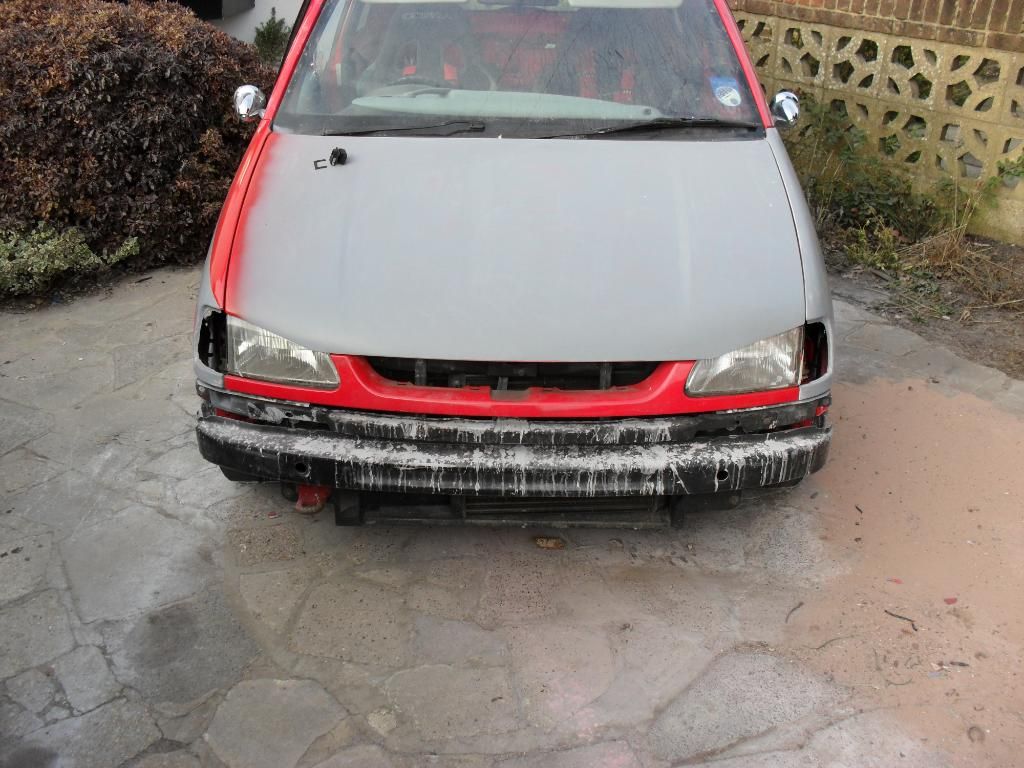
my mate popped over today in the arosa to quickly finish smoothing the front bumper and give it a coat of primer as he wants to take it to dubs in the park tomorrow.
so i filled in the few low parts and pits and threw some primer on it - obvously far from finished but looks so much better in one colour.