

tchouki85
-
Posts
102 -
Joined
-
Last visited
-
Days Won
17
Content Type
Profiles
Forums
Calendar
Posts posted by tchouki85
-
-
Hi FraH2o
I was thinking of one thing, do you think an Audi TT 8N dashboard would fit in our Lupo and by the way put the counter of a TT in place of our counter since our counter does not have IMMO
what do you think -
it's great i love it😍🥰
-
 1
1
-
-
-
hello,
it's great your lower protection, do you have a link where you bought it that I take one please
-
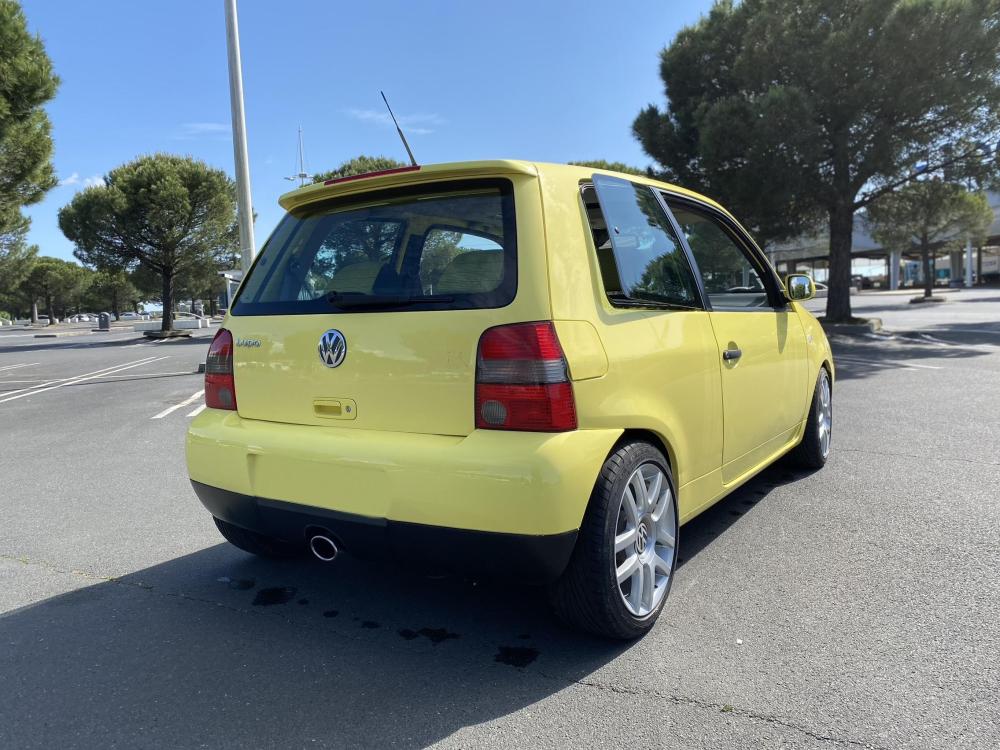
hi guys,
just to feed the garage with a little picture of the chick's ass,

i'm a fan
-
2
-
-
hello, it's always a treat to read your modifications😍😍, congratulations for the tuv, I find your original idea for the grille and I think I'm going to put magnets on each side, because me too the alignment does not suit me not at present😉
-
1
-
-
awesome congratulations on this new mount, do you have any plans for this little GTI
-
indeed a bit far, just to bring a part from Germany to France is hard so I dare not imagine Austria
-
hello detailing operations are always impressive, could I know with what you treat the joints of your pop-outs because mine leaves black traces
-
hello everyone, here I made the OEM assembly you can follow the assembly on my post thank you

-
hello having made this modification on my golf4 you can find the harness on Kufatec and for the assembly I made a tutorial on the forum golf4.fr
-
hello, your little GTI is beautiful, indeed a pity for the personal spoiler, I had found mine in Germany too, except that I had to restore it completely, you can go and see in my post
-
1
-
-
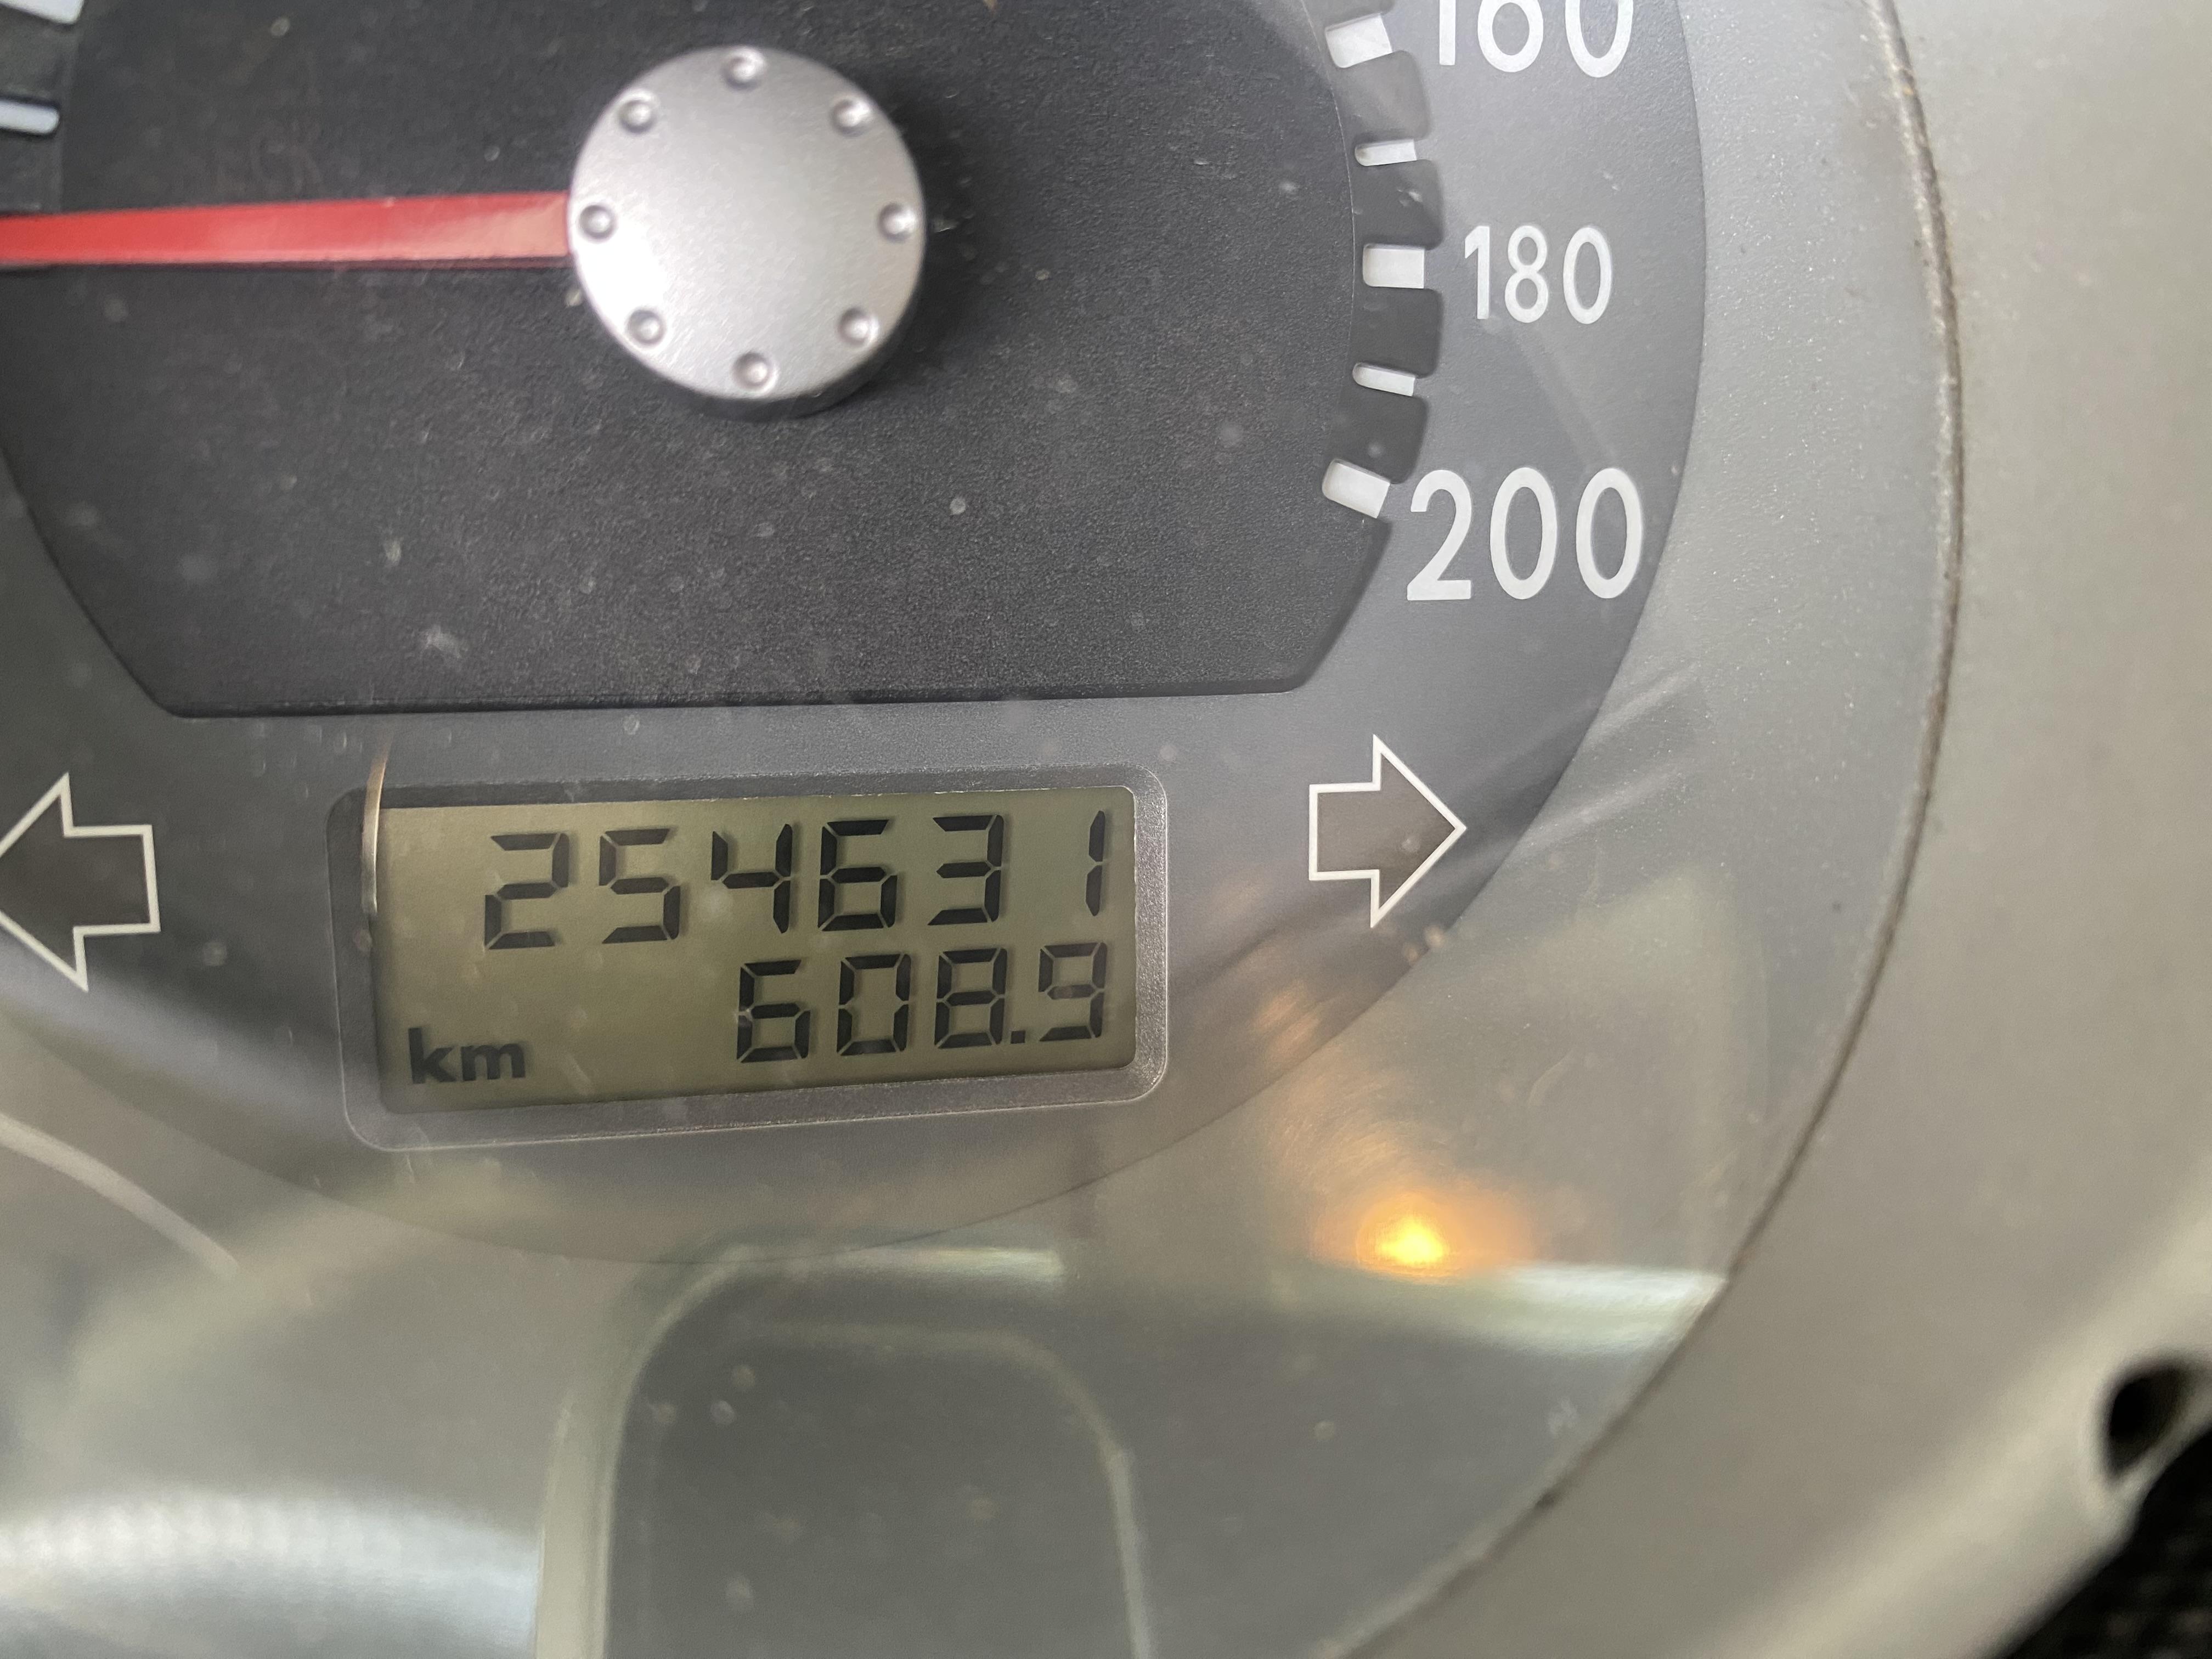
Hello everyone
today I went to fill up with diesel and surprise I broke my consumption record I did 4.76L/100km
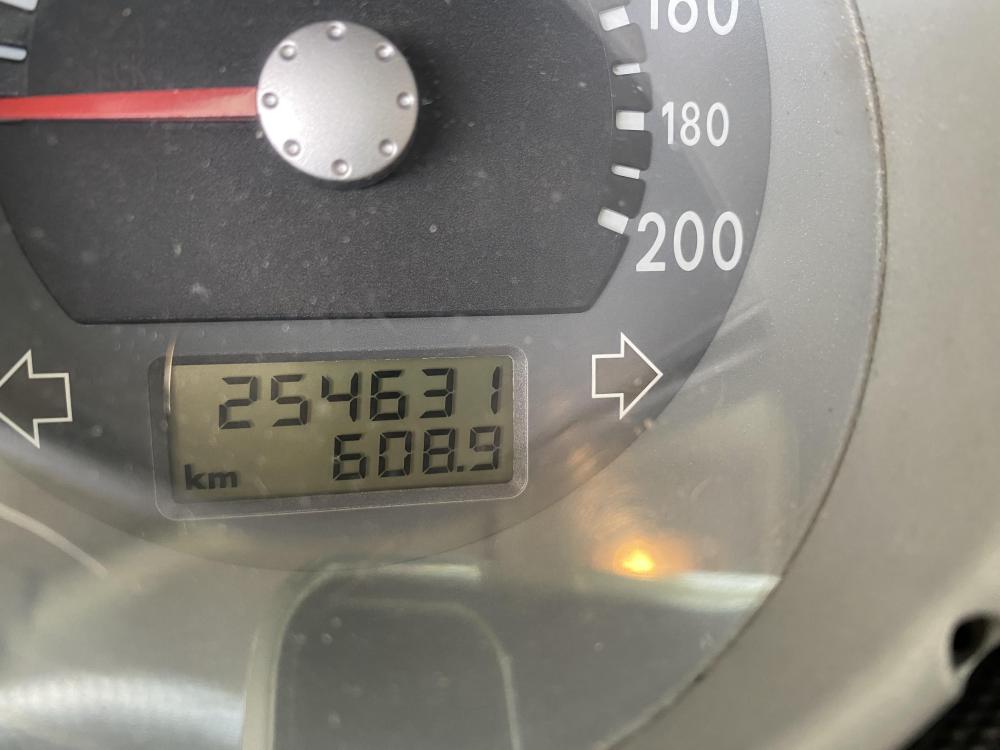
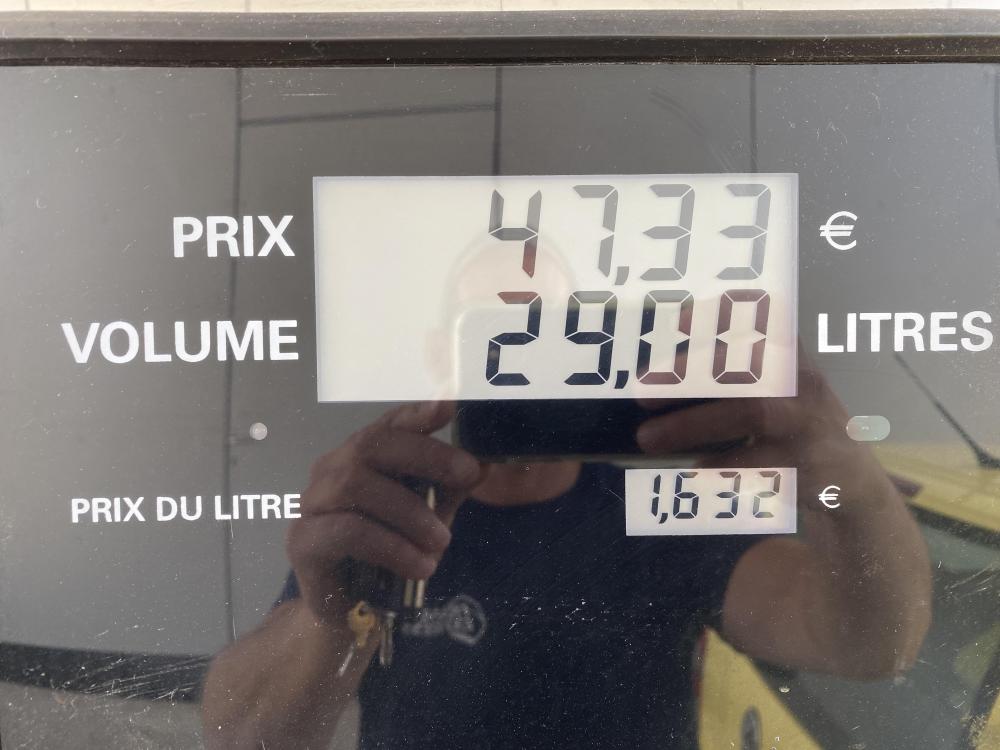
I'm so happy especially since I'm reprogrammed at 120hp so it's great
-
hello and welcome here
it's too much a yellow Lupo and too great, I'm going to your garage to follow the progress of the work
see you
-
1
-
-
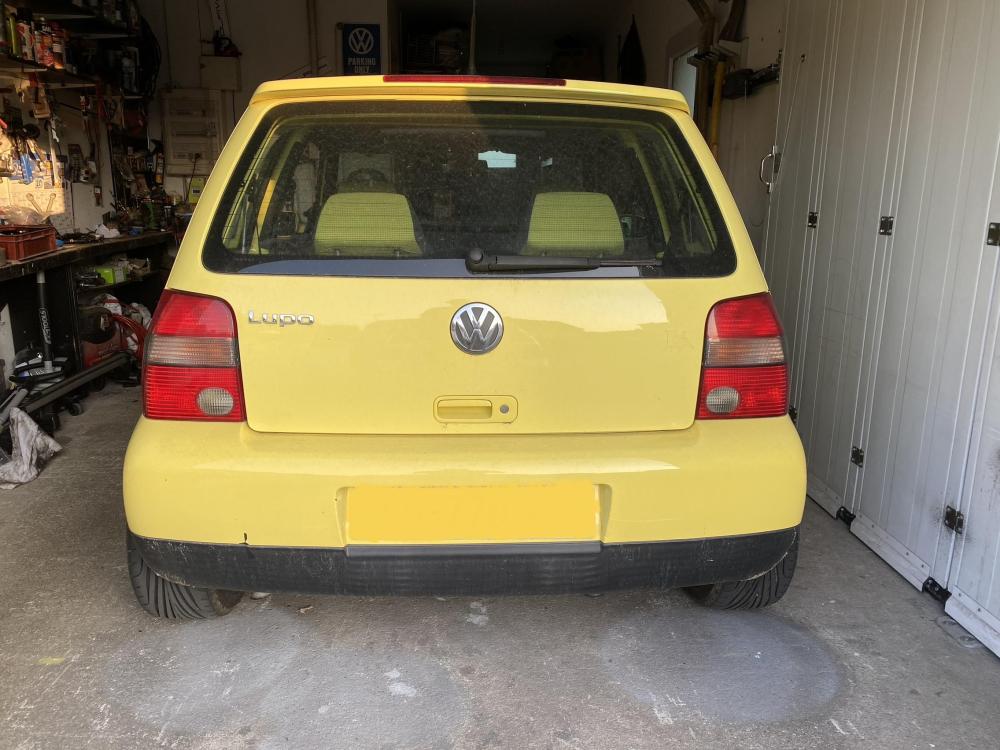
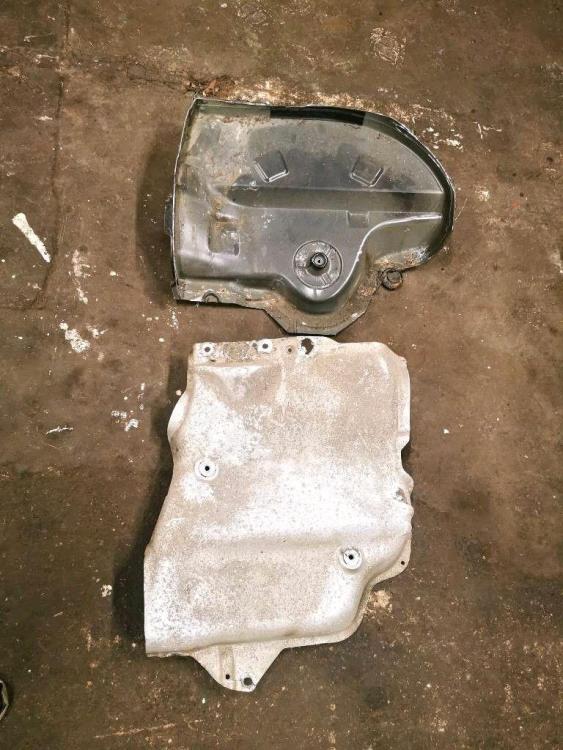
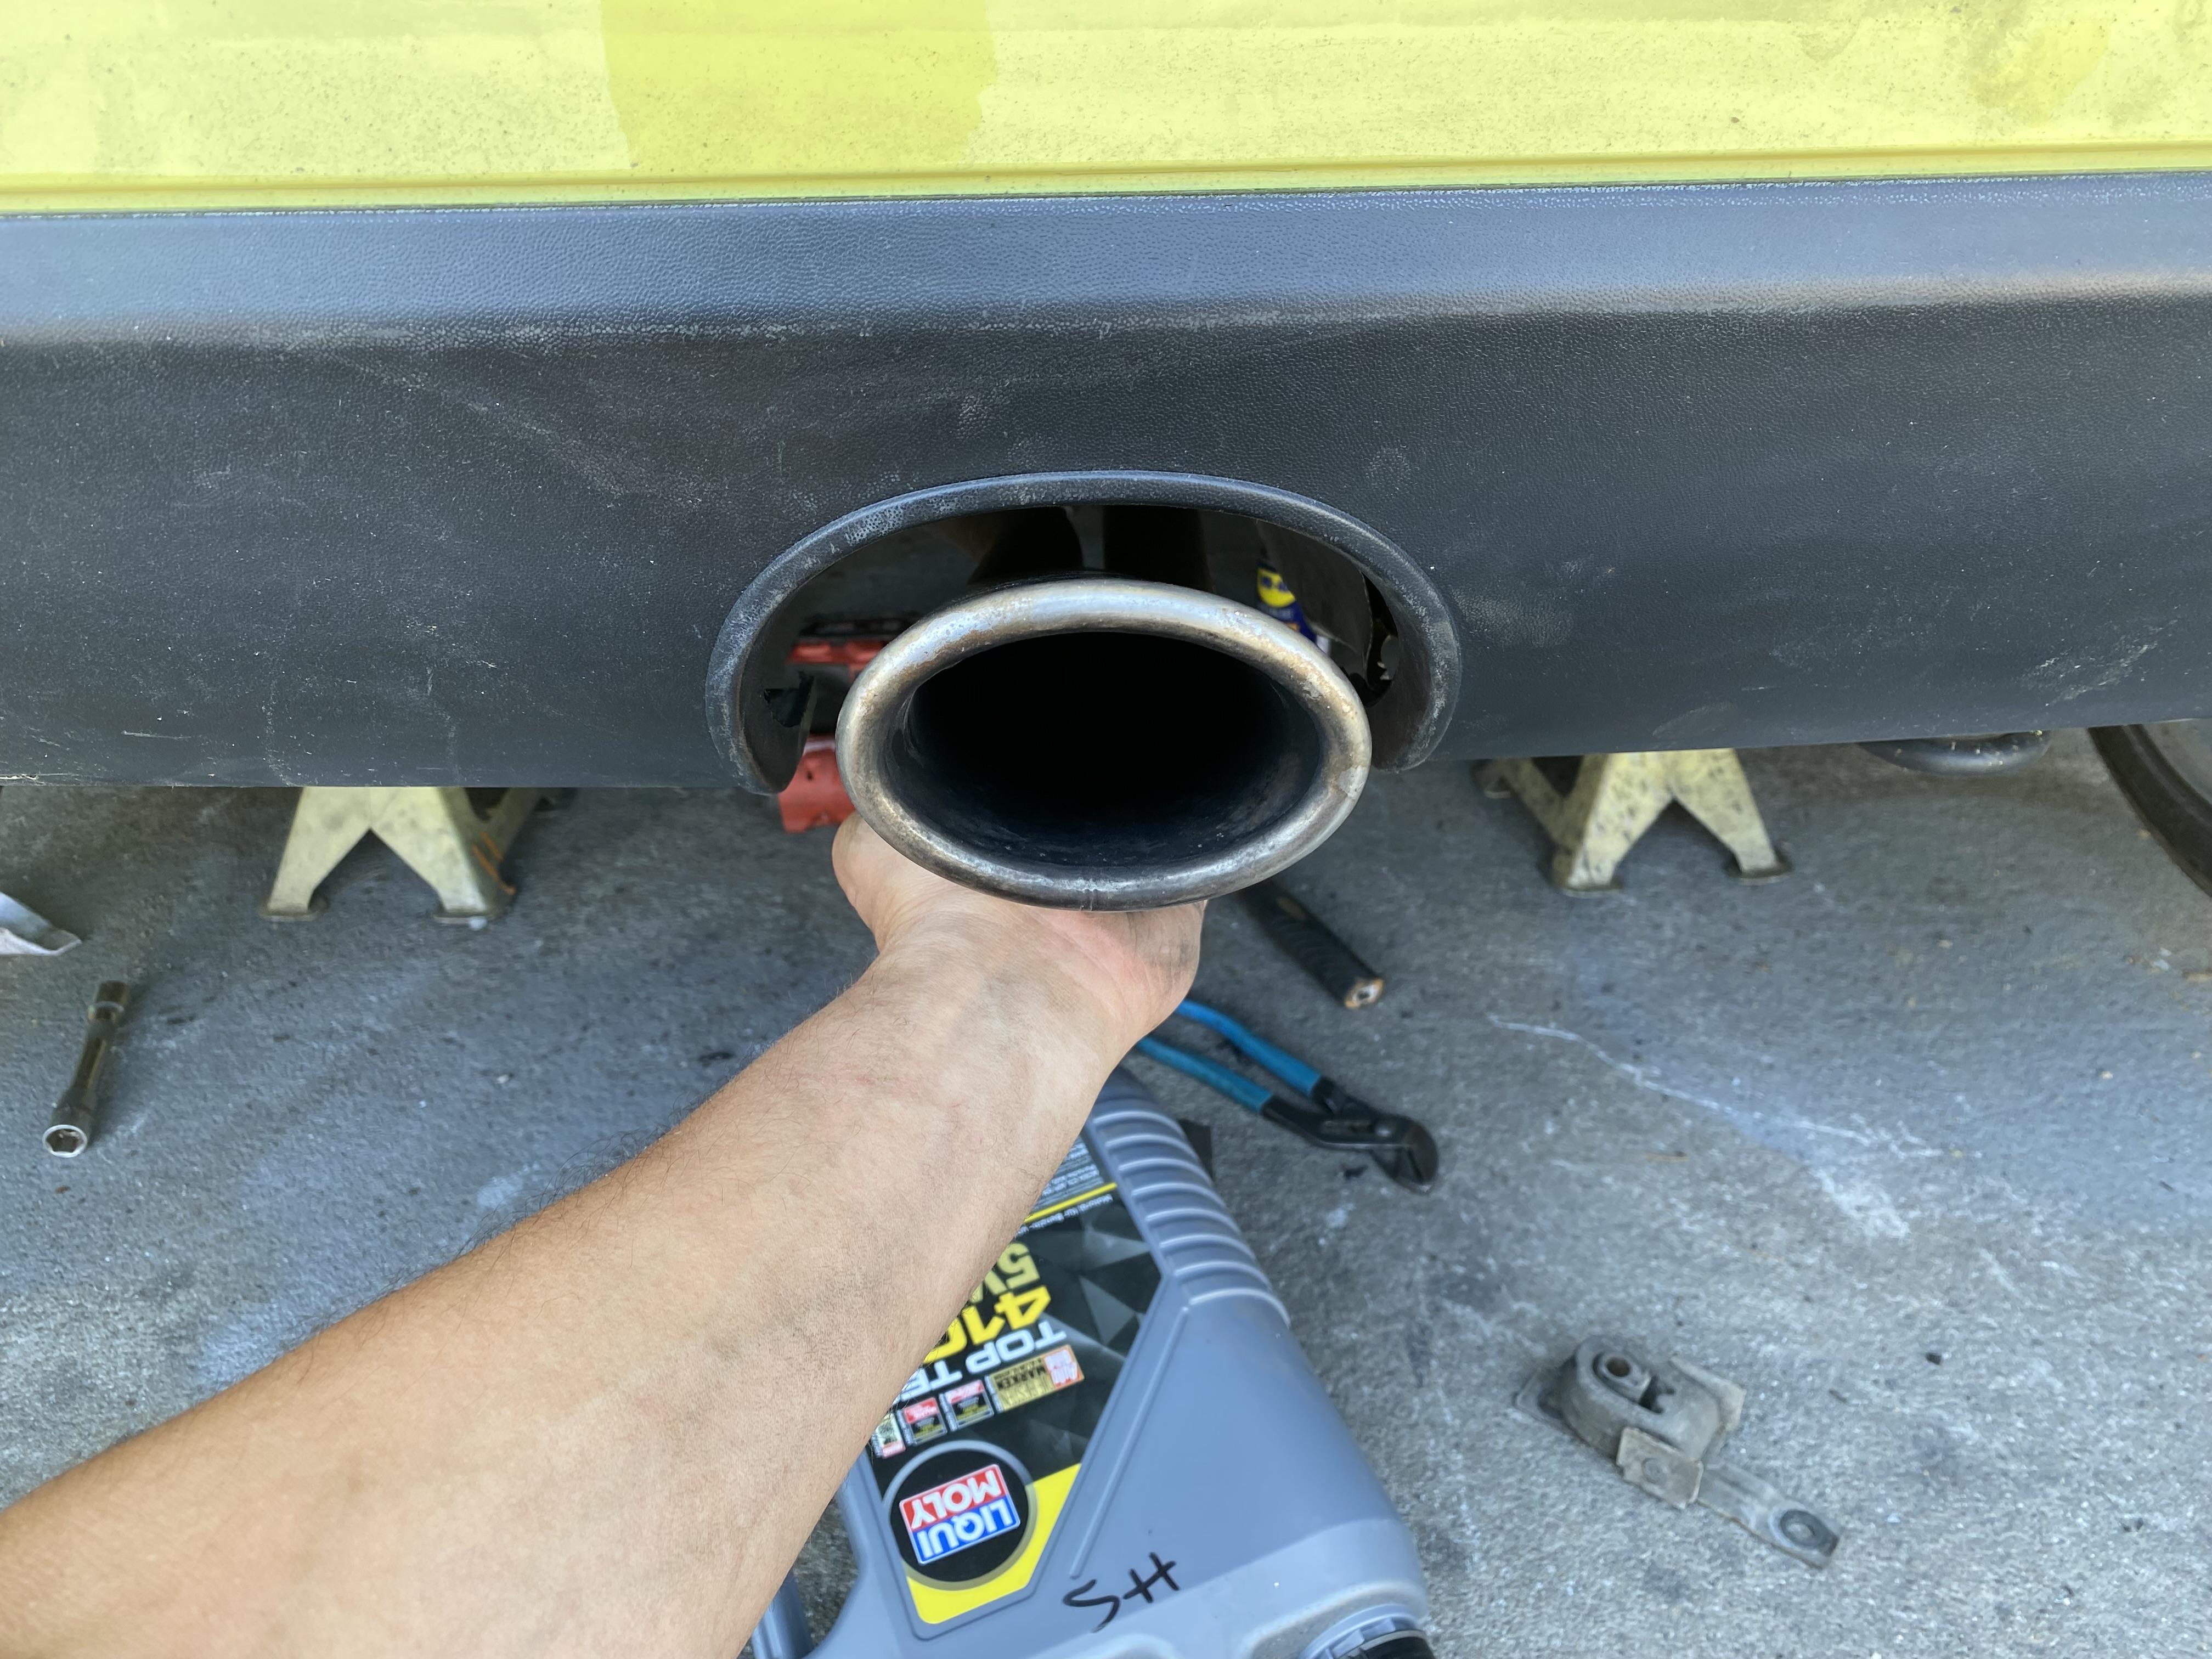
Hello everybody
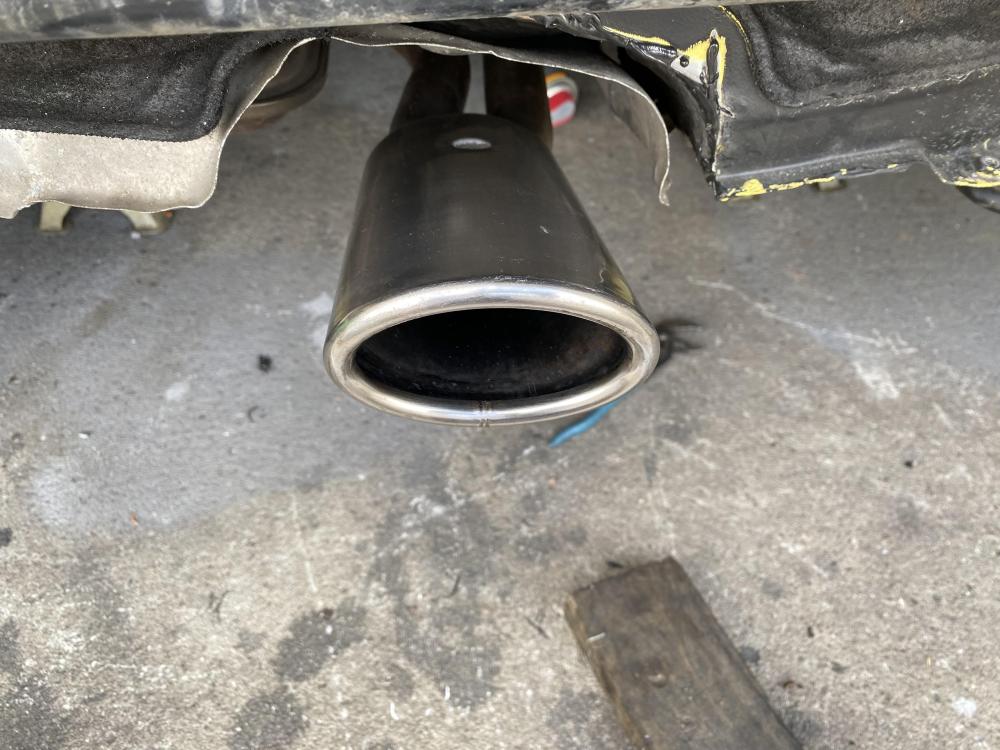
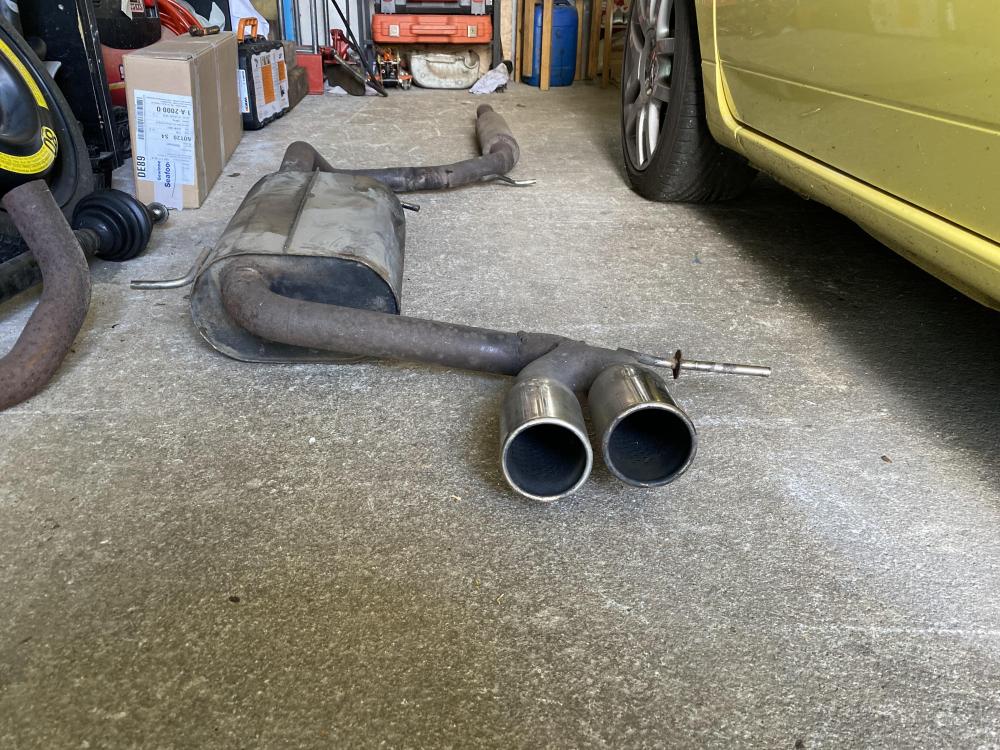
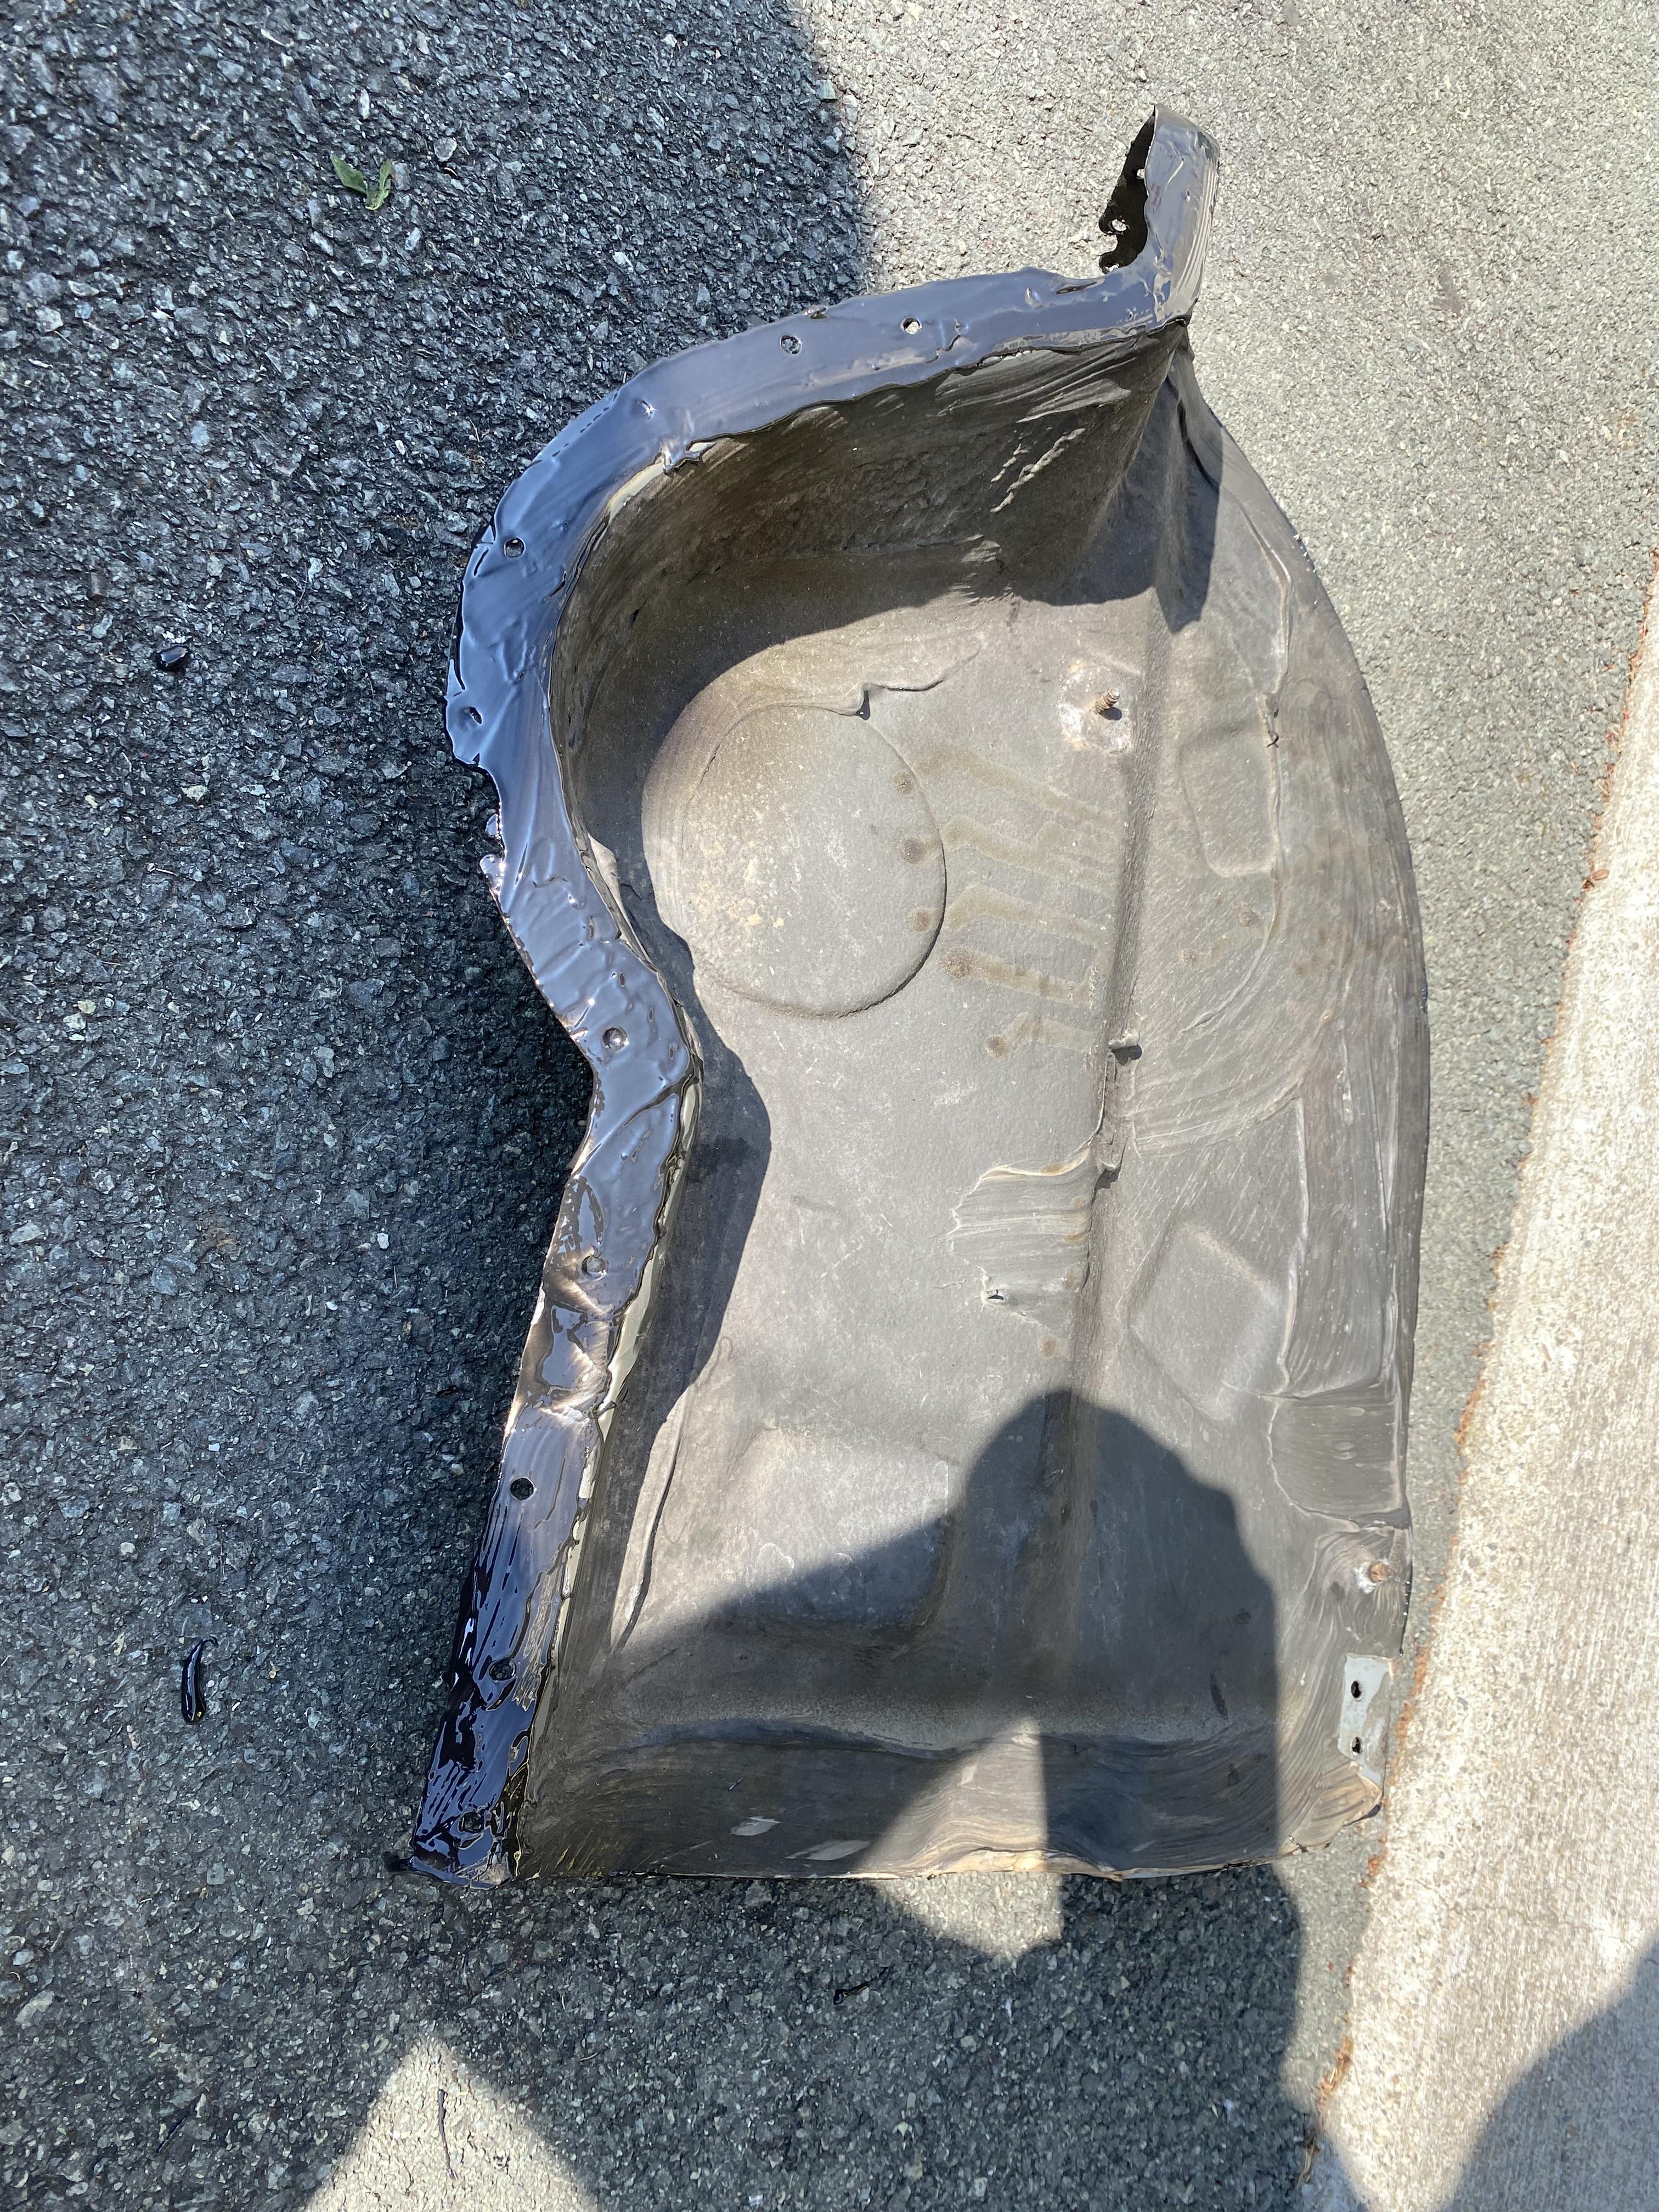
small program change, during the assembly of the stainless steel exhaust line of the Lupo gti, I realized that the assembly did not mount
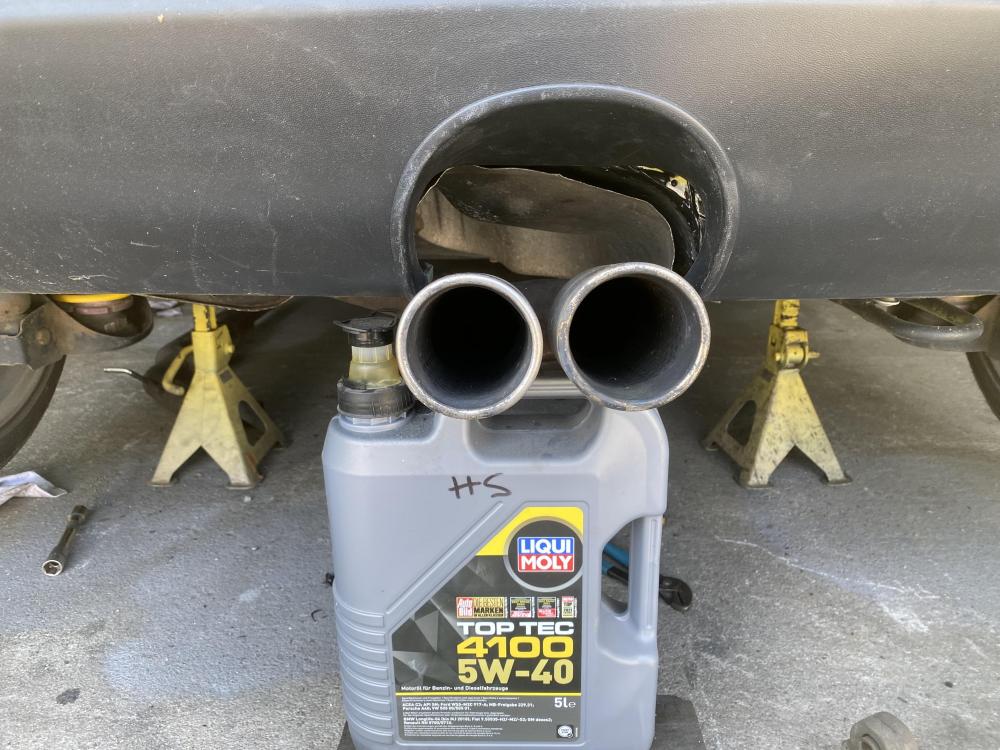
the proof in image, in my opinion the bumper of the 100cv is smaller than that of the gti which explains that the stainless steel line does not pass

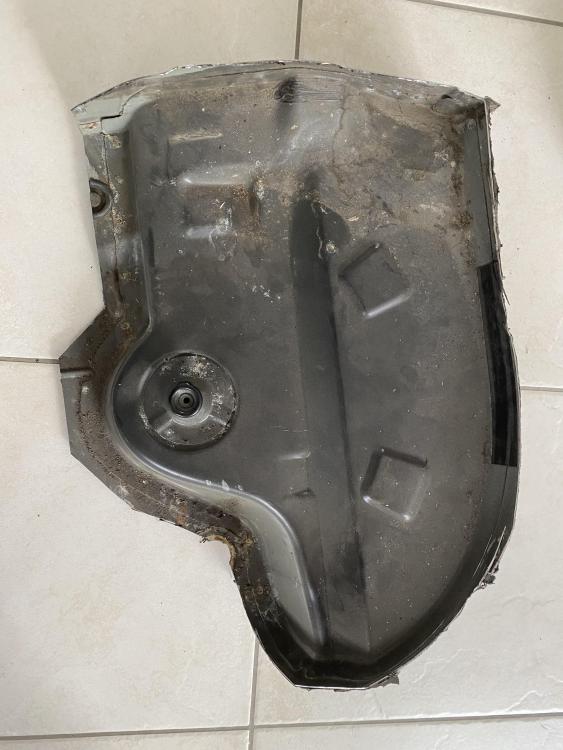
suddenly by checking in my stock of parts, I got my hands on a slightly worn original 100hp
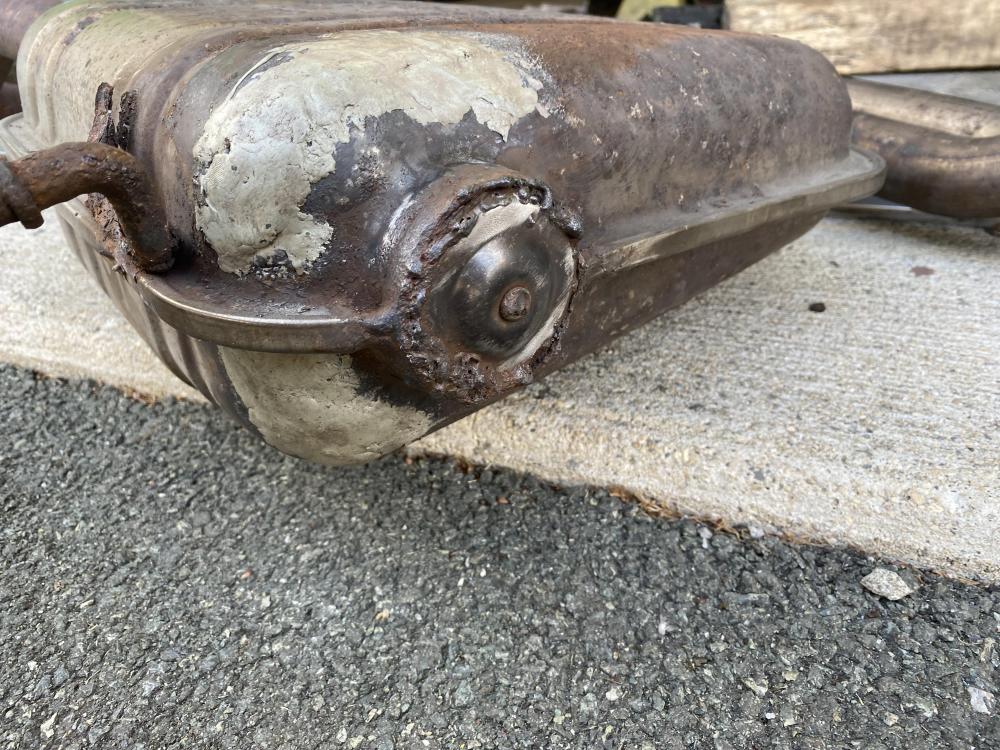
so I restarted it by plugging the holes with spot welds, then to reinforce it on the thin sheets, I put steel cold welding
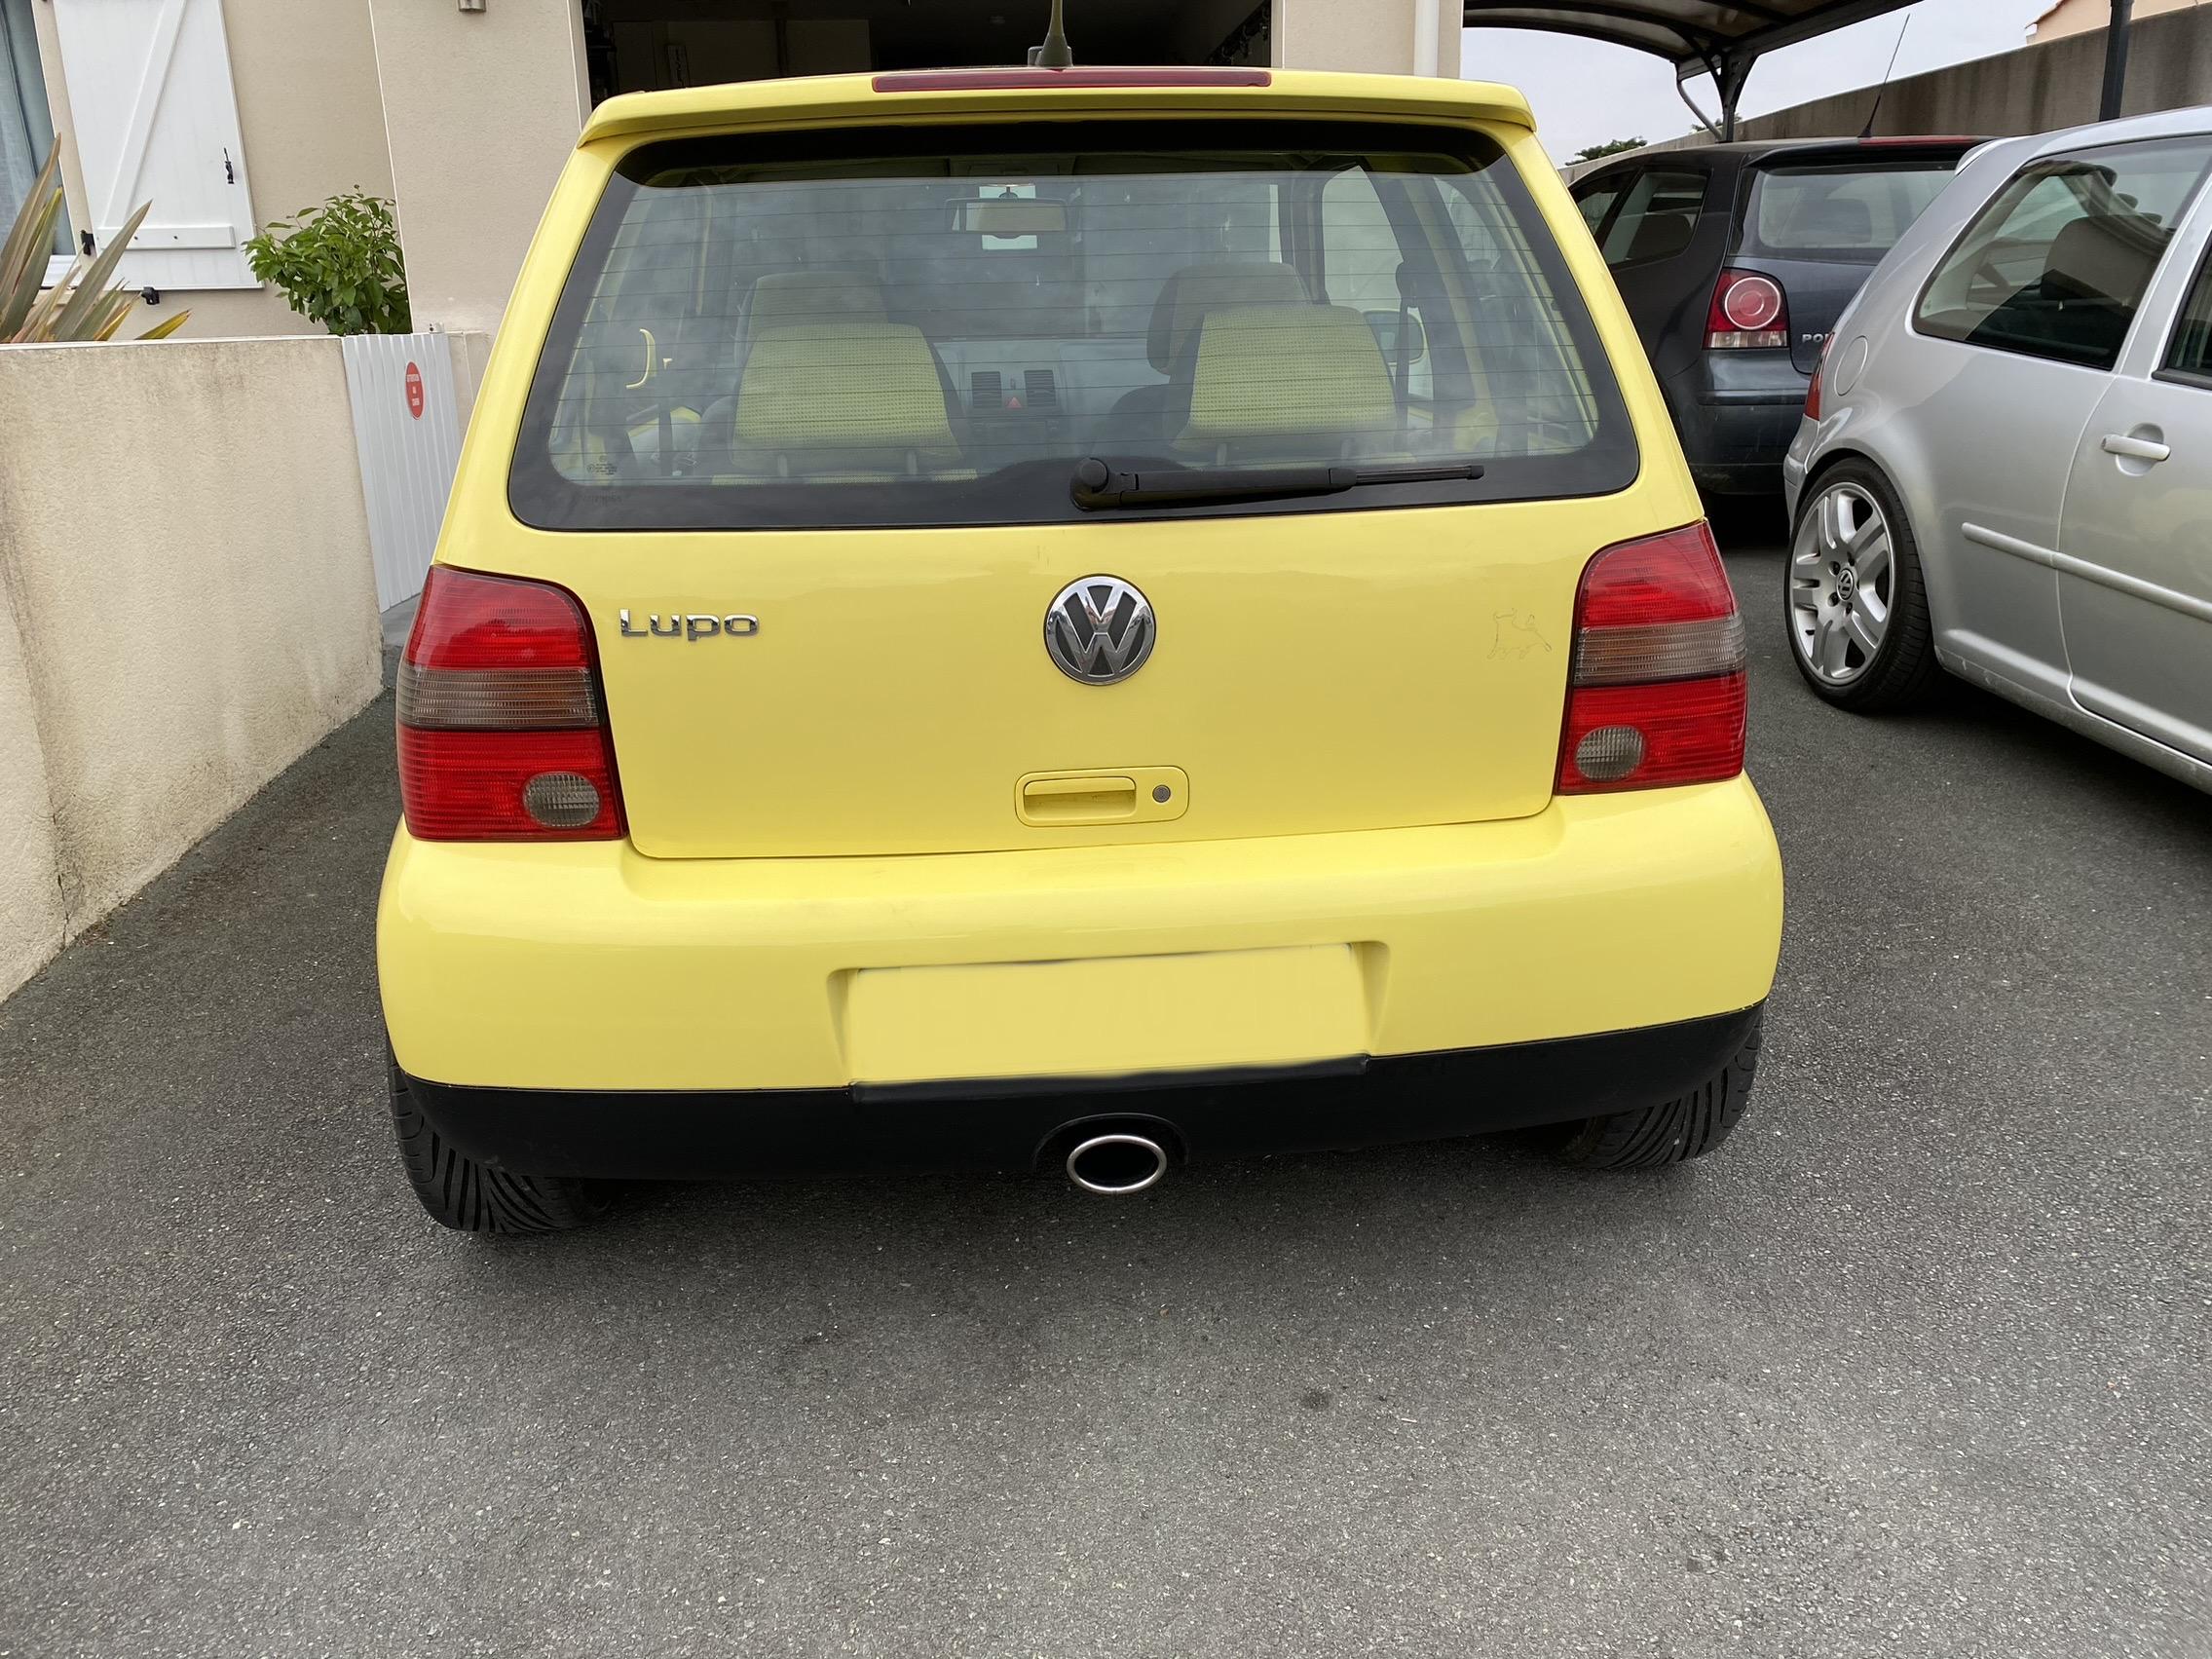
installing the muffler and polishing the outlet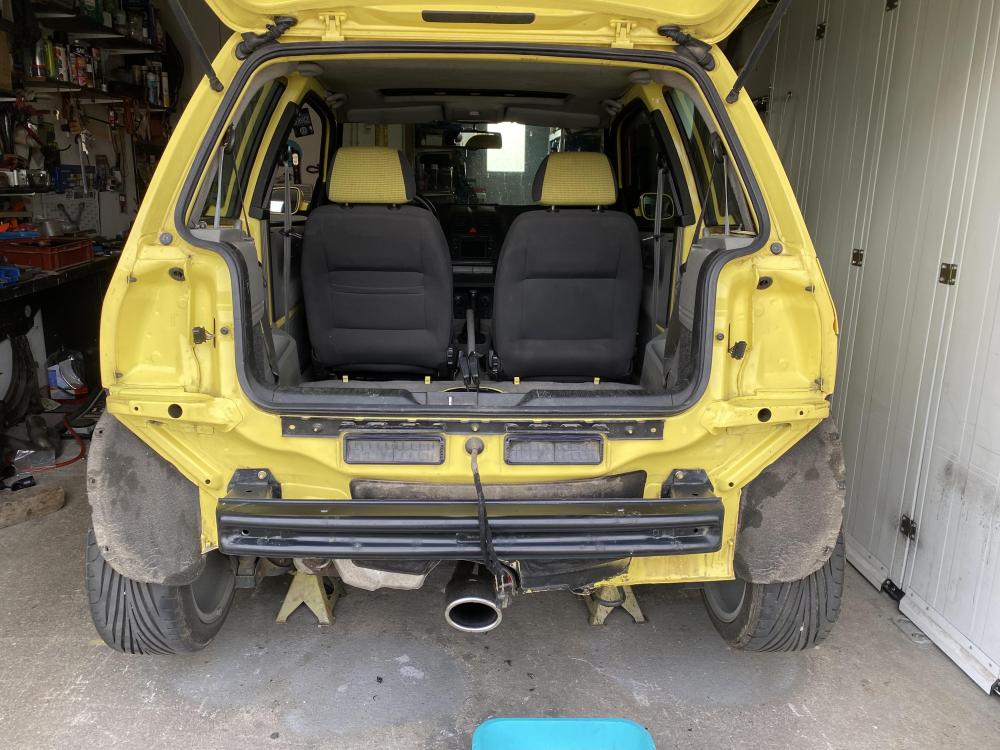
a little cleaning needed
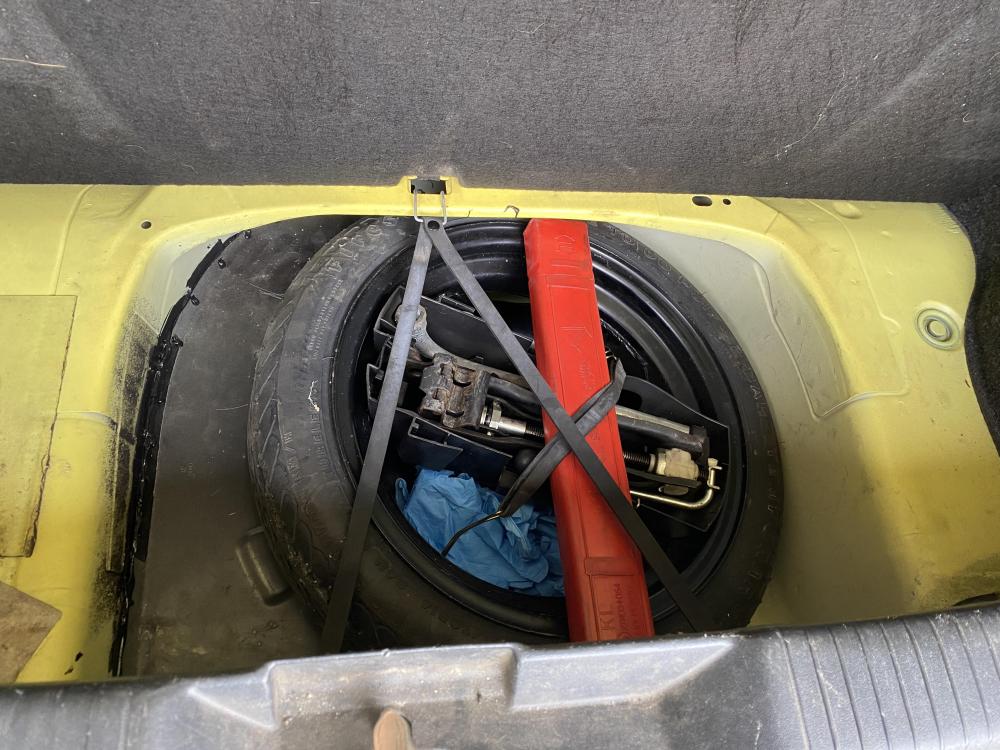
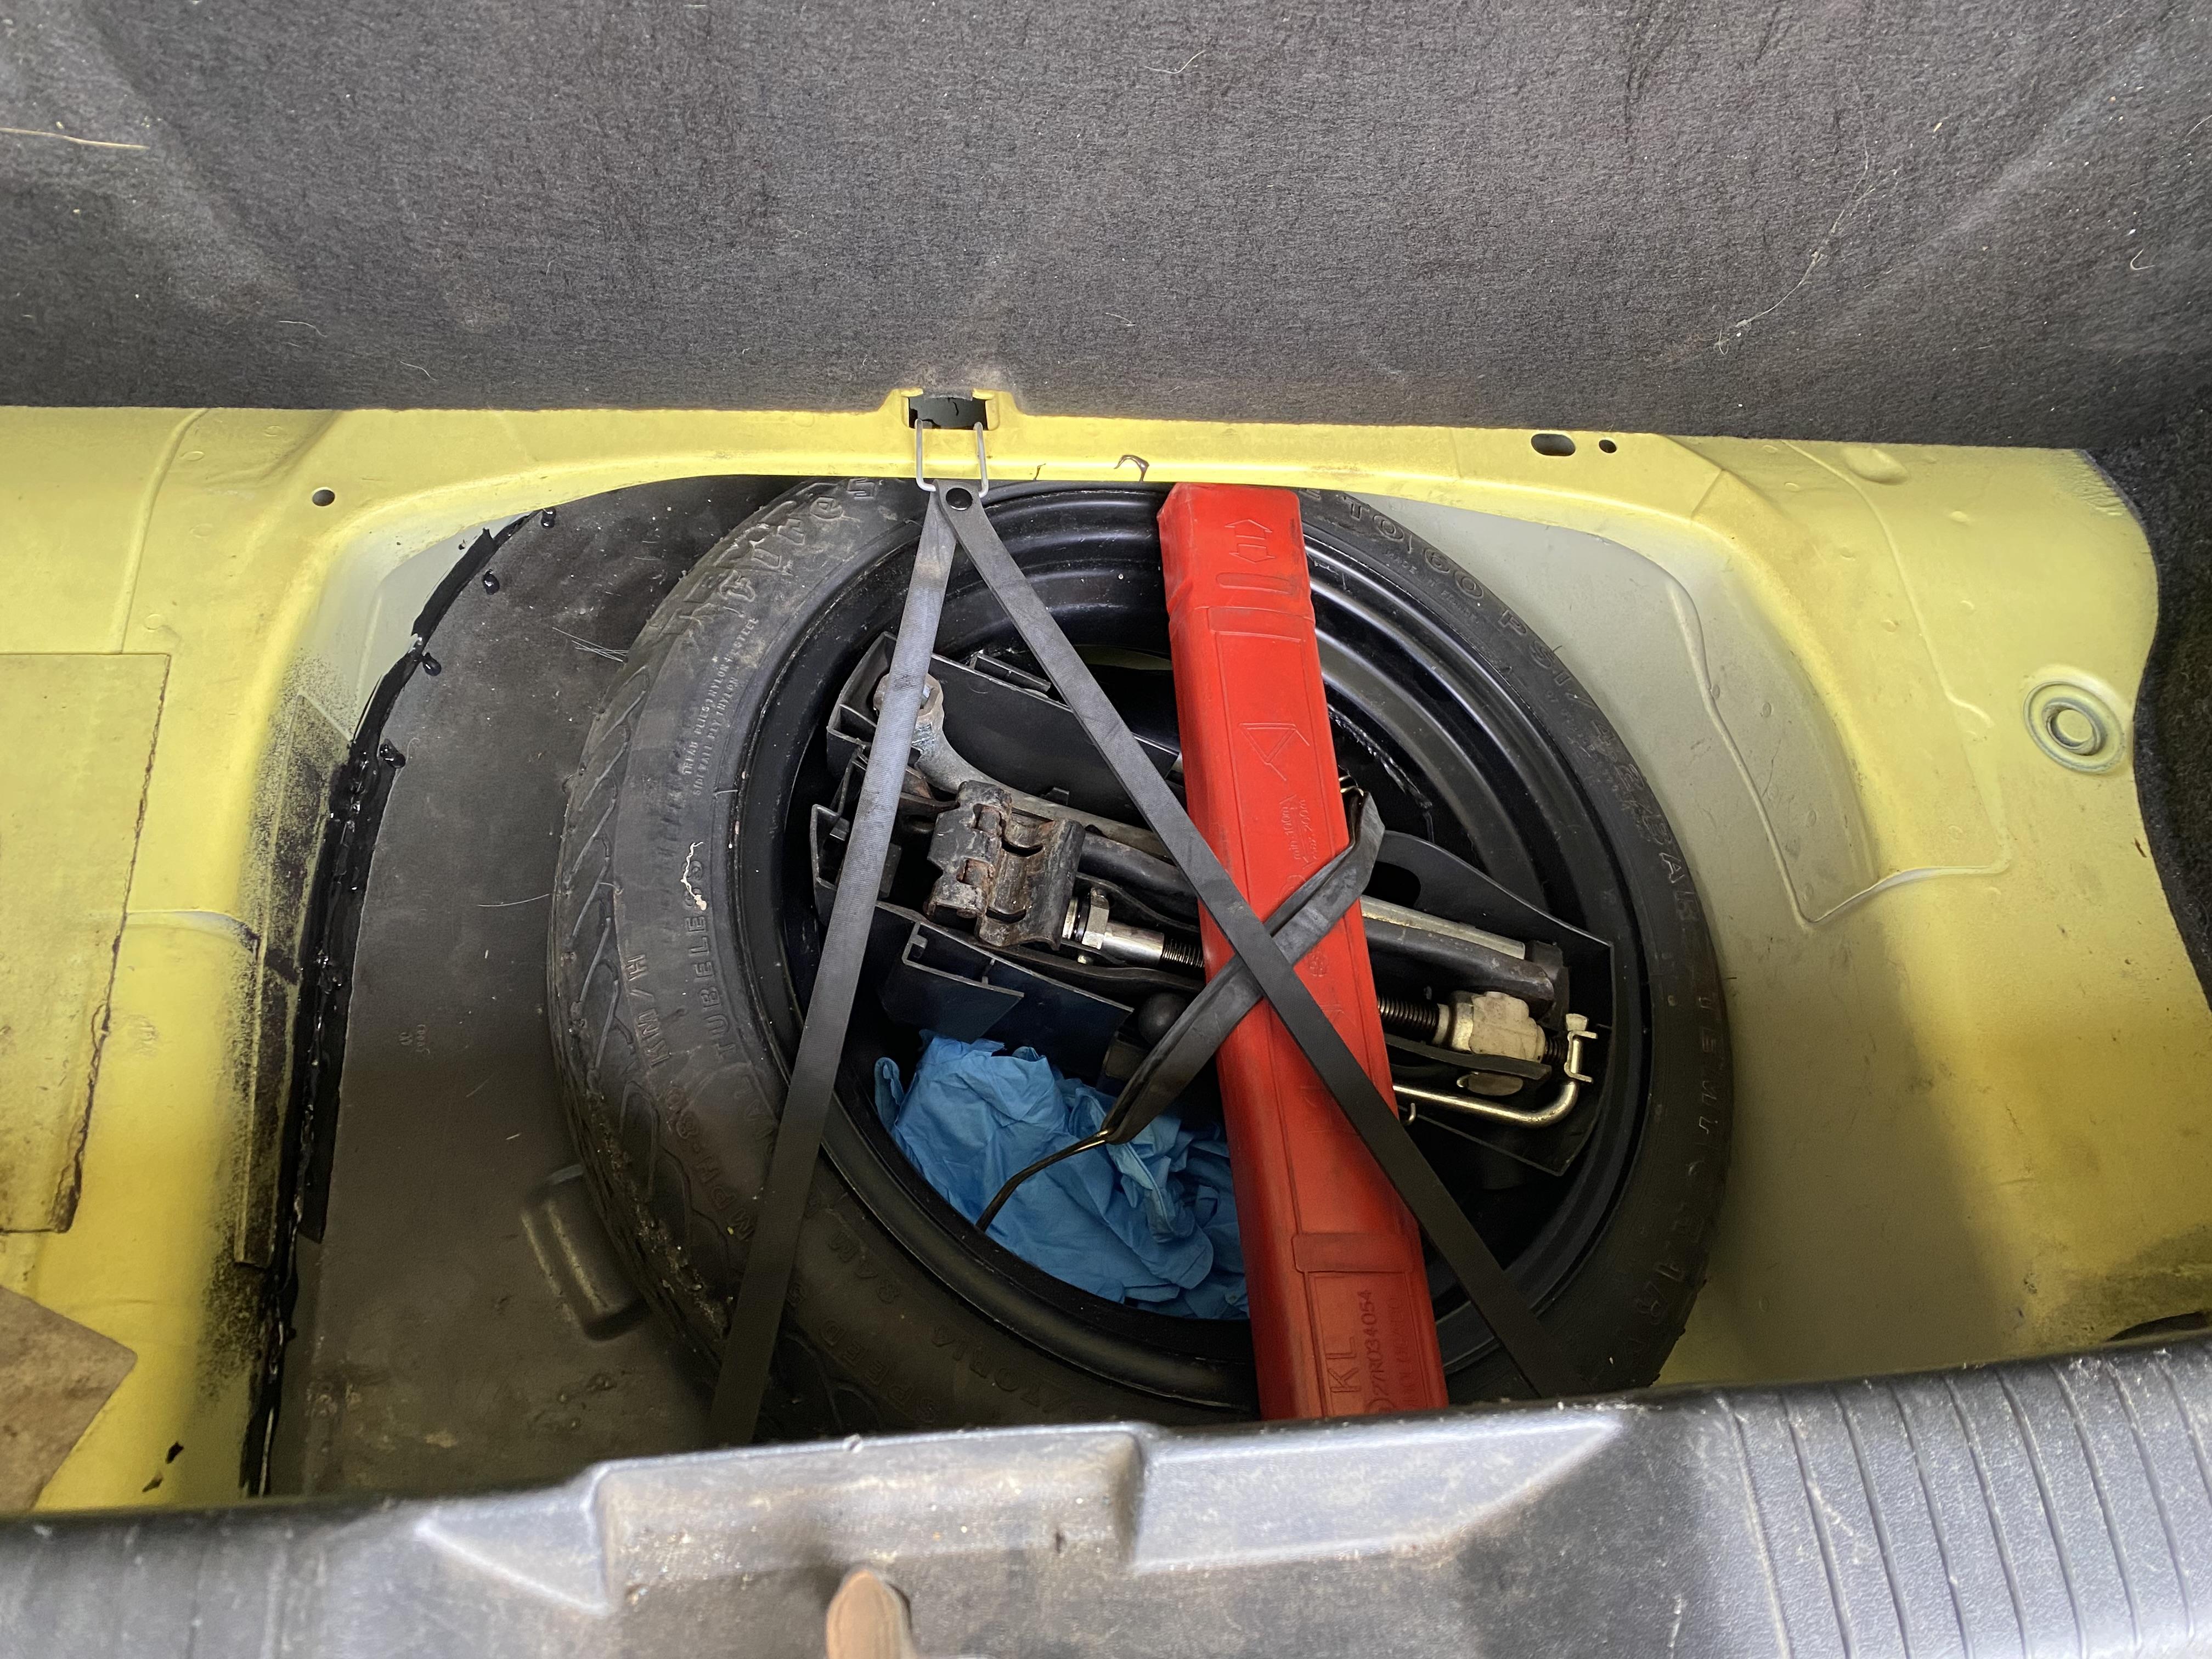
installation of the spare wheel and its accessories
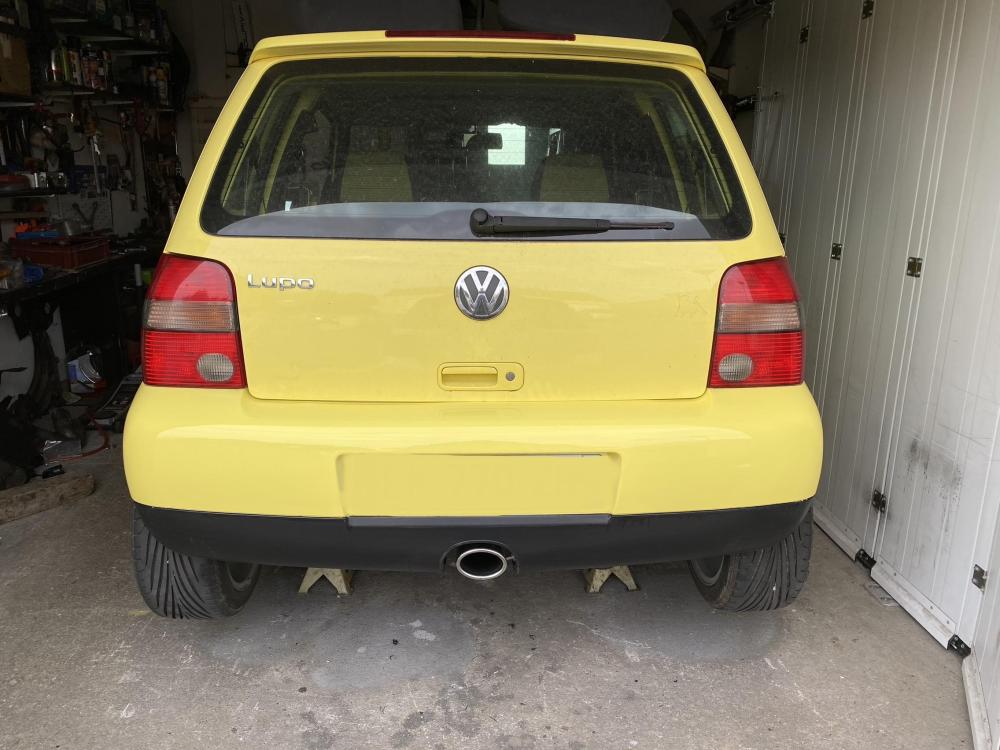
installing the bumper


small photo shoot at the exit of the car wash,I like the result very much so very happy-
2
-
-
Hello everyone
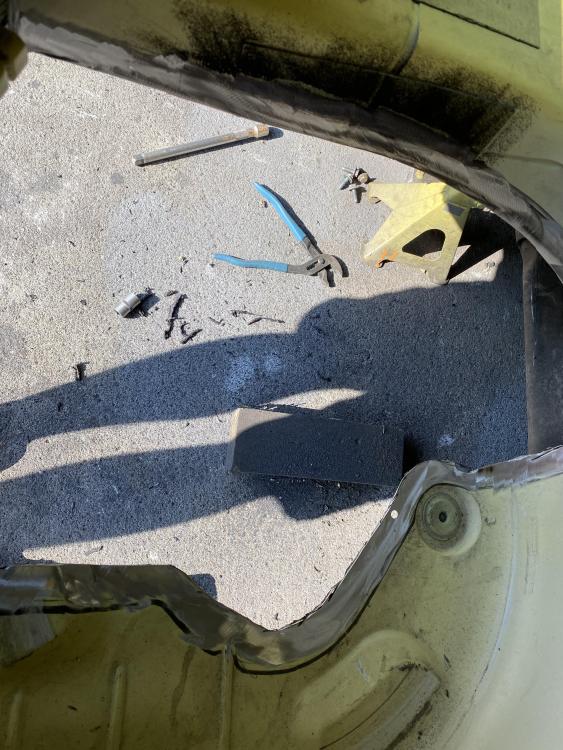
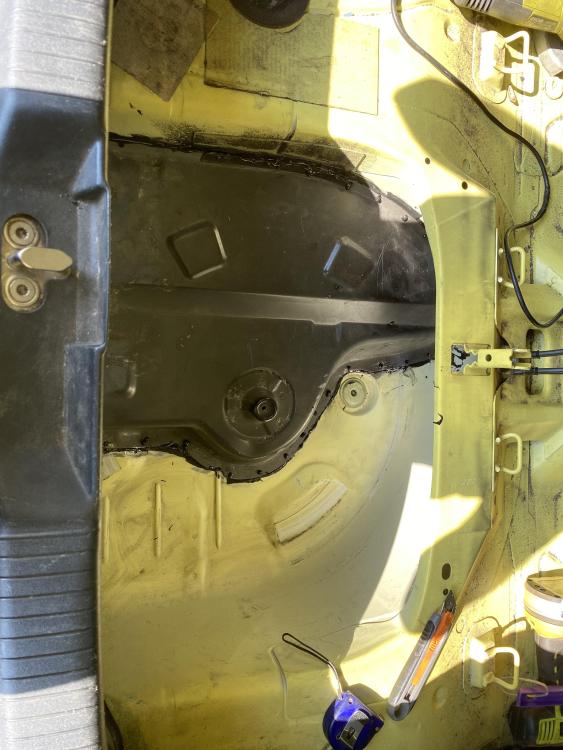
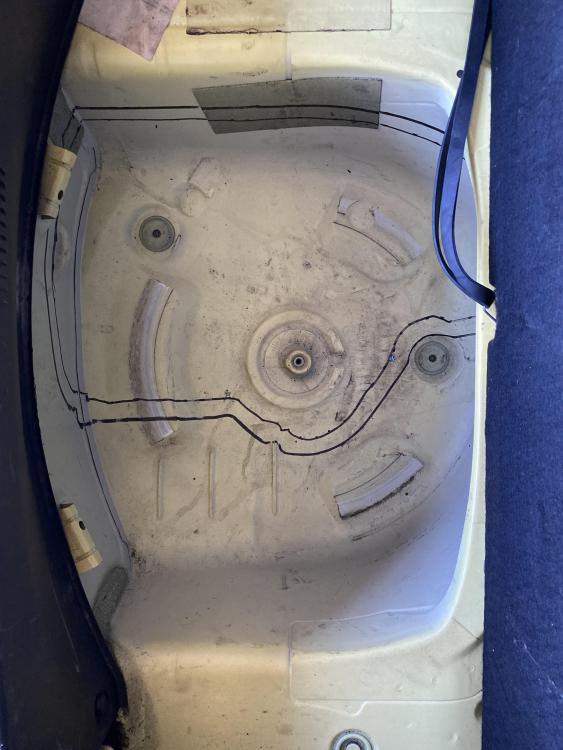
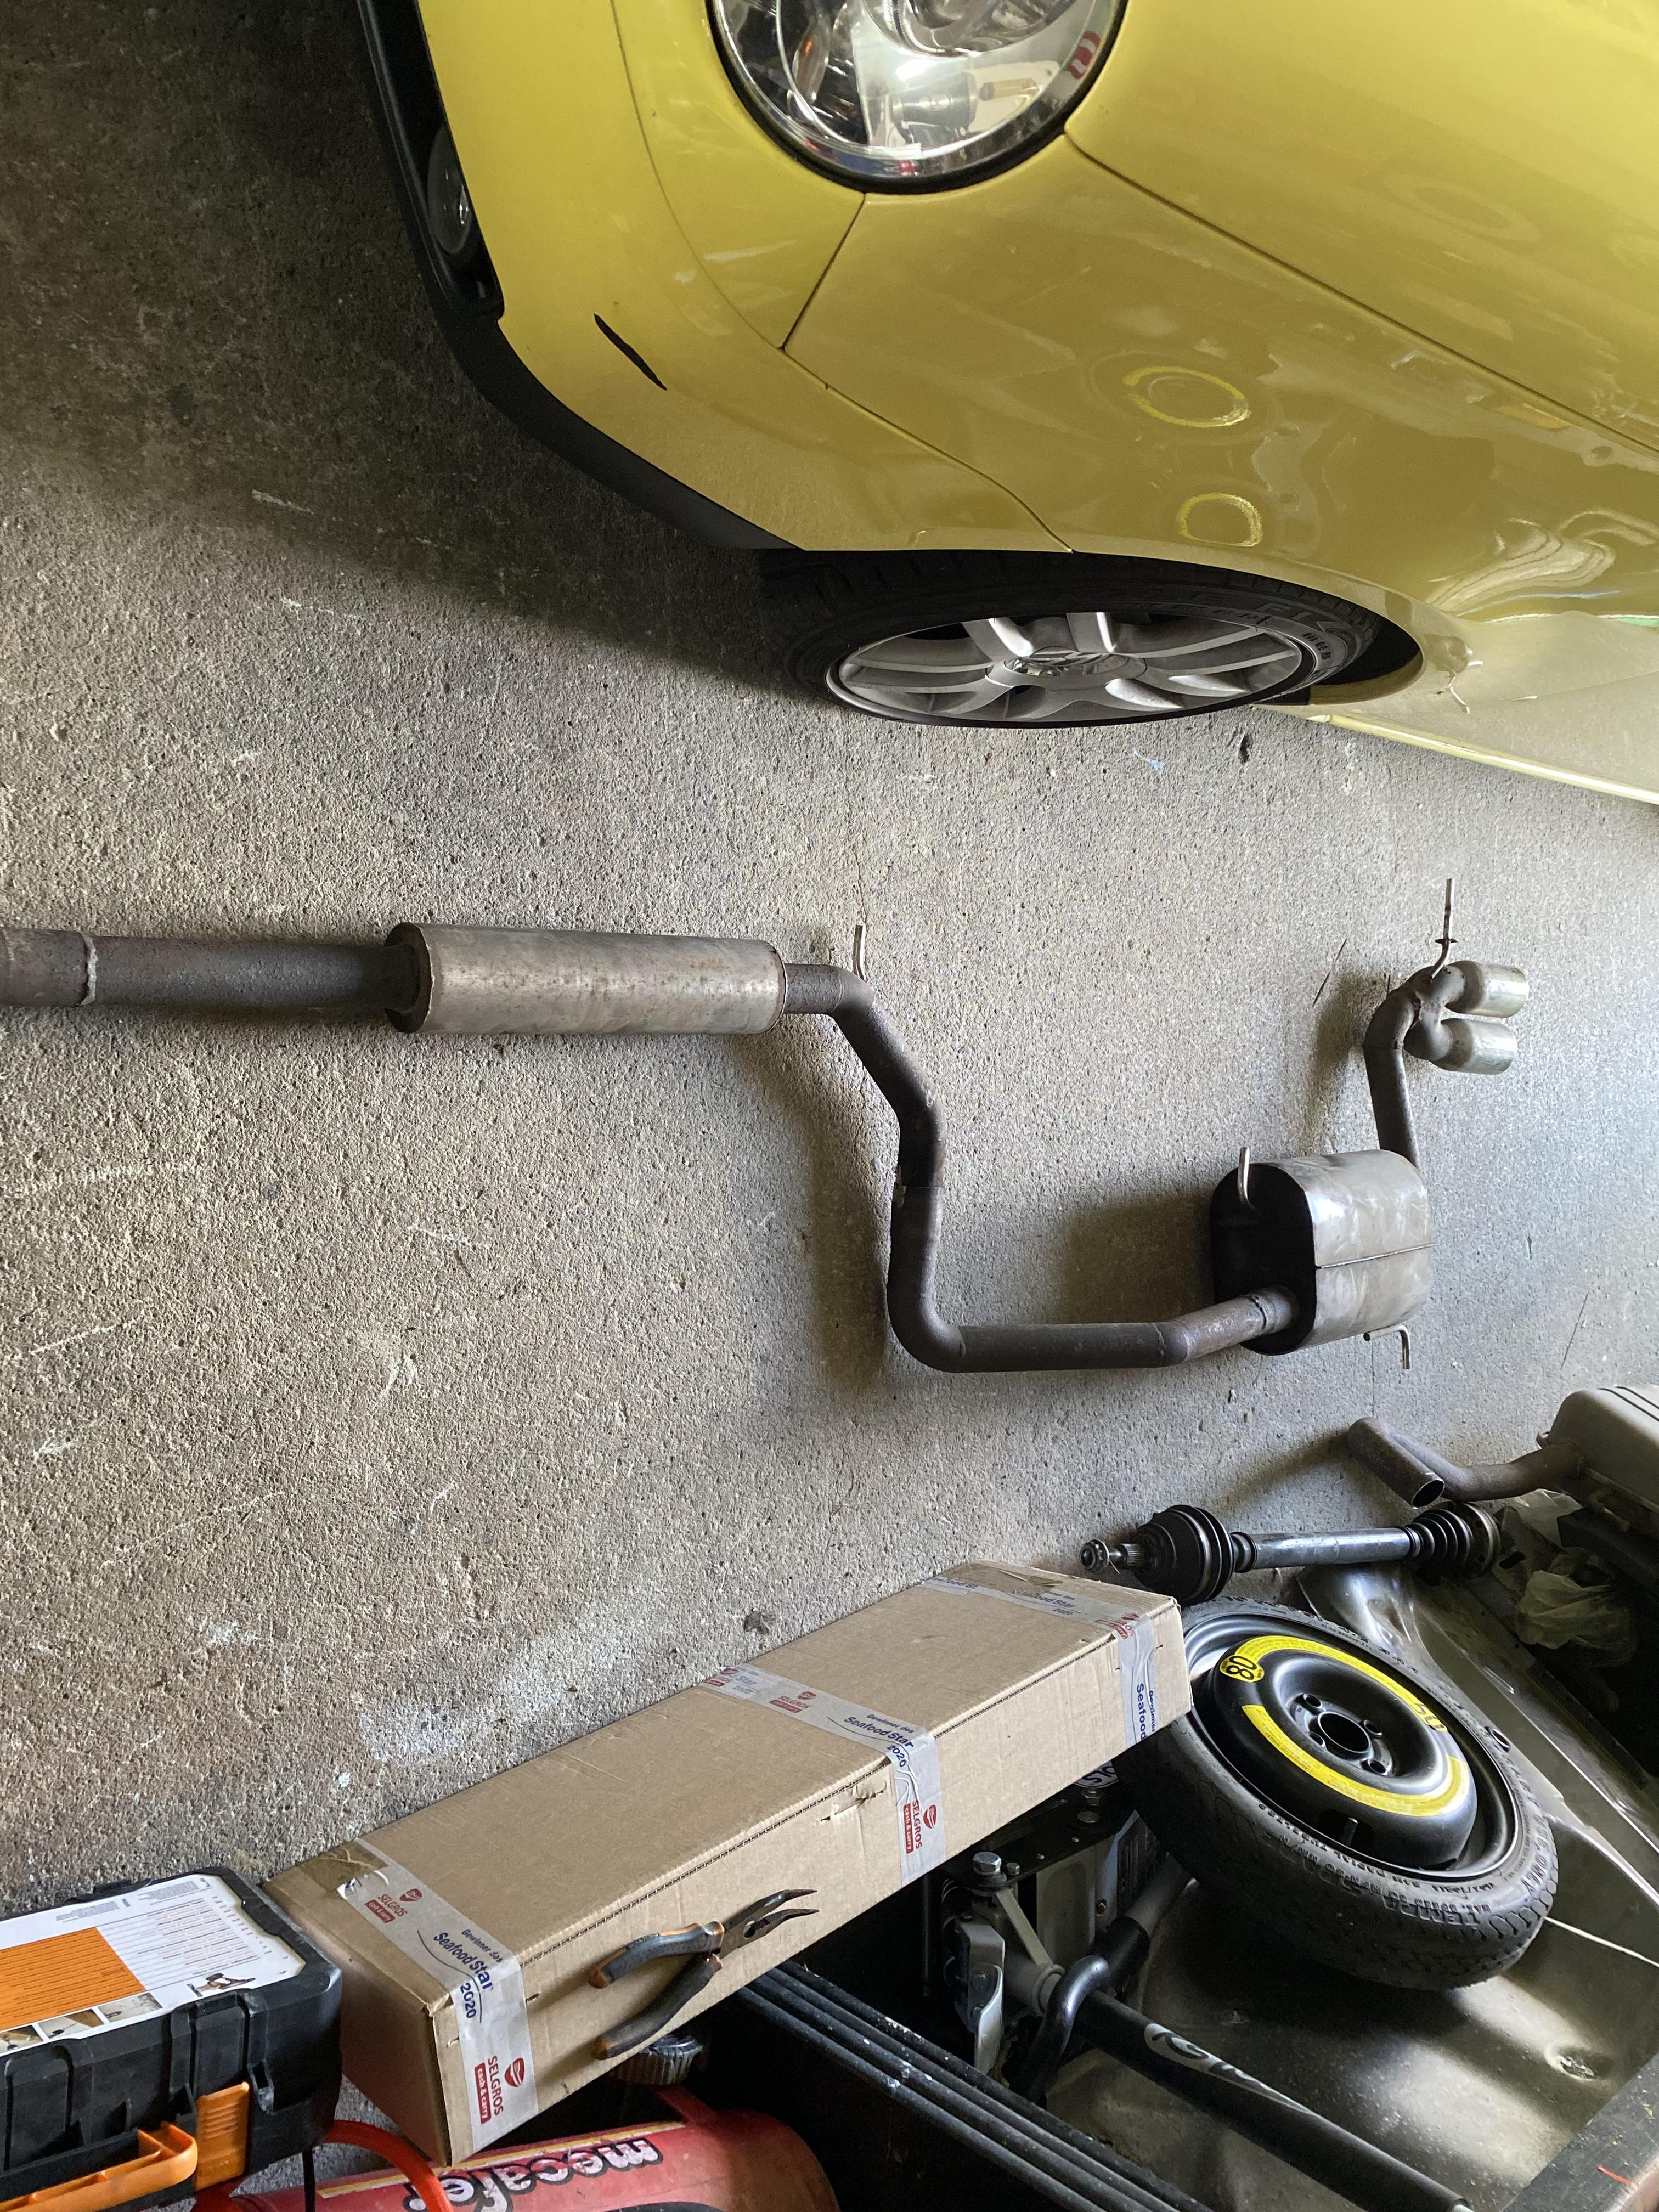
today is the big day to attack the site to be able to put the rear exhaust in the center
so after having clearly identified the assembly, I traced the location for the cutout
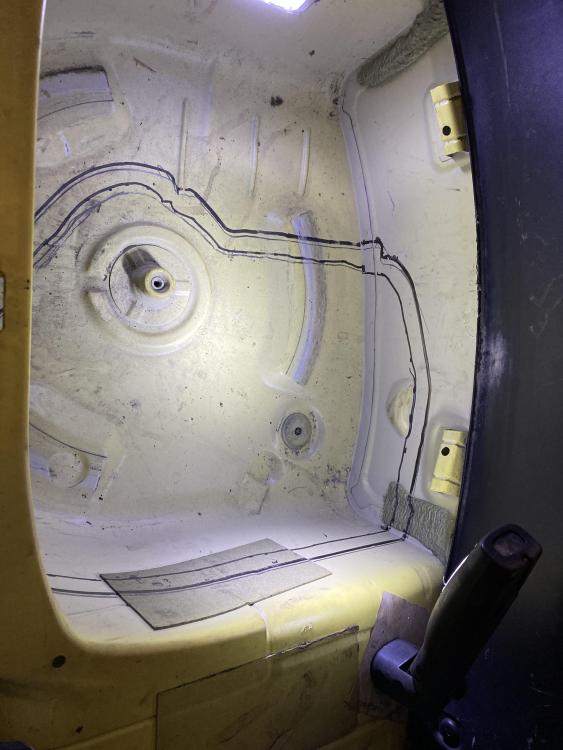
a little light will be very useful to me
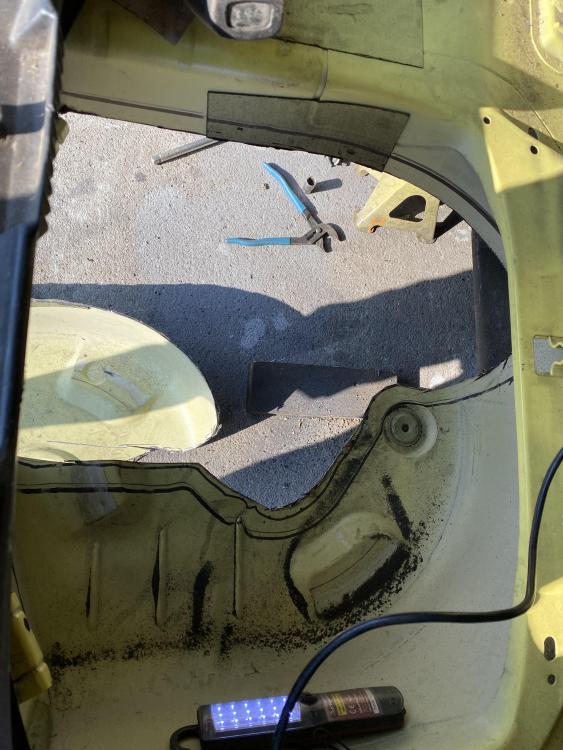
and here is the hole
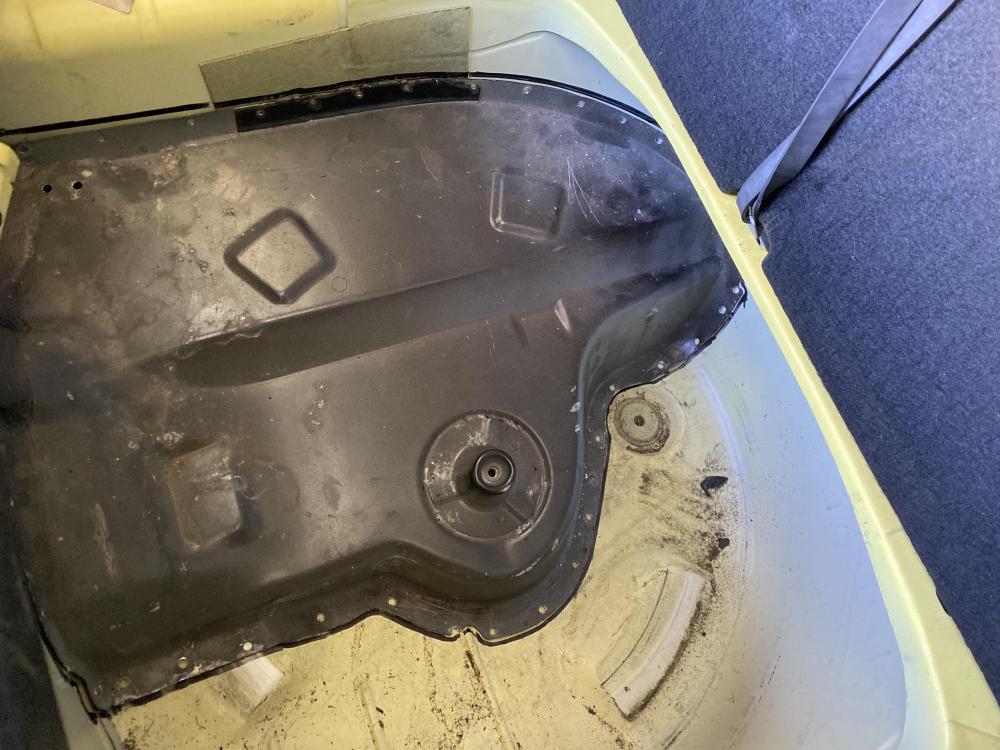
therefore stripping of the bare metal sheets then degrease with acetone
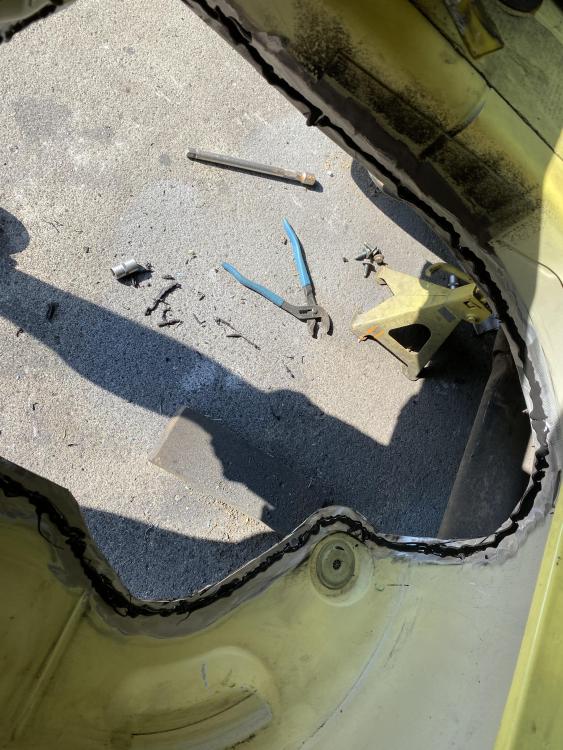
then gluing the two parts with Teroson 5055
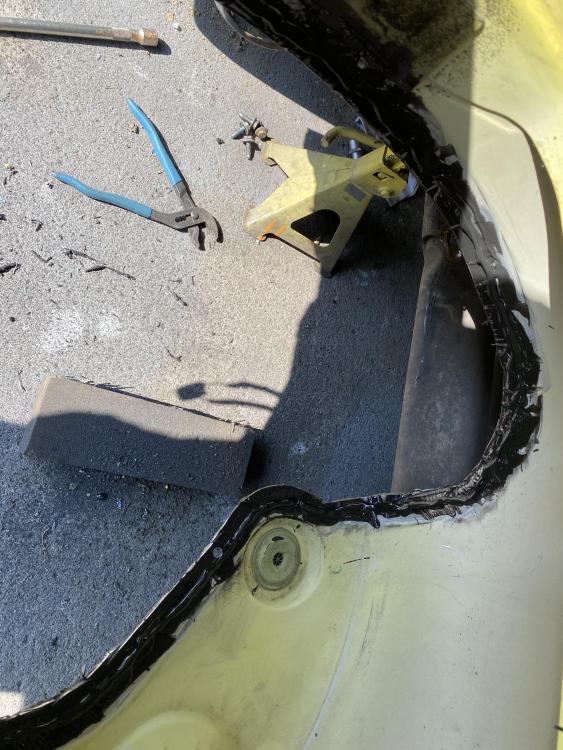
once the two parts spread with glue I redid a cord in order to fill the last interstices
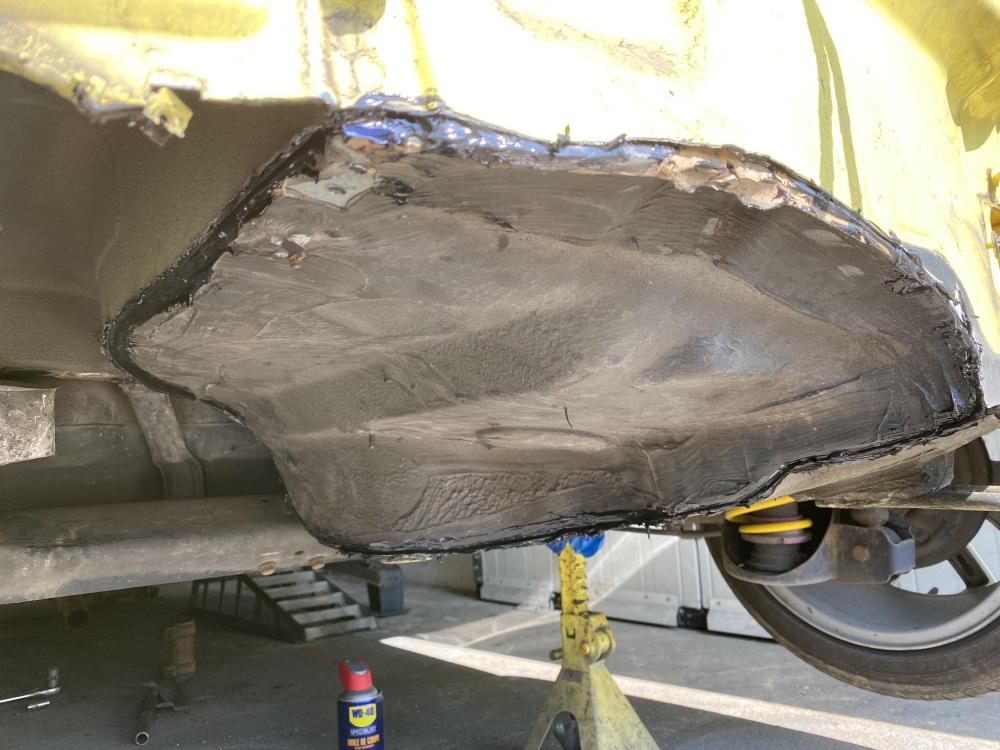
then installation of the plate
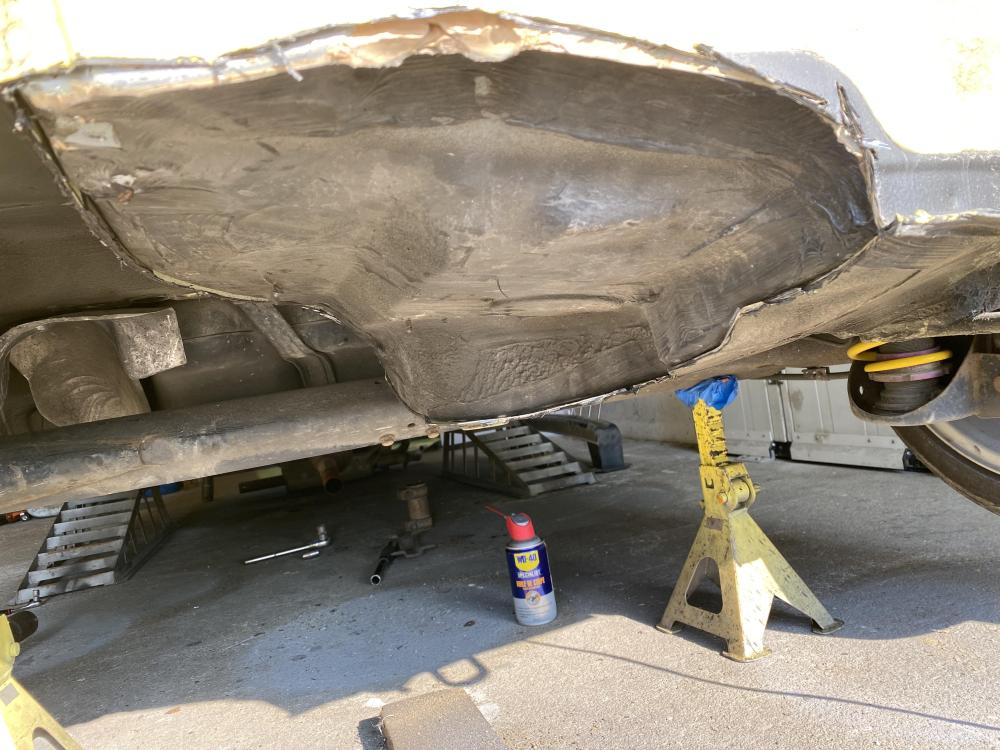
then I made a joint on all the lower part in order to isolate the whole
more than left to dry for at least 24 hours and tomorrow afternoon I will tackle the assembly of the stainless steel line-
1
-
-
yes the part is becoming very hard to find, either you have to find a 100hp or a wrecked GTI, for the rear bumper I already have it, it's a 100hp one and it's painted in body color so it's great, don't don't take a GTI bumper because this one will be too big and won't fit your tdi
-
Hi FraH2o
thank you for your interest in my garage and it's far from over because I got new elements
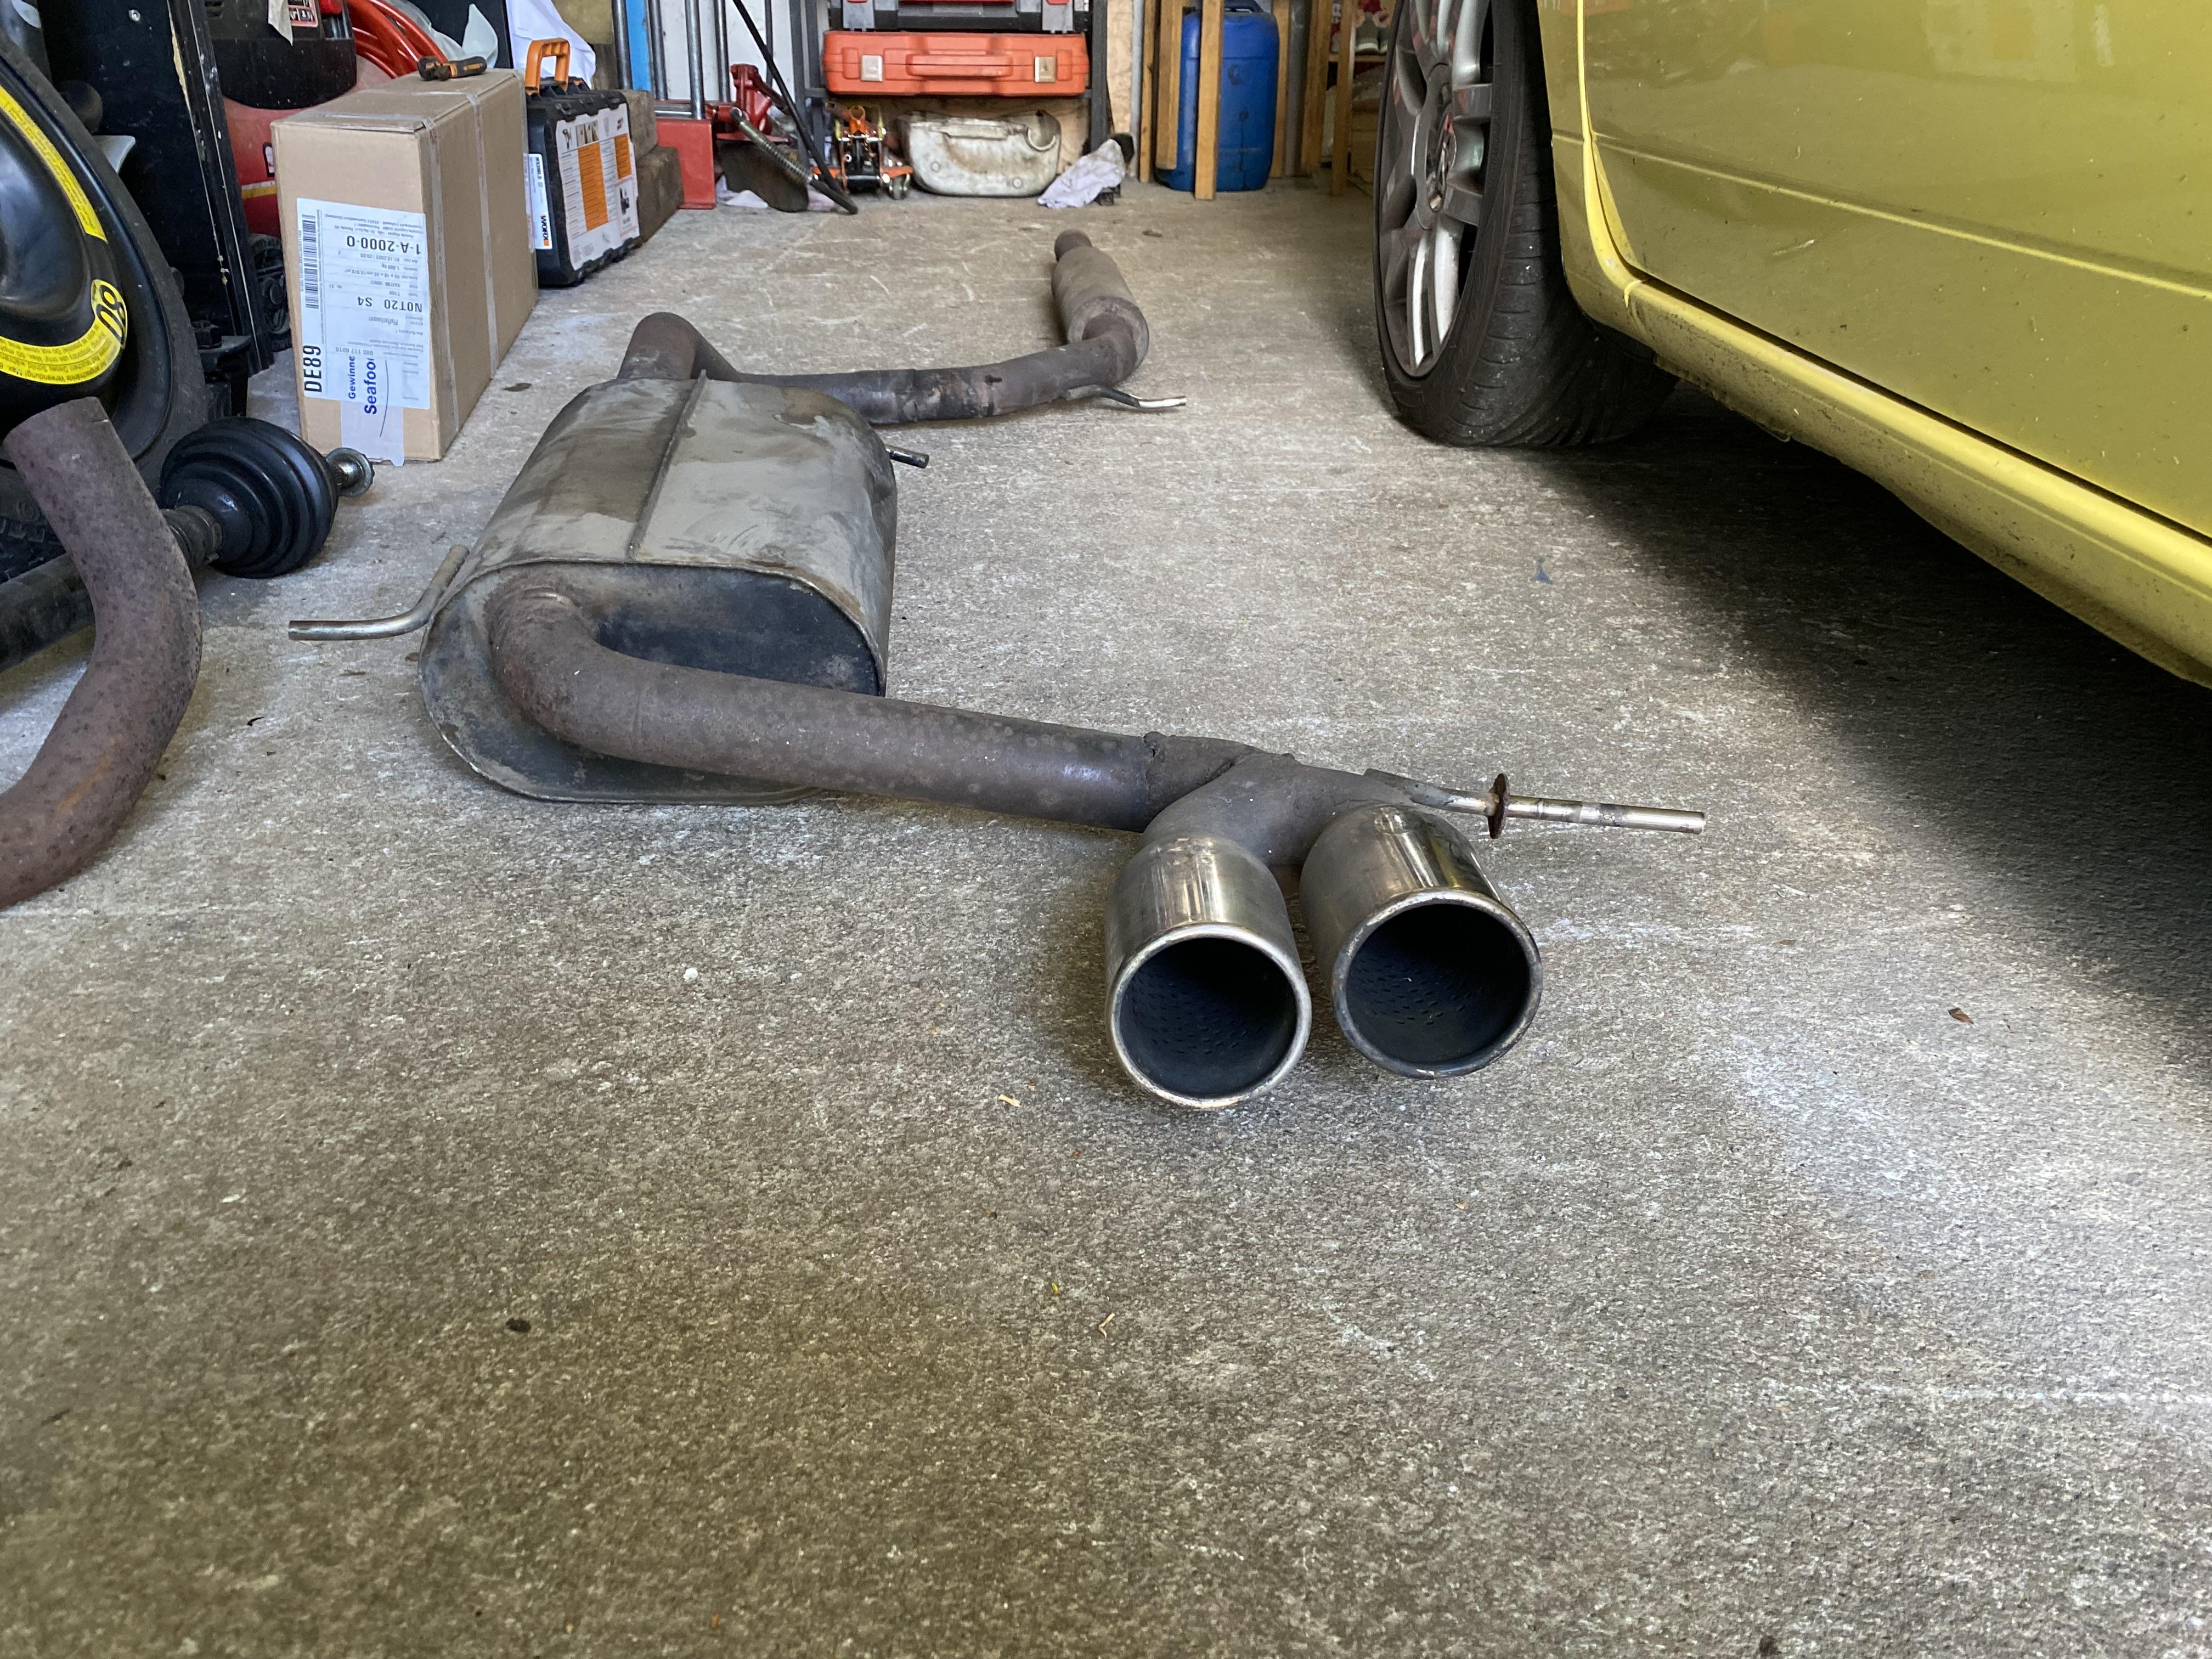
I managed to find myself a GTI stainless steel exhaust line to go with my bumper

so I positioned the sheet to trace the cut
so I'm ready to cut
and i also found the flat spare wheel to fit in the housing -
Hi FraH2o
thank you for your interest in my garage and it's far from over because I got new elements
-
at the top a real house fairy, the Lupo badly needed it well done once again
-
1
-
-
It’s very good job congratulations
-
1
-
-
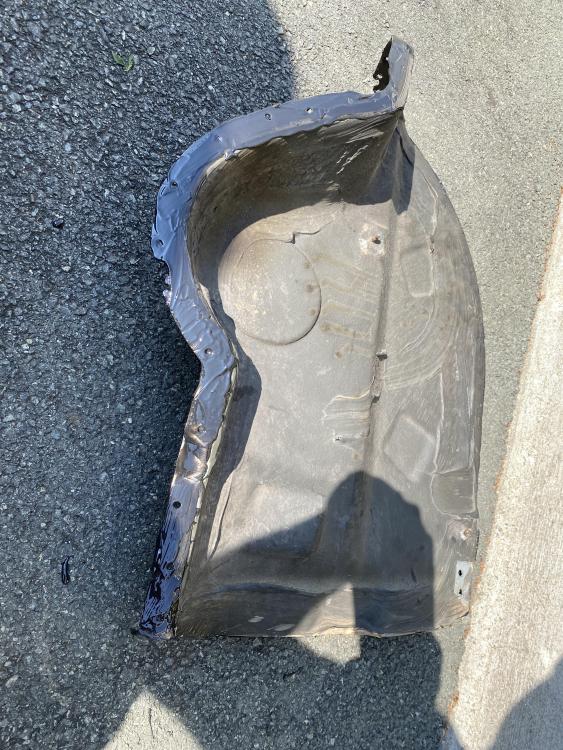
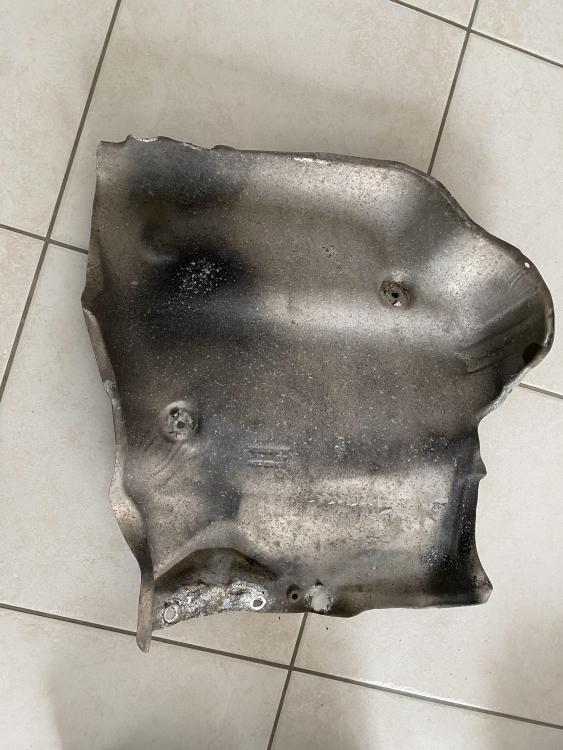
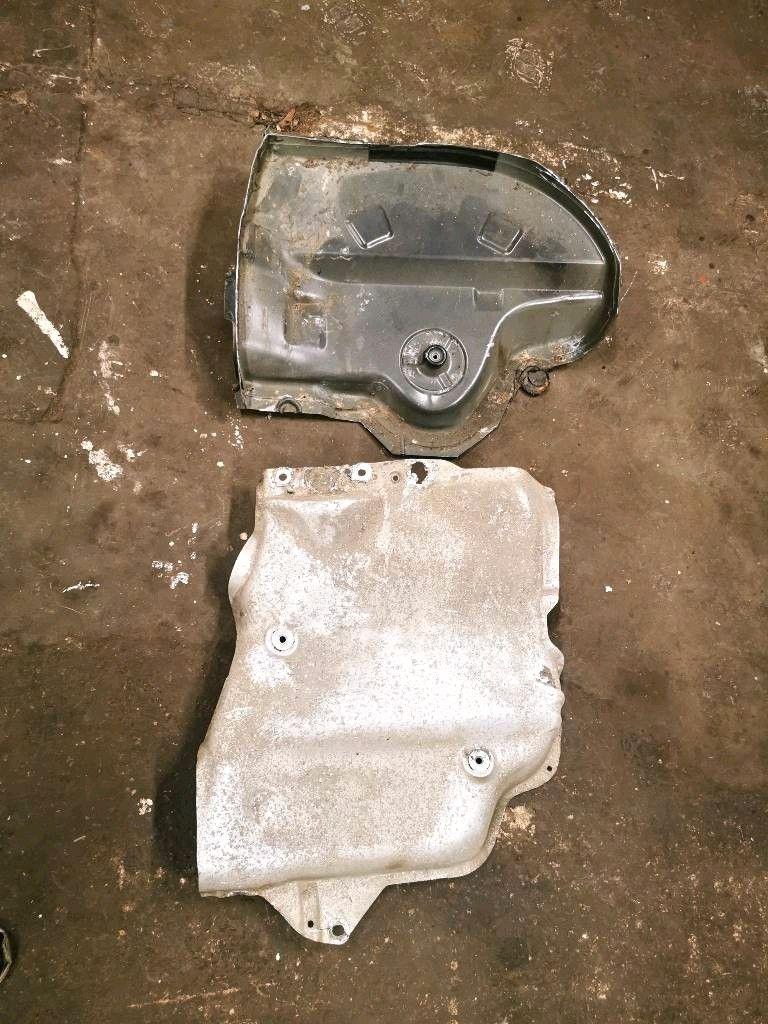
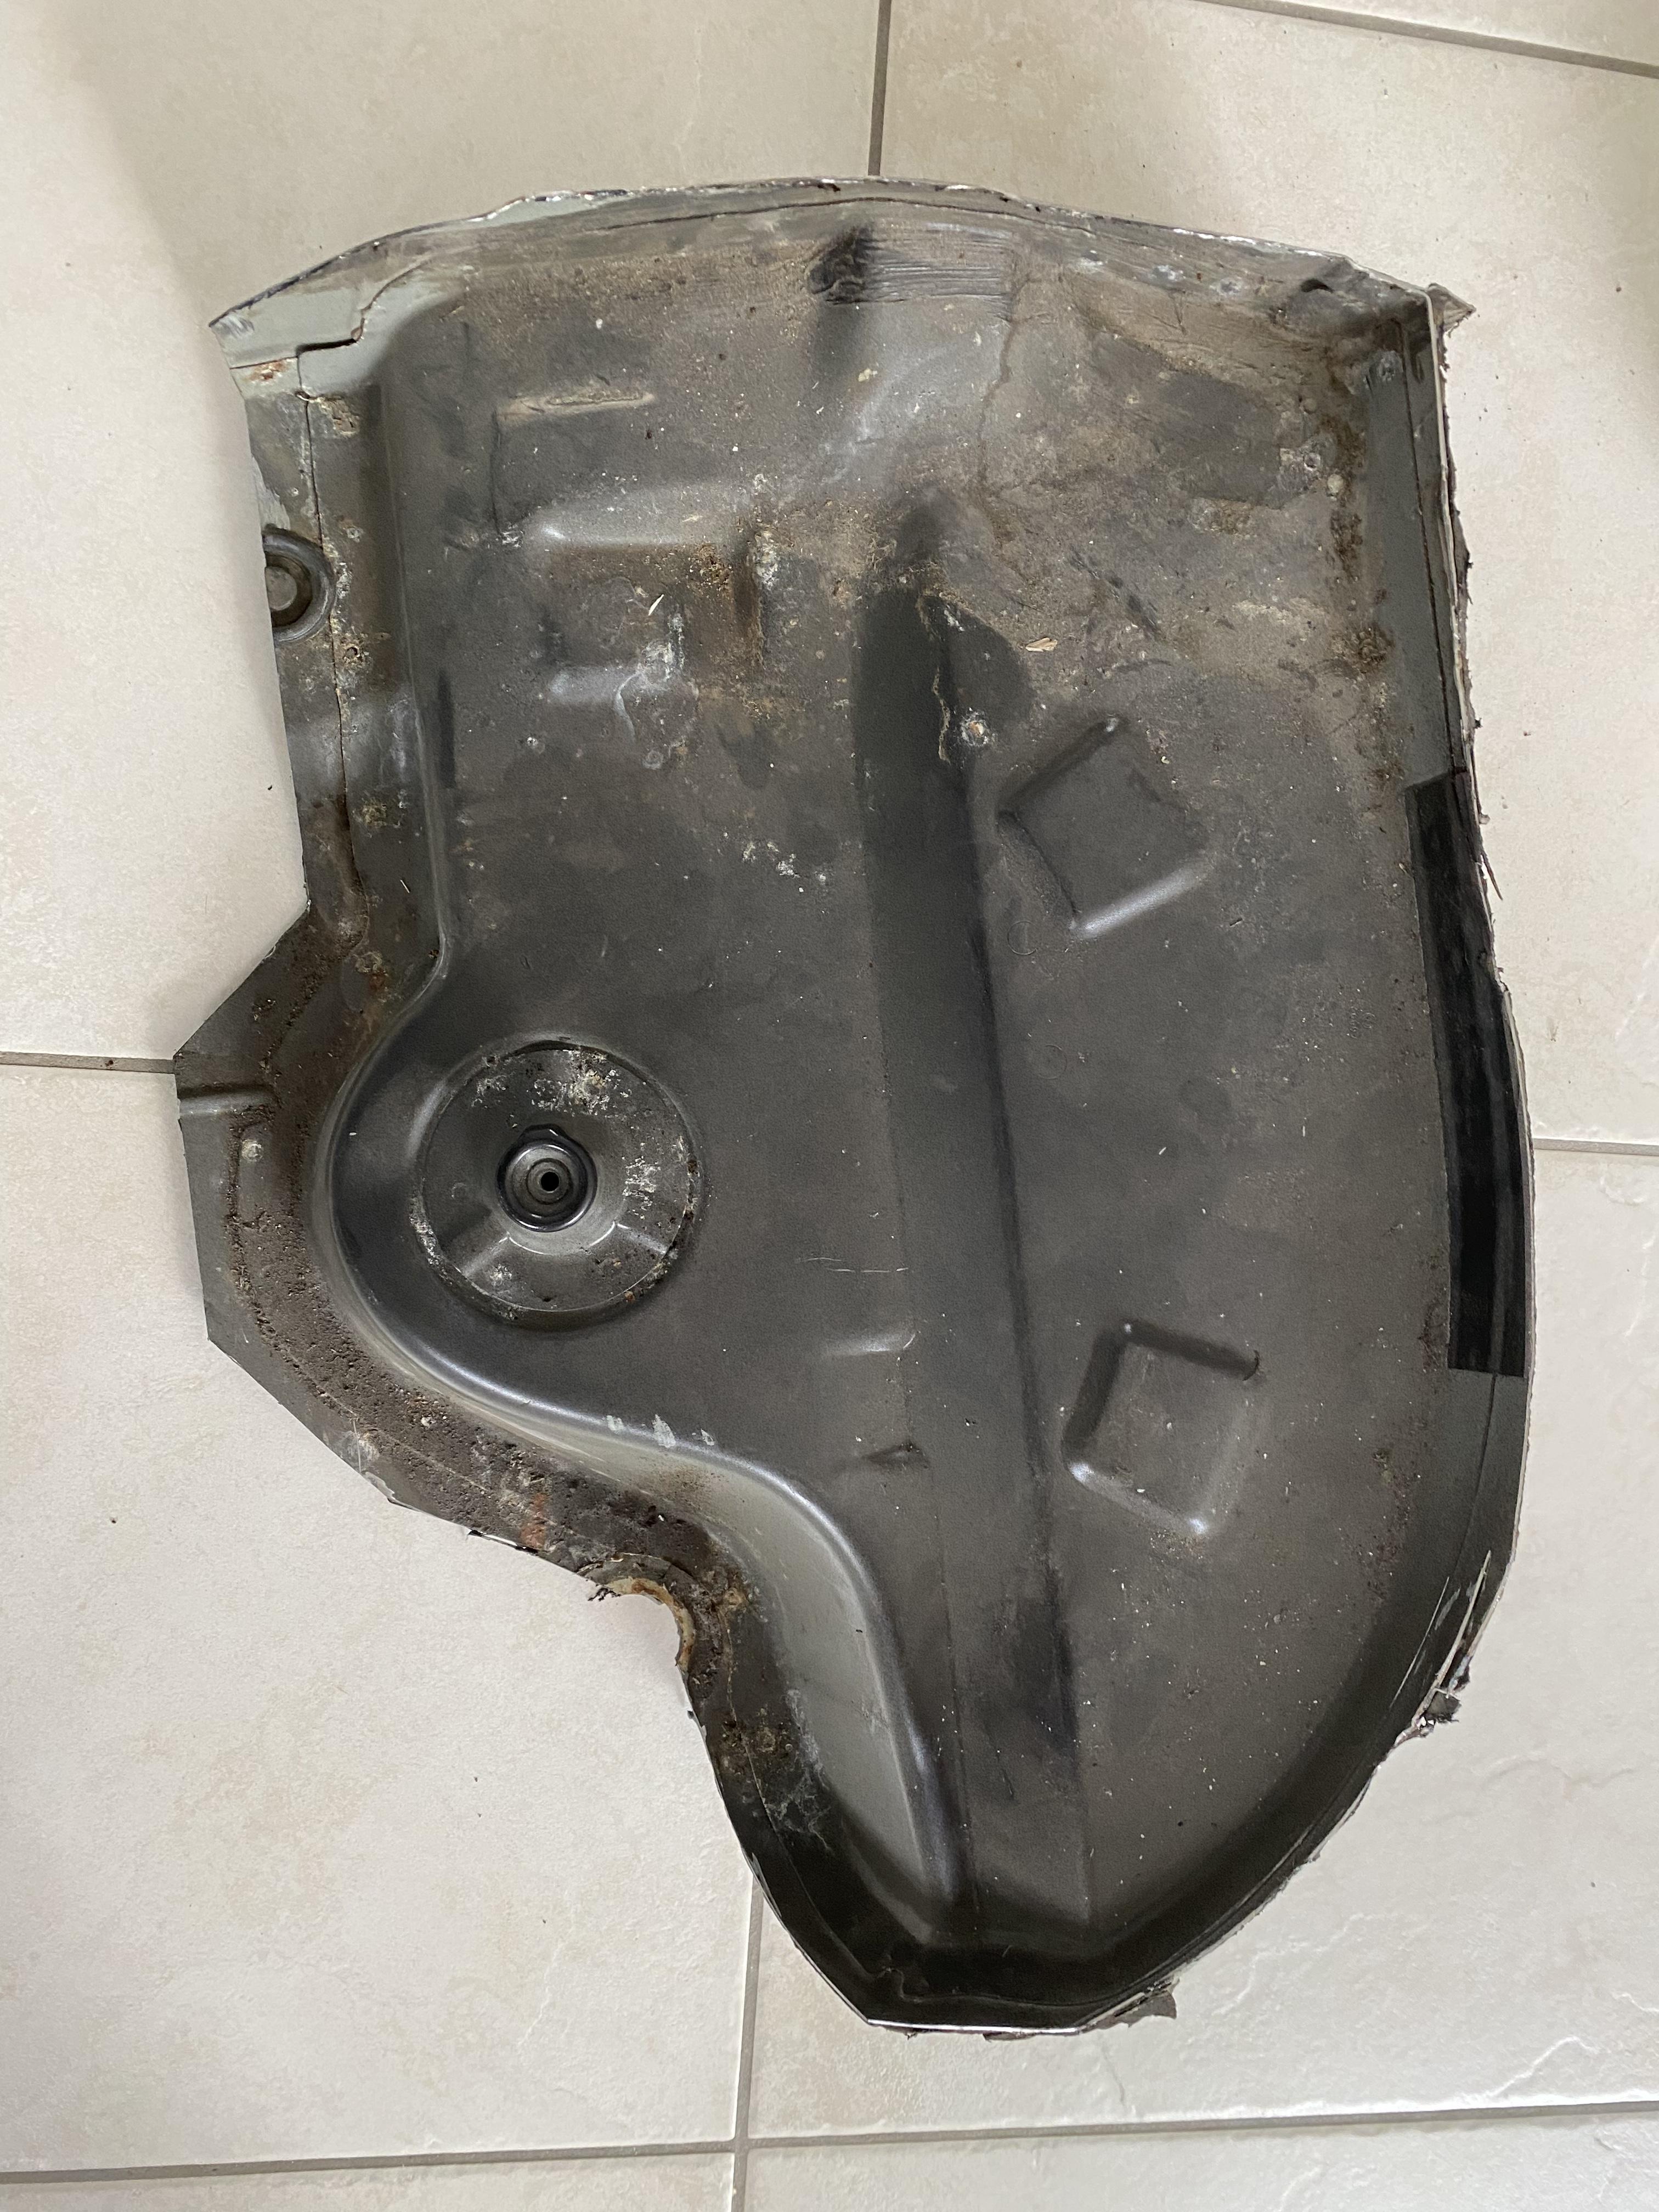
hello everyone,
well I managed to transfer the sheet metal which was welded on the plate to make the modification
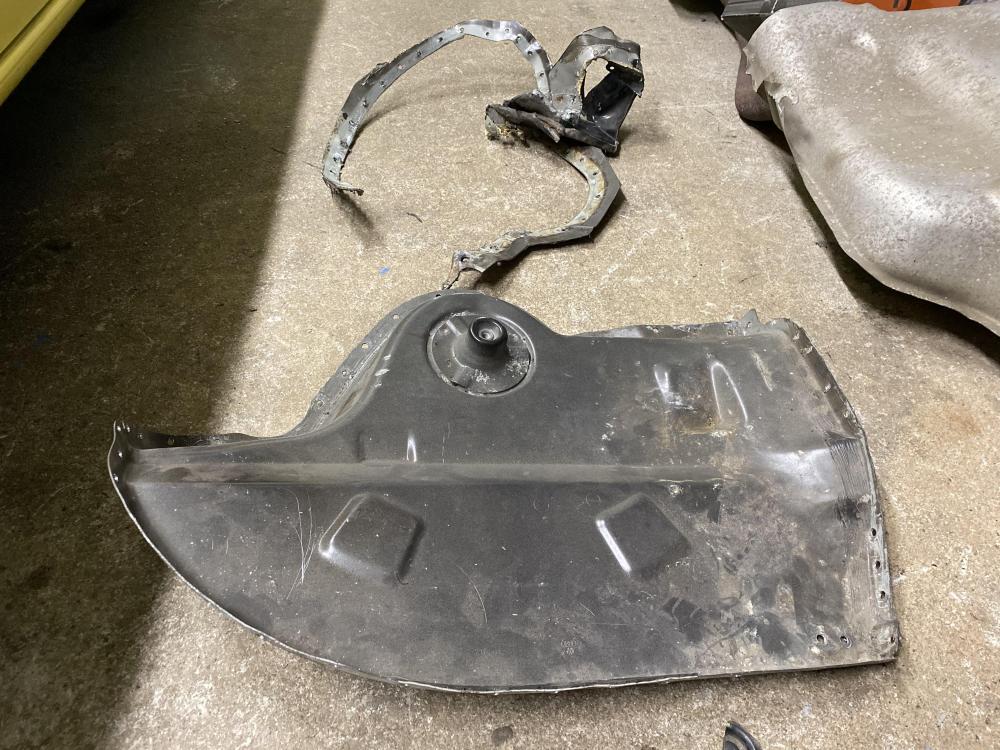
Suffice to say that this step was not easy, because in addition to drilling the weld points it was necessary to play the hammer chisel but hey it's done phew
-
1
-
-
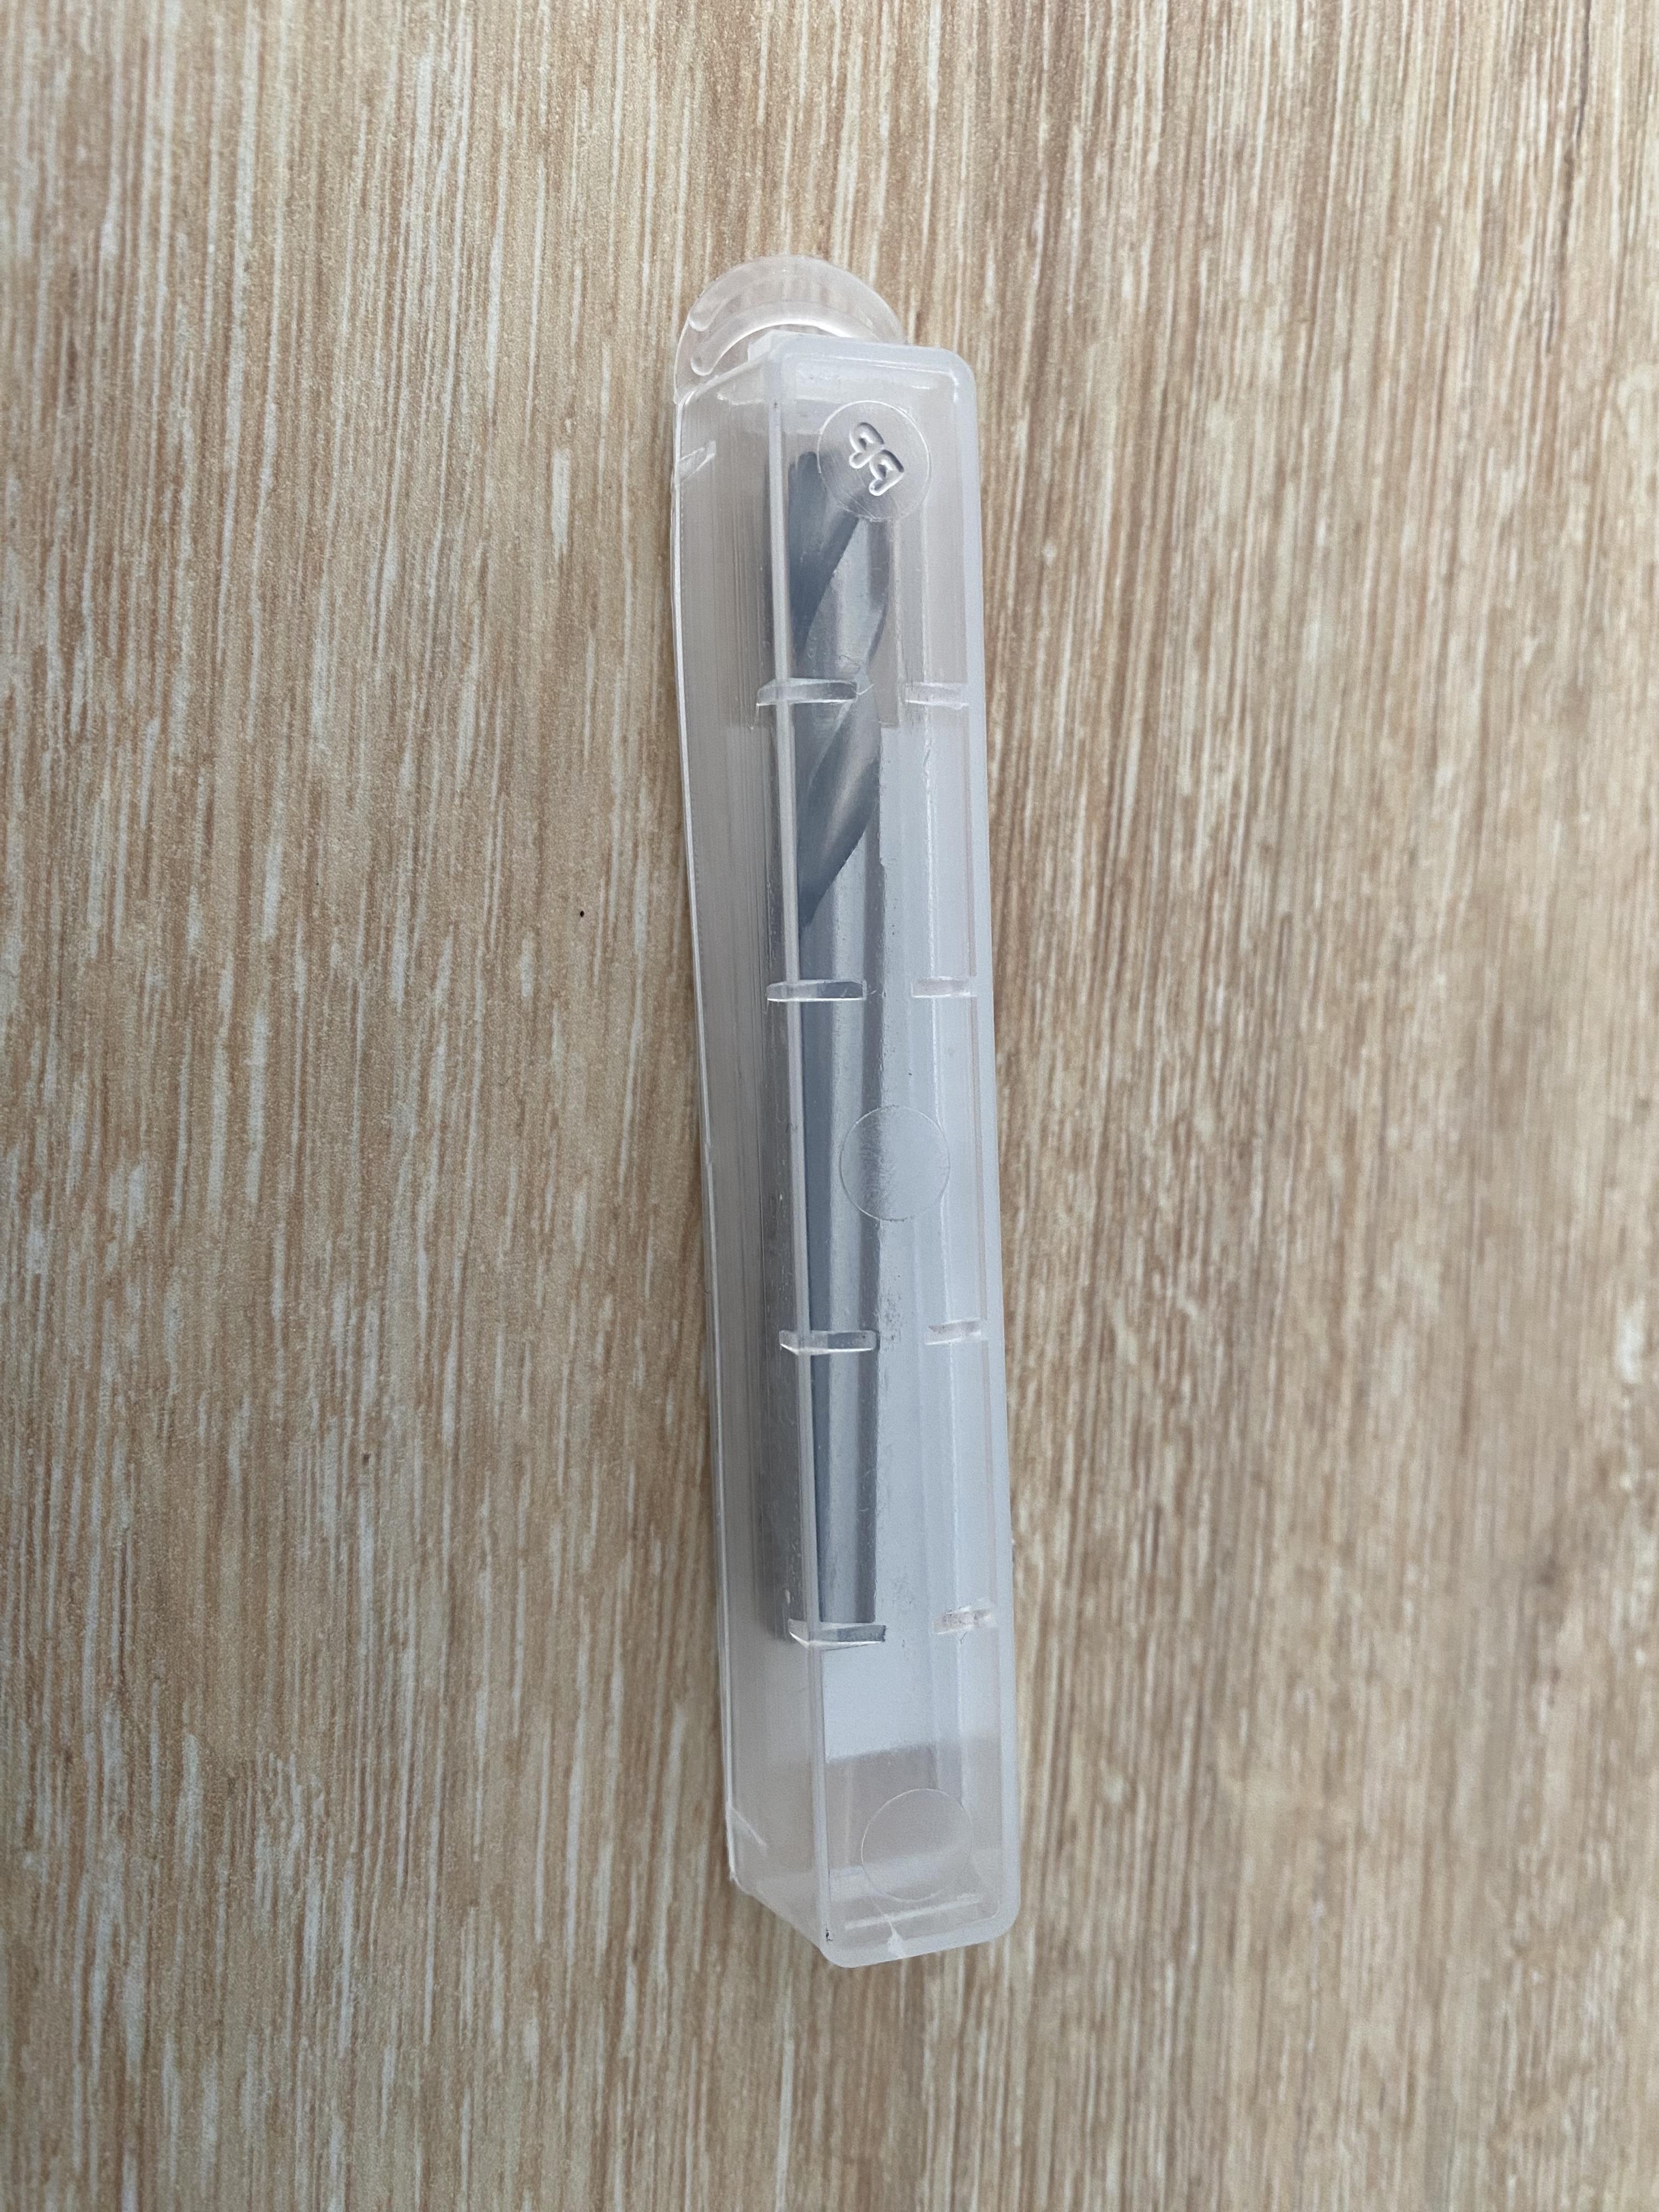
hello everyone,
yesterday I received a large package
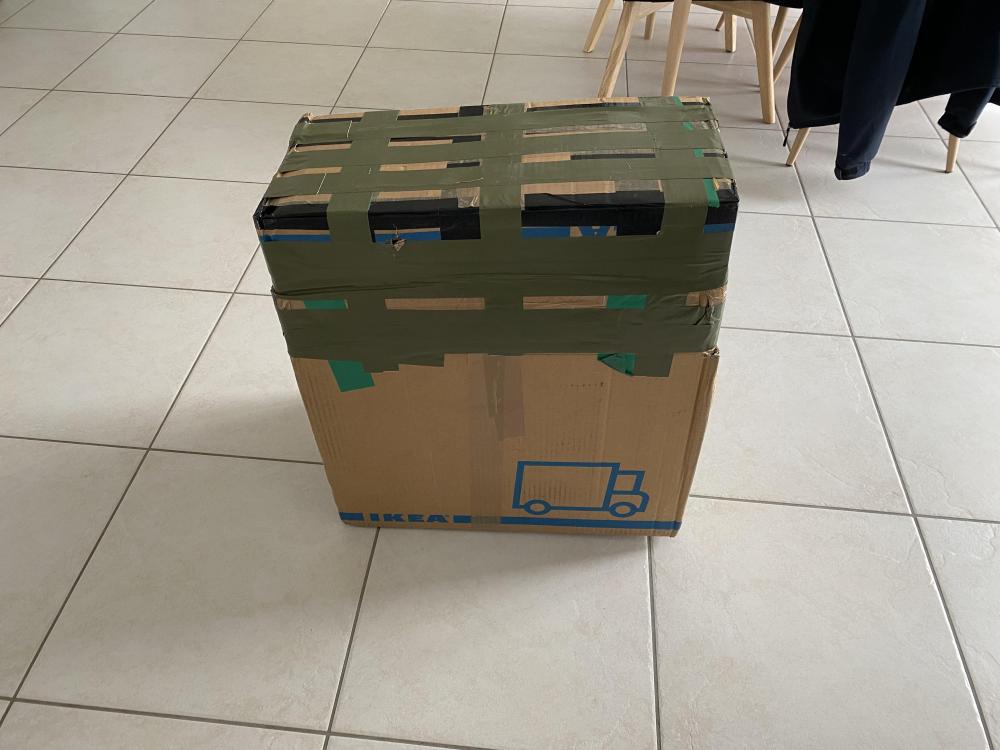
and inside there are the parts that I needed to be able to mount the central rear exhaust
and at the same time I also received my countersink drill to be able to remove the old sheet metal
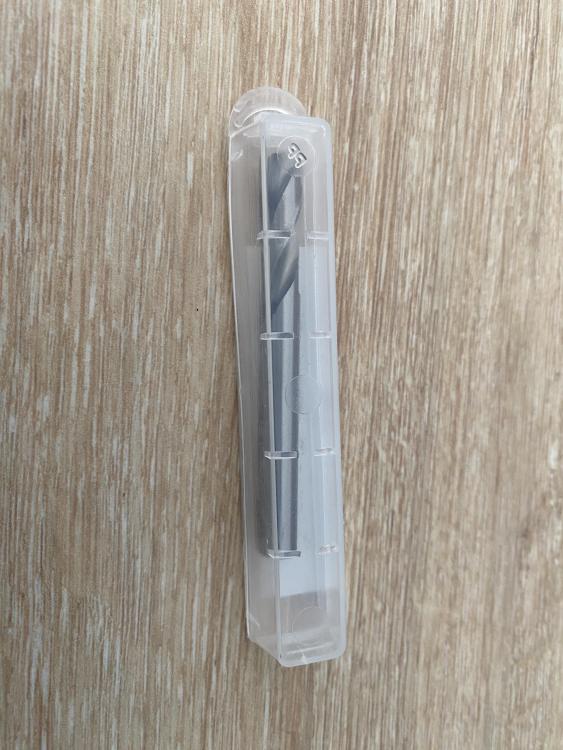
so keep it up guys
-
hello indeed there is a problem somewhere, can you tell us the motorization of your Lupo please, then if it is a diesel I think that makes you look at the side of the connectors of your oil sensor which is at your oil filter support


My new daily project with a 1.4 TDI
in Project Cars
Posted
Hello FraH20
I also plan to upgrade to rear disc braking, do you have a list of equipment to provide? did you change the handbrake cables?